Download
1 / 3
30 likes | 40 Views
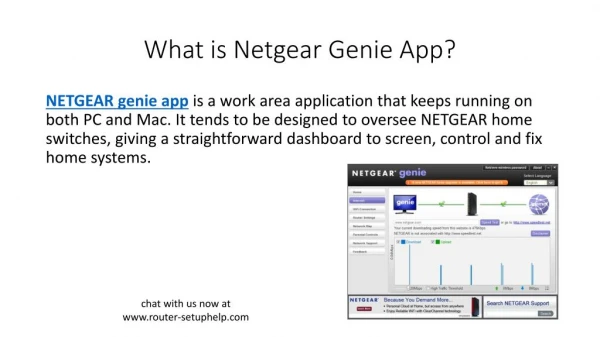
Netgear Genie is a desktop application that provides a simple and intuitive interface for managing your Netgear extender. It allows you to manage your network settings, monitor your network activity, and troubleshoot issues. With Netgear genie setup you can also set up parental controls, guest networks, and access advanced features like Quality of Service (QoS) and Dynamic DNS.<br>

E N D
Netgear Genie Setup Setting up your Netgear Genie extender can seem like a daunting task at first, but with the right guidance, it can be a quick and easy process. In this article, we’ll guide you through the Netgear genie setup process step-by-step and provide useful tips to ensure optimal performance. Netgear Genie Setup Netgear Genie is a desktop application that provides a simple and intuitive interface for managing your Netgear extender. It allows you to manage your network settings, monitor your network activity, and troubleshoot issues. With Netgear genie setup you can also set up parental controls, guest networks, and access advanced features like Quality of Service (QoS) and Dynamic DNS.
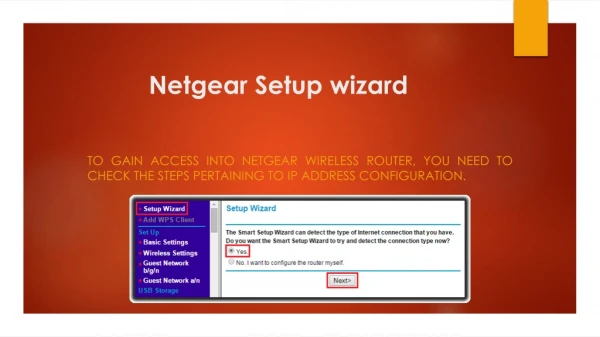
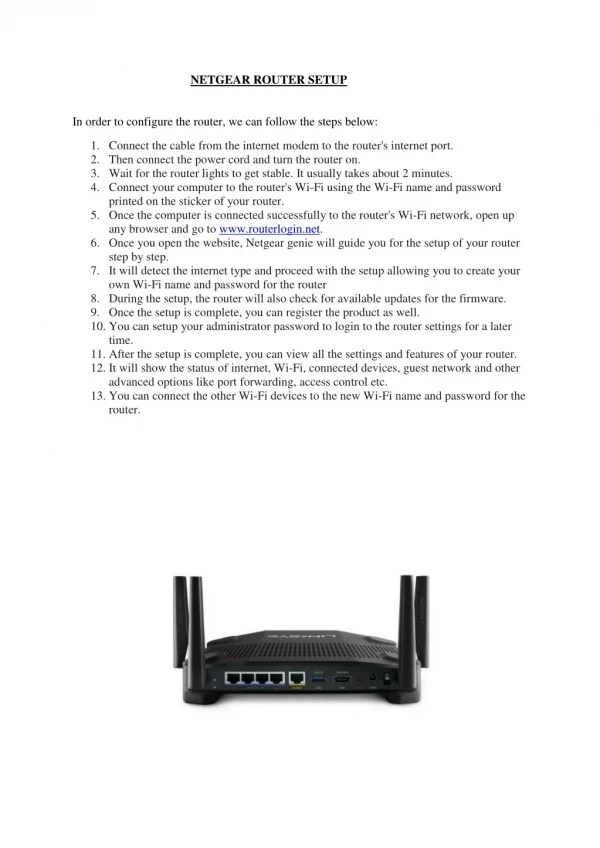
Step-by-Step Tutorial: Netgear Genie Setup for Beginners Step 1: Unbox and Connect Your extender The first step is to unbox your Netgear extender and connect it to your modem using an Ethernet cable. Make sure your modem is connected to the internet and turned on. Connect the power adapter to your extender and plug it into an electrical outlet. Step 2: Access Netgear Genie Once your extender is connected and turned on, open your web browser and type mywifiext help net in the address bar. This will take you to the Netgear Genie login page. Enter your username and password, which is usually “admin” and “password” respectively, unless you’ve changed it. Step 3: Configure Basic Settings After logging in, you’ll be taken to the Netgear Genie setup dashboard. From here, you can configure basic settings like the network name (SSID) and password. Click on “Wireless Settings” and enter your desired SSID and password. You can also choose the security type and channel width here. Step 4: Configure Advanced Settings If you want to access advanced features like QoS and Dynamic DNS, click on “Advanced” and then “Setup” from the Netgear Genie dashboard. Here, you can configure settings like WAN setup, LAN setup, and wireless settings. You can also set up parental controls, guest networks, and access the extender’s logs and statistics.