Download
1 / 39
390 likes | 480 Views
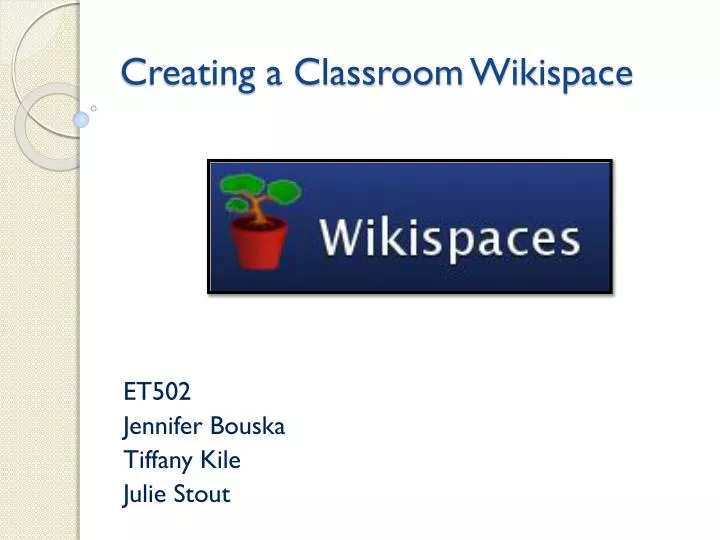
Creating a Classroom Wikispace. ET502 Jennifer Bouska Tiffany Kile Julie Stout. What is a Wikispace ?. Wikispaces are groups of web pages that can be edited by anyone. As the creator, you can set your permissions to allow certain people to view and edit your page.

E N D
Creating a Classroom Wikispace ET502 Jennifer Bouska Tiffany Kile Julie Stout
What is a Wikispace? • Wikispaces are groups of web pages that can be edited by anyone. As the creator, you can set your permissions to allow certain people to view and edit your page. • “Wikis are simple web pages that groups, friends, and families can edit together. Starting your wiki at Wikispaces is fast, free, and easy.” – www.wikispaces.com
Where can I locate Wikispaces? • Wikispaces can be located at the internet address below. • www.wikispaces.com
What is a Wiki page? • A Wiki page is a page within a self created Wikispace. What would I use a Wiki for? • Collaborative writing • Discussion • Brainstorming • Classroom Information/Newsletters • Networking
What do I need? • A computer with internet access • 45 minutes of dedicated work time to complete this lesson
Tasks Addressed • Getting Started • Creating a Wikispace • Personalizing and Editing • Add a Page • Start a Discussion
Getting Started • Open your internet and type the Wikispaces address in the address bar. • www.wikispaces.com • Select and enter your own username and password. • Example: • username -ET502 • email – ******@bears.unco.edu • password - ******* • Then click “Get Started.”
Creating a Wiki Page • Click “Create a New Wiki.” • Choose your Wiki Name and enter it into the box to the right of “Wiki Name.” • Choose a name between 3 and 32 characters long. • A wiki name must be at least 3 characters long. • A wiki name can contain only letters, numbers, and hyphens, without any spaces, and it cannot start with a hyphen. • A wiki name cannot be blank. • Our lesson Wiki name – ET502
Select “Protected” or “Private” Wiki type. • If you want others to be able to edit your Wiki, keep the Wiki protected. A private Wiki will not allow for high levels of collaboration. • Select the “Wiki Type.” • Wiki Type For teachers there is a “K-12” option and a “Higher Education” option. For this tutorial, we are selecting “Higher Education.” • K-12 • Higher education • Business • Personal • Non-profit • Government • Other • I prefer not to answer • Click the “Create” button.
Confirm your new account • Wikispaces will provide you notification on the screen. • Confirm your email • You must confirm your email address. You will get a message from Wikispaces on your next steps. • Create a Wiki • Wiki name – ET502 • Choose a name between 3 and 32 characters long. • A wiki name must be at least 3 characters long. • A wiki name can contain only letters, numbers, and hyphens, without any spaces, and it cannot start with a hyphen. • A wiki name cannot be blank. • Public (free) • Everyone can view and edit page • Protected (free) • Everyone can view, only Wiki members can edit • Private (first 30 days free) • Only Wiki members can view and edit • Wiki Type • K-12 • Higher education • Business • Personal • Non-profit • Government • Other • I prefer not to answer
Invite members to your Wiki • Manage Wiki • People • Invite people • Add in the email addresses of all the people that need to be a part of this wiki page and send. • You can find and add new members by going to Manage wiki, members.
Personalizing and Editing • Personalizing your Wiki • Wikispaces will provide you with a message to assist in this process. • Editing your page • Click on the “Edit” button on the upper right side of your screen to begin editing your Wiki page
Delete preset text • Clear out the text that comes with your new Wiki. You do this with the “backspace” or “delete” key on your computer’s keyboard. This is similar to any text deletion on the computer. • Begin adding your own text • Start by typing your “Welcome Message” to students, parents, or peers
To change font formatting on your page, highlight the text and click on the “T-color pallet.” • This function allows you to change “text color”, “text alignment”, “vertical position”, “background color”, and adding “strike through.”
To change the color, click the “Text Color” box. • Click on your new color and then “Apply Styles.” • Click the “Save” button after making any changes.
To insert a link to another page in your Wiki • Click “Link” • Insert the name of the page that you want linked to this page. • Give it a name: Link Text • Attach it to a current page within the Wiki • Click “Add Link” • Click “Save”
To insert a link to an outside webpage • Click “External Link” • Type in the words you would like to be hyperlinked into “Link Text” box • Type the address in the address box • If you would like the linked website to appear in a new window, check the “New Window” box • Click “Add Link” • Click “Save”
Insert images or file • Click upload files to find a file currently on the computer • Then click file to upload • Embed file • Post it directly to the page • Link to file • Create a link to take the worker directly to a site.
Embed Widget – insert movie • Click on the “widget” button • Choose a Wikispaces widget or a category provided to you • Click “save” • Insert Table • Click insert “table” • Define your table • Number of columns • Number of rows • Insert table • Click “save”
Preview • Before saving any work, you can preview what changes you made. This will allow you to decide to keep your work or discard it. • Cancel • This button will cancel any changes you have made prior to saving. It will take you back to the last page that you saved. • Save • One of the most important buttons to push. Be sure to save any work that has been done unless you want to lose it.
Changing the Color or Theme of your Wiki • Go to “Manage Wiki” • Click on “Look and Feel” • Click on “Themes and Colors” • Choose your theme from the samples • Choose a color scheme • Click “Preview” to viewthe layout on the screen • You can choose: • “Preview” • “Preview and Customize” • Change the colors to your exact specifications. • “Apply” • Remember to click “Save” to keep your choice
Add a Page • Click “New Page” • Give your page a name • Click “Create” • Edit your new page the same way you did your initial page. • Your new page will be listed on a sidebar of your Wiki page. • Click on the new page name to view the page.
Start a Discussion • Click on the discussion tab at the top of your Wiki page. • Select “New Post” • Name a subject and type in your discussion topic. • If you would like email reminders when discussions happen, click on monitor this topic. • Click “Post” • Click on discussion subject name to reply to the post. • Type in your reply and click “Post.” • The moderator for the discussion will receive an email saying you replied.
Under “Manage Wiki,” which button do you press to change the look of your Wikispace? • Content Manager • Badges • Look and Feel • Space Usage Answer: Look and Feel
Under “Edit,” which button do you press to change font formatting such as color and size? Answer: T with color pallet.
Under “Edit,” which button do you press to align text? Answer: T with color pallet.
True or false, once I begin to edit, I cannot go back. Answer:False, by pressing cancel, the Wiki will go back to the previously saved choices.
Which button do you press to add a page? • Templates • New Page • Tags • Exports Answer: New Page
Under “Discussion,” you can post your discussion question by… • Clicking on “Search Posts” • Entering your question into the blank box • Clicking “+ New Posts” • Double clicking the “Discussion” button again Answer: Clicking “+ New Post”
True or False, the discussion button can be found along the top of the home page. Answer: True, the discussion button is between
Under “Edit,” which button do you press to add a picture to your page? • Widget • Link • File • Table Answer: File
Under “Edit,” which button do you press to add a video to your page? • Video • Preview • Widget • Movie Answer: Widget
True or false, I can upload large files to share with others. Answer:True, the Wiki page is capable of very large files.
Under “Manage Wiki,” which button do you press to change protections so that only certain people can view your page? • Permissions • Content Manager • Wiki Info • User Creator Answer: Permissions.
Under “Manage Wiki,” which button do you press to eliminate the advertisements? • Members • Notifications • Wiki Statistics • Subscription Answer:Subscription
True or false, Wikis are unsafe because anyone can edit them at any time. Answer: False, a Wiki can be set at different levels of permissions to allow for collaboration on many different levels.
True or false, I am the only person who can edit my pages. Answer: False, depending on the permission level that the Wiki is set at, you can determine who can edit my pages.