Download
1 / 30
300 likes | 693 Views
Focal Spot Size Selection. The x-ray beam is more tightly focused when the small focal spot is selected. The edge sharpness is improved because of less shadow or penumbra. . Small Focal Spot . AdvantagesReduced penumbraOFD can be increased with minimal loss of detail.DisadvantagesLower mA selection due to tube heatingLonger exposure times that can cause patient motion.

E N D
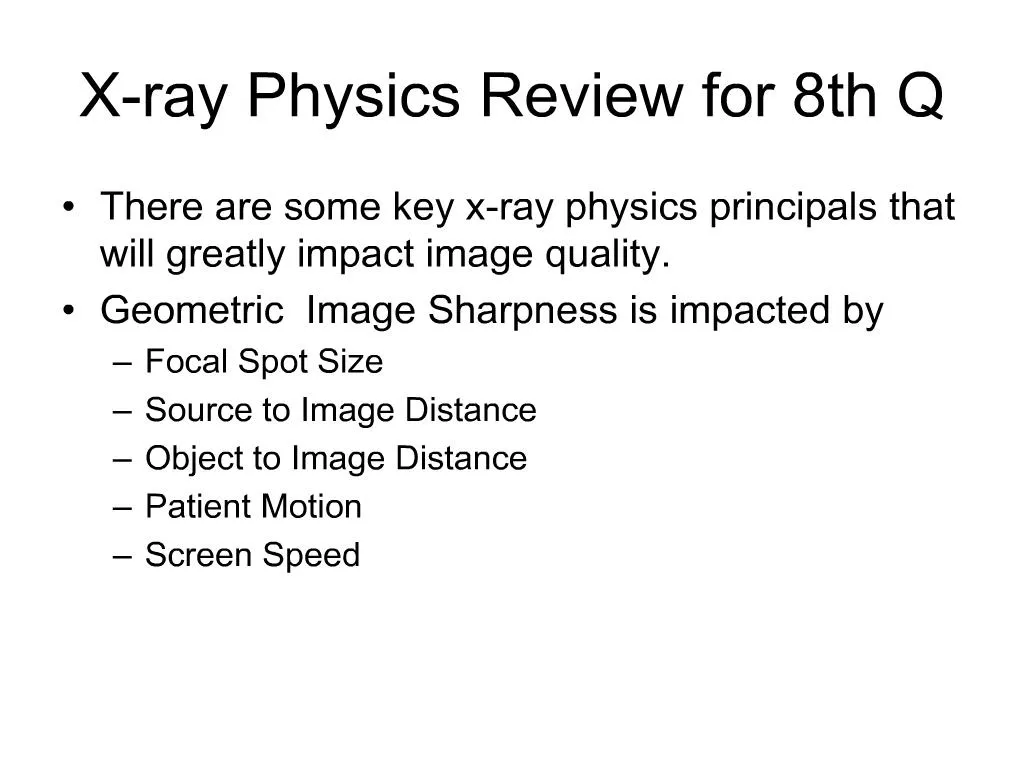
1. X-ray Physics Review for 8th Q There are some key x-ray physics principals that will greatly impact image quality.
Geometric Image Sharpness is impacted by
Focal Spot Size
Source to Image Distance
Object to Image Distance
Patient Motion
Screen Speed
3. Small Focal Spot Advantages
Reduced penumbra
OFD can be increased with minimal loss of detail.
Disadvantages
Lower mA selection due to tube heating
Longer exposure times that can cause patient motion
4. Screen and Film Speed The type of film and materials used in the screens will determine the speed of the film & screen combination.
Small phosphors in the screens and grain in the film will produce sharper images.
5. Screen and Film Speed Speed is determined by the system�s RSV or Relative Speed Value.
High RSV needs less radiation but have lower recorded detail.
6. SID and Sharpness Longer SID= Less Unsharpness
7. OFD & Focal Spot Exercise The image taken with the small focal spot was better than the large focal spot.
The small focal spot will help compensate for increased OFD.
8. Motion If the patient moves or fails to hold their breath, the image will be blurry.
Large patient may need to have films taken with the large focal spot.
9. Modern High Frequency Units Located behind shielded barrier.
High Frequency Generators allow much faster exposure times and reduced exposure compared to standard single phase machines.
10. Modern High Frequency Units Patient exposure is reduced 35%.
The mAs can be reduced 50% compared to single phase machines.
11. Single Phase Units Fastest exposure time is 1/60 second.
Limited to 300 mA.
Large patients require very long exposure times.
12. Impact of SID and OFD on Image Quality We usually want to get the body part as close to the film as possible to reduce magnification distortion.
13. Impact of SID and OFD on Image Quality When we can�t get the part close to the film, the SID should be increased.
14. Impact of SID and OFD on Image Quality Longer SID will have less magnification distortion.
Longer SID will have lower exposure.
15. Inverse Square Law Radiation exposure in inversely proportional to the square of the distance.
If we double the distance, the entrance skin exposure is reduced 75%.
Going from 40� to 72� will require an increase of the exposure factors 3.5 times.
16. Darkroom: Film Processor Kodak M-35 processor
Fresh Chemical storage
Hazardous Waste storage
Film fed into processor on feed tray.
17. Darkroom: Film Processor Developer is not considered hazardous waste.
Fresh Fixer is not considered hazardous waste.
Used fixer is hazardous waste due to silver.
18. Darkroom: Film Processor Chemicals in secondary containment.
Air tight containers to keep fresh and reduce fumes.
Always wear eye protection and gloves when handling chemicals.
19. Darkroom: Film Processor With automatic processing you should not need to become in contact with the processing chemicals.
Only when a film is lost or jammed in the processor will we open the processor.
20. Processing Chemicals Chemical Safety
Developer contains Hydroquinone and Potassium Metaborate. Both are hazardous.
Hydroquinone can be absorbed through the skin.
Gloves must be used when in contact with developer.
21. Processing Chemicals Chemical Safety
Fixer contains Ammonium Thiosulfate, Ammonium Bisulfite and Sodium Bisulfite.
Since it removes the unexposed silver from the film, it becomes hazardous waste when used.
Fresh Fixer is not hazardous waste.
22. RSV of Film Screen Combo The Black Border RSV is 400.
The Gray Border RSV is 80.
By knowing the RSV of the film screen combination, the technical factors can be adjusted.
23. RSV of Film Screen Combo From 400 to 80, increase mAs 5 times.
From 80 to 400 decrease mAs 5 times.
High Plus RSV = 200
From 400 to 200 double the mAs
From 200 to 400 reduce mAs 50%
24. 10.1 Basics of Extremity Radiography All extremity studies must include the proximal and distal articulations. Long bones may require additional views to see both articulations.
The patient measurement will be generally be at the location of the horizontal central ray. Exceptions lateral scapula and heel
25. Basics of Extremity Radiography Views can be taken standing, seated or recumbent. Bucky views can be taken using the upright Bucky, Table Bucky or a stationary grid on cassette.
When taking upper extremity views table top, never have the patient�s legs under table. Unnecessary exposure to femurs and bone marrow will be the result.
26. Basics of Extremity Radiography More than one view can be taken on the film for small extremities. Lead blockers are used to control scatter radiation when multiple views are taken non-Bucky on the same film. Exposed film is very sensitive to fogging from secondary radiation.
27. Basics of Extremity Radiography Proper Collimation is extremely important with extremity radiography. Collimation that is too tight will not demonstrate both articulations The operator must understand the location of the essential anatomy. Collimation that is too large will result in darker films or overlap of images.
28. Basics of Extremity Radiography Extremity Cassettes with fine detail screens are used on small extremities that typically measure less than 10 cm thick.
Extremity cassettes are not placed in the Bucky.
Knees are generally taken Bucky because of the density of the distal femur.
29. Basics of Extremity Radiography Film orientation is key to successful extremity radiography.
If the film is improperly orientated, retakes can be the result.
Set film on table and center beam to cassette. Then place area to be imaged on the cassette. This gives you and the patient a reference point.
30. Basics of Extremity Radiography Landmarks on the cassettes can be used when dividing the film for multiple views on the same film.
The rivets can be used when doing three across.
31. Basics of Extremity Radiography The center of the cassette is marked horizontally and vertically by arrows.
The arrows are used to divide the cassette into quarters or halves.
32. Cassette divided to get all needed anatomy on the film. For elbows, Hands and ankle views the film is turned 12� x 10� for two views.
Lead blockers protect the film from scatter radiation.
33. Cassette divided to get all needed anatomy on the film. For foot views the film is oriented 10� x 12� to allow us to get from the toes to the heel on the film.
The cassette is divided in halves.
34. Cassette divided to get all needed anatomy on the film. For the wrist, the cassette is oriented 10� x 12� and divided into quarters.
This gives us more film area for each view compared to three across.
35. Material Not Tested The information about extremity radiography is not tested this quarter.
It is given to provide basic information needed to start the PB-331 phantoms during the break.
36. The End Return to PB-322 Lecture Index
Return to PB-322 Home Page