Download
1 / 12
590 likes | 1.86k Views
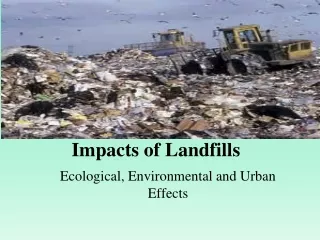
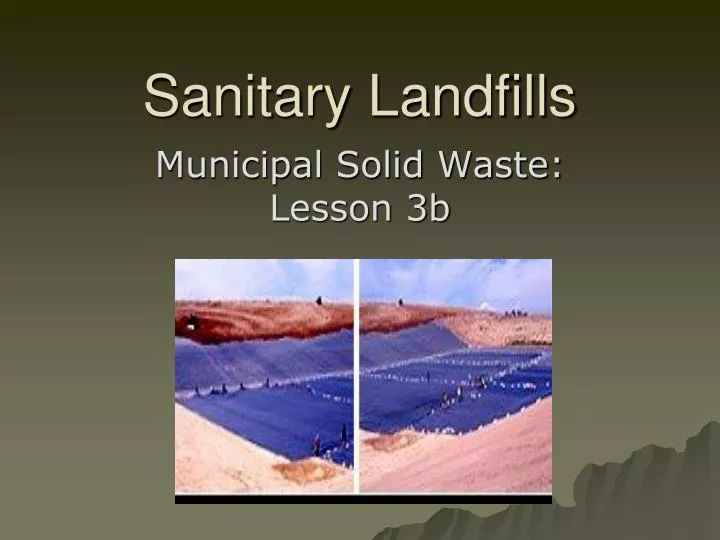
Sanitary Landfills. Municipal Solid Waste: Lesson 3b. Objectives. Students will understand the basic structure of a sanitary landfill. Students will understand the difference between the old style landfill and the sanitary landfill. Nevada State Standards: Grades 9-12.

E N D
Sanitary Landfills Municipal Solid Waste: Lesson 3b
Objectives • Students will understand the basic structure of a sanitary landfill. • Students will understand the difference between the old style landfill and the sanitary landfill.
Nevada State Standards: Grades 9-12 • N.12.B Students understand the impacts of science and technology in terms of cost and benefits to society. • N.12.B.1 Students know science, technology, and society influenced one another in both positive and negative ways. E/S • N.12.A.5 Students know models and modeling can be used to identify and predict cause-effect relationships. I/S • E.12.C.5 Students know soil, derived from weathered rocks and decomposed organic material, is found in layers. E/S
Lesson • Draw layers of the sanitary landfill. • Gather students in groups of 5, depending on class size. • Pass out prefilled reusable grocery bags.
Lesson • Mark 2” from top of bottle with marker. • Use scissors or knife to cut the top of the bottle off. • Cut nylon hose into 2” squares, 2 per group.
Lesson • Place 2 cotton balls into the neck of the bottle and rubber band the hose squares around the nozzle (later, this will slow the drainage and represent rainfall). • Add 1 cup of soil to represent ground.
Lesson • Add modeling clay disk to the model. Clay should be cut 5” in diameter. Press the clay to the sides of the bottle to form a seal. • Add precut plastic circle to model to form a liner (5” diameter).
Lesson • Add 1 cup of gravel. • Add plastic drinking straw, used to represent pipes for collection and treatment of leachate.
Lesson • Add 5” diameter, precut, circle of material representing geotextile fabric. • Add a layer of soil to the model.
Lesson • Add shredded paper to the model to represent MSW. • Add a final layer of soil to the model to represent daily cover. • Place top of bottle upside down in bottle. • Using the measuring cup, pour water into the landfill model, through the upside down lid (this will emulate rain).
Questions to Answer • How does this model show us how leachate flows through a landfill? • What are the benefits of using a sanitary landfill? • What are your general thoughts on the differences between the sanitary landfill and the old style landfill?
Questions to Answer • Why is it important to prevent leachate from getting into the groundwater? • What types of substances could leach into the groundwater from a landfill? • How has the technology of the sanitary landfill impacted society?