Download
1 / 11
110 likes | 114 Views
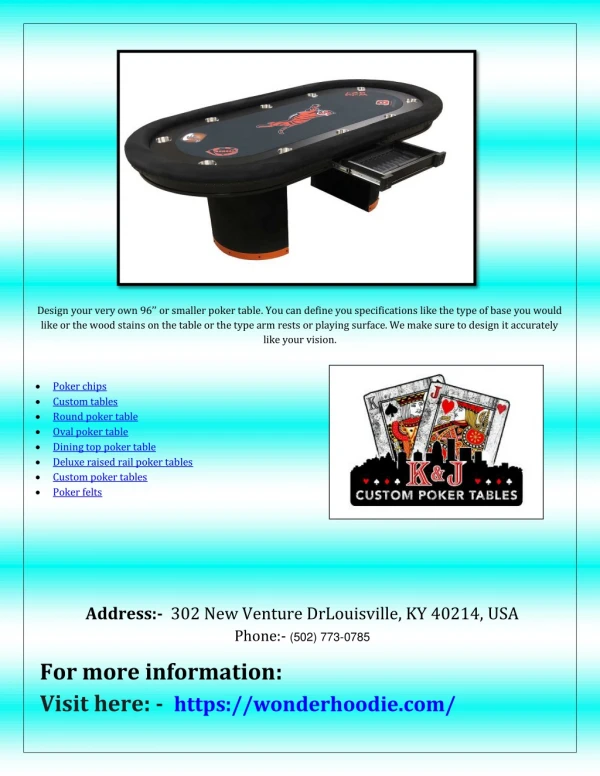
Introducing the world's first folding poker table on wheels. Our poker table's unique design was made for portability and easy storage. Set up is easy and takes one person only 15 seconds! https://www.tritonpokertables.com/collections/all

E N D
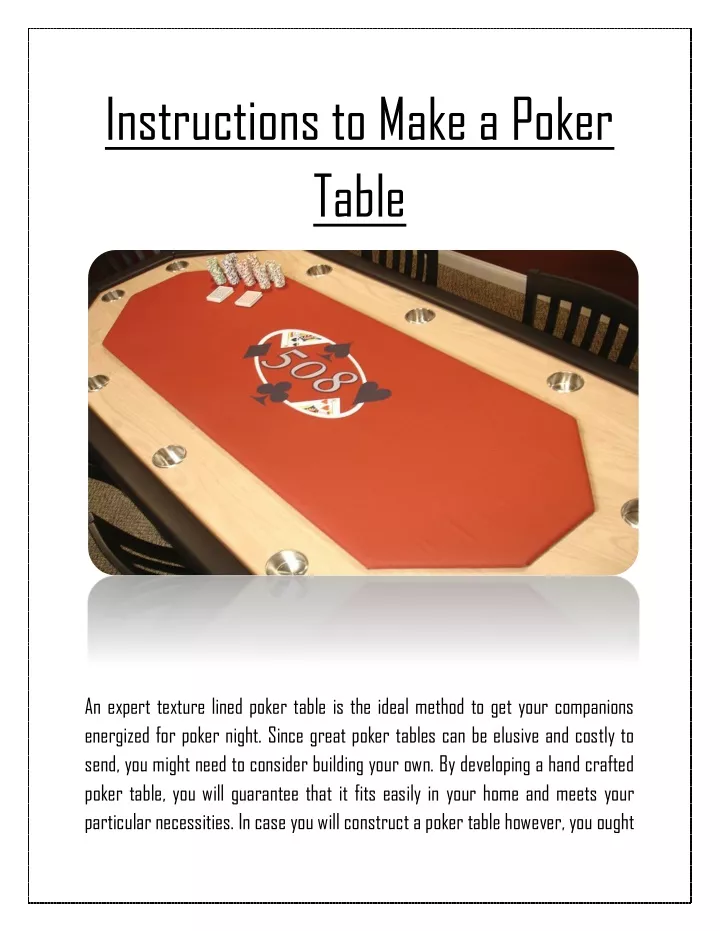
Instructions to Make a Poker Table An expert texture lined poker table is the ideal method to get your companions energized for poker night. Since great poker tables can be elusive and costly to send, you might need to consider building your own. By developing a hand crafted poker table, you will guarantee that it fits easily in your home and meets your particular necessities. In case you will construct a poker table however, you ought
to have an open and all around ventilated zone to work and in any event a fundamental comprehension of how to work power devices. Click here Poker Tables Section 1 Building Your Playing Surface 1. Measure corners on a 4 by 4 feet (1.2 by 1.2 m) sheet of compressed wood. Utilize a straight edge ruler to quantify 14 inches (36 cm) from the edge of your compressed wood at the edge. Make one imprint vertically, and afterward one imprint evenly, and utilize your ruler to interface the two checks and draw a line. Do this for every one of the 4 corners on your sheet of pressed wood to make an octagon. •You can likewise utilize an indelible marker, white chalk, or an oil pencil to stamp your lines. 2. Utilize a round saw to compromise of your table top. Lay your compressed wood level on a work seat or level surface and secure it with cinches. Line the managing line of your round saw up with each pencil imprint and pull the saw's trigger. Allow the saw to bring itself through your line and don't push while the saw is terminating. •Always wear defensive eyewear when utilizing power devices. •Keep two hands on the two handles on top of your round saw while the trigger is terminating. You can utilize a jigsaw in case you're more OK with it.
•Your pressed wood sheet will be looking like an octagon after you've wrapped up compromising. 3. Splash glue on your pressed wood and add your 1⁄4 inch (0.64 cm) froth. In a very much ventilated zone, cover the total of your compressed wood with a substantial cement spray.[3] Roll your froth across the highest point of the compressed wood, smoothing it with your free hand as you place it down. Burden your froth for an hour by putting any hefty, level items across the whole of the surface. Take more info Poker Tables •If you don't shower each segment of your compressed wood with glue, you could wind up with air rises in your playing surface. •You can buy rock solid sticky paste at your nearby tool shop. Twofold check the can to ensure that your cement works with wood prior to buying and utilizing it. 4. Utilize a utility blade to cut the overabundance froth off of the table. After the froth has dried, utilize a utility blade to shave any abundance froth off by pulling on the edge with your nondominant hand while cutting cautiously. Scratch your blade against each edge of your table to guarantee that the froth is flush with the pressed wood. •Place something weighty in the focal point of your table while you eliminate the overabundance froth. In the remote possibility that the froth hasn't completely dried, it could wind up sliding while you're cutting it. 5. Introduce pine trim along the edge with a nailer or drill. Use pine trim between 1⁄4 inch (0.64 cm) and 1 inch (2.5 cm). Measure each piece to coordinate
each edge of your compressed wood octagon and imprint your cuts with a pencil or white chalk. Utilize a roundabout saw or jigsaw to cut your pieces and fasten them to the compressed wood with a nailer or drill. •The width of your trim will direct the size of the lip between your playing surface and the actual table. 6. Shower your tabletop with cement and add the speed material. Spot your speed material making light of side on a level surface. Shower each segment of the speed material's underside with your cement. Lift your playing surface up, and tenderly lower it, making light of side, on top of the speed material. •Speed fabric is the green material utilized on poker tables. It is regularly alluded to as felt. Click here Poker Tables •Instead of dropping your playing surface on top of the speed material, you can extend it over the top in the event that you have somebody causing you. 7. Crease and staple your speed material to the underside of the playing surface. Pull each edge of your abundance felt and staple it to within your playing surface. Crease the corners where numerous layers meet on top of each other and staple them in one spot. When all edges are collapsed and stapled, shave off any abundance speed material with a utility blade or scissors. •You don't have to stress over cutting into the lower part of your playing surface with the utility blade. You're not going to have the option to see this part when you're set.
Section 2 Attaching Your Table Top 1. Lay your 5 by 5 feet (1.5 by 1.5 m) sheet of pressed wood out on a level surface. When you have your playing zone shrouded in speed material, you're prepared to make your table top. Start by spreading out one of your bigger sheets of compressed wood on a level surface and setting your playing surface on top in the middle. Utilize an estimating tape to focus your octagon by computing the midpoint between each edge and coordinating it with the focal point of your octagon. •You can utilize an outlining square to draw a middle line with pencil on every one of the outside edges on your table top. This will make arranging your octagon simpler. 2. Follow along each edge of your octagon. Holding your playing surface solidly set up with your nondominant hand, bring into the compressed wood along the outside of the octagon. Draw a little image on your pressed wood sheet and draw a similar image on the relating edge of the octagon to have the option to coordinate your playing surface with the appropriate edges of the table top later on. •You can't turn your playing surface starting here on, so you'll should have the option to coordinate it up later. Make more info here Poker Tables •Use a basic image, similar to a circle or triangle, to check the edge of your playing surface with the table top.
3. Drill an opening in each side of your diagram and trim with a jigsaw. Utilize a Philips-head boring apparatus to penetrate an opening in the pressed wood at each side of your octagon. Utilize a jigsaw to remove the lines between your openings. Guide your jigsaw gradually through each line, and keep the base plate flush with the pressed wood as you cut. •If you experience payoff when utilizing your jigsaw, discharge the trigger and reposition it prior to attempting once more. •If you're attempting to envision where the opening should be, search for each 135-degree point on your blueprint and drill right where your lines meet. •You will reuse the octagon that you cut out as the highlight for the legs, so don't toss that part out. 4. Layer your 5 by 5 feet (1.5 by 1.5 m) sheets of pressed wood. On your work surface, spread out your second sheet of pressed wood. Spot your first sheet— the one with the octagon cut out of the middle—on top of your subsequent sheet and line the edges up. Drop your playing surface into the middle that you've removed to check whether it lays flush.[14] •If your playing surface doesn't lay flush with different sheets of compressed wood, consider shaving any abundance felt off of the base where you stapled it. 5. Measure your table top's edges and imprint them with a pencil. Measure out 12 7⁄16 inches (31.6 cm) from the middle characteristic of each side of your octagon. Line each part up with an outlining square and utilize the straight edge to
draw each fix out with a carpentry pencil or oil marker. At the point when you're set, you'll be taking a gander at a framework of the octagon that is marginally greater than the octagon region that you initially cut out. Read more Poker Tables 6. Nail or cinch the two bits of pressed wood together and cut the edges. Secure your two sheets of pressed wood with nails or a bunch of cinches, and utilize a jigsaw or roundabout saw to cut the abundance compressed wood off of your table top's edges. Cut the two sheets of pressed wood simultaneously while they're on top of each other to guarantee a flush edge where they meet.[16] •Only punch nails through the corners that you're cutting off. You'll utilize wood paste to append the two sheets of pressed wood. 7.Glue your two sheets of compressed wood together and brace them. Use wood paste to cover the edges of your table where the second sheet of compressed wood will meet the first. Press your wood stick in a crisscross example along each segment of the second sheet where you first sheet will lay. After you've laid the paste down, drop your first segment of pressed wood on top of the second and clip each edge. Section 3 Adding the Table Legs 1. Recover the extra octagon that you cut out and measure the legs out. This subsequent octagon is the place where you will join your table legs. Start by estimating the compressed wood from corner to inverse corner, putting a
reference mark 2–4 inches (5.1–10.2 cm) from the edge dependent on your inclination. Imprint the area where you need to embed each table leg.[18] •Base your leg references on the screw embed, not the edge of the table leg. •Pre-developed table legs have a screw incorporated into them to fasten them to a table top, so you don't have to stress over penetrating into them. Visit here Poker Tables 2. Drill a pilot opening to embed your table legs by utilizing a more modest boring tool. The boring apparatus ought to be marginally more modest than the screw that accompanies your table leg. Utilize your drill to make an opening for each table leg screw at the areas you set apart for every leg. Test every leg at each opening that you drill to guarantee that the stringing in each screw will fit.[19] •Leave your table topsy turvy while testing the legs, since this is the manner by which you will stick them in for all time. 3. Paste and screw each table leg into each pilot opening and let them rest. Add wood paste to the level surface encompassing the screw in your table leg. Screw the leg into your pilot opening and contort until you see the wood stick crushing out from the edge of your table leg. Rehash this for each table leg and set the leg segment of your table aside to dry for 2-3 hours.
Section 4 Finishing Your Table 1. Sand the edges of your table top utilizing 80 coarseness sandpaper. While you're sitting tight for the paste on your table legs to dry, sand the edges of your table top where the two sheets of stuck compressed wood meet. This will guarantee that you eliminate any overabundance paste or wood splinters from the incomplete edge. •The sandpaper will likewise adjust the sharp edges where your octagon points rest, which could hurt somebody when they lay their arms on the edge of the table. •Work in a very much ventilated territory and utilize defensive eyewear and earphones when utilizing a sander. 2. Wipe your table top with a clammy material to eliminate any buildup. Utilize a towel or cloth and absorb it cold water. Wring it out by hand. Delicately wipe your table top down to get any sawdust or free splinters prior to applying your wood finish. 3. Apply your wood finish with a paint brush. Utilize a characteristic brush of any size and dunk it in your completion prior to covering your table top equitably. Use to and fro strokes to cover every territory in a few applications. Allow your stain to air dry for the time allotment trained on your particular stain's holder (normally 1-2 hours). •You might need to apply numerous layers of your stain to get a more profound completion.
•You can add a couple of layers of clear completion to give your table a glossier look on the off chance that you'd prefer to. 4. Screw your table legs into the table top utilizing #10 wood screws. Flip your tabletop over and lay the octagon with the legs appended on top. Line each corner up with a corner on the table top so your table legs are focused. Drill pilot openings through both the table legs and the table tops utilizing a 9⁄64 inch (0.36 cm) bore. The area of each pilot opening figures out where your screws will go, so attempt to spread them out across the whole of the octagon. •Try to spread at any rate 10 pilot openings out in various areas of the table top. This will appropriate the weight equitably across every one of the 10 screws. 5.Insert washers between your wood screws and the pilot openings. Spot a metal washer over every one of the pilot openings that you bored. Hold a #10 wood screw in the center opening of your washer and drill it into the pilot opening. Rehash this cycle for each pilot opening. The washers aren't needed, however they'll keep your screws made sure about throughout a more extended timeframe. Utilizing screws rather than nails or paste will make your table simpler to dismantle on the off chance that you actually need to move it. 6. Flip the table over and bring down your playing surface into the tabletop. With your legs laying solidly on a level surface, take your playing surface and drop it into the focal point of your table top. With everything collected unexpectedly,
examine the primary honesty of your table by going ahead it delicately and checking for wobbles. When everything is in set up and your table is steady, it's an ideal opportunity to welcome a few companions over for certain cards!