Download
1 / 18
190 likes | 393 Views
Trimble GeoXT 6000. Data Collection. Basic Components of the Trimble GeoXT 6000. GNSS Receiver. Light Sensor. Touch Screen. SD Card Slot. 5 MP Camera. Status LEDs. TerraSync : Basic Display Information. Main operations tab. Show/hide keyboard. Number of satellites connected.

E N D
Trimble GeoXT 6000 Data Collection
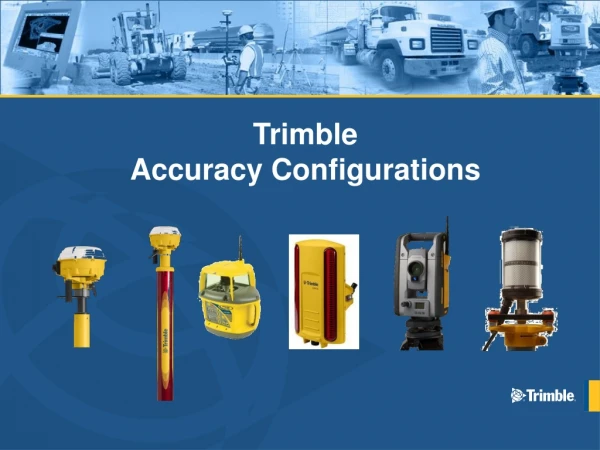
Basic Components of the Trimble GeoXT 6000 GNSS Receiver Light Sensor Touch Screen SD Card Slot 5 MP Camera Status LEDs
TerraSync: Basic Display Information Main operations tab Show/hide keyboard Number of satellites connected Estimated logging accuracy
Setting Up the GPS to Begin Surveying Use the main operations tab to open “Setup”. Press the GNSS button to connect or disconnect the GPS receiver (Receiver must be connected to do any surveying). This tab also contains all GPS settings, most of which should already be set up correctly.
Status Tab Use the status tab to check current satellite information.
Creating and Starting a New Trail File Step 1: After opening TerraSync from the main menu, type a logical name for the new file. Press “Create” when finished. Step 2: When you are ready to begin surveying, Select “Trail” from the feature menu and press “Create”. Step 3: Fill in the required trail information. Make sure that points are being logged as you move:
Nesting Features Within a Trail While logging the trail, Under the “Options” tab, select “Nest”. Select the appropriate feature from the list that appears (You may need to scroll down).
Nesting Features Continued Trail logging will be paused when returning from nesting a feature. When the feature screen appears, the GPS will begin logging points. Mandatory feature attributes are underlined. When finished entering data, press “Done”. Once you return to the trail screen, you must press “Resume” to continue logging points on the trail.
The Map Screen The map screen shows the trail and features that have been surveyed, as well as your current location. The map is helpful to avoid making wrong turns and to check that the GPS is continually logging points. In order to nest more features, you will have to return to the “Data” tab.
Completing and Segmenting Trails When you reach the end of a trail, press “Done” to end logging. Ending the trail takes you back to the main screen, where you can begin another trail or close the file. “Segment Line” creates a break in the trail line without ending the trail. This allows the new segment to be renamed or updated.
Opening and Updating Existing Files Step 1: To open a file which has already been created, select “Existing File” from the drop down menu. Step 2: Select desired file from the file list. *Note: Files can be arranged by name or date. Step 3: Either use “Update” to update existing features, or “Collect” to collect new features.
File Manager File manager can be accessed at any time from the “Data” tab. Files can be searched by file type, or arranged in order by name or date. Use file manager to delete and rename files, and to move files between the GPS and a storage card.
Background Layers Background files show only trails, no features or other information is accessible. Use to turn background layer on or off. Any file can be set as a background file. Use to select files to be used as the background layer.
Filtering Features Use filter features to hide trail features and show only trail data
Filter Features Continued Under Features, change TRAIL from “Unfiltered” to “All Filtered”. Uncheck “Unfiltered Features” to hide features and show only the trail. In the Map tab, under Options, select “Filter…”
Transferring Files to a Computer Using GPS Pathfinder Office
File TransferGPS Pathfinder Office Step 1: Connect GPS to computer with designated USB cable. *Note: Make sure GPS connects correctly through Windows Mobile, or ActiveSync if using Windows XP. Step 2: Open GPS Pathfinder Office. Step 3: Under “Utilities” select “Data Transfer”.
File Transfer Continued Step 4: When the Data Transfer window appears, select “Data File” under “Add”. Step 5: Select the file or files to transfer to the computer. *Note: Files which have not been transferred yet will be highlighted.