Download
1 / 31
330 likes | 361 Views
Proportions of the face. Learning the Proportions of the Human Face to I mprove Your Portrait Drawing Skills. Students will learn the proportions of the human face. Students will accurately draw a portrait. LEARNING TARGETS FOR TODAY! . What are the proportions of the Face.

E N D
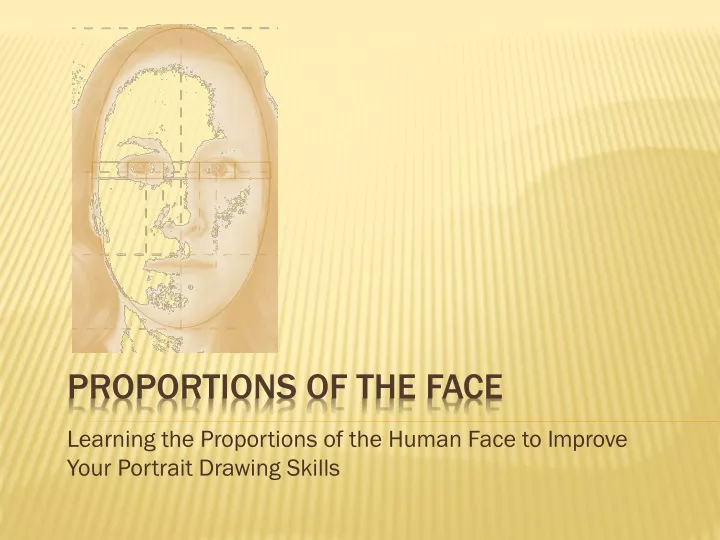
Proportions of the face Learning the Proportions of the Human Face to Improve Your Portrait Drawing Skills
Students will learn the proportions of the human face. Students will accurately draw a portrait. LEARNING TARGETS FOR TODAY!
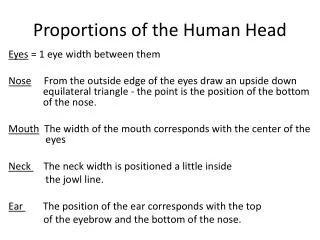
Proportions of the front face Frontal View The face has some definite proportions that help us when drawing faces. Eyes The eyes are located in the middle of the face. Many people assume that the eyes are higher on the face but in reality they are in the middle. Eye Spacing If you took the width of one eye you would have that same space in between and outside of both eyes. So when spacing eyes you should have approximately five eye spaces. Many people assume there is less space than this.
Proportions of the front face Nose If you divide the bottom half of the face in half the nose is located above that. The sides of the nose line up with the insides of the eyes. The nose is often not drawn large enough.
Proportions of the front face Mouth If you divide the bottom half of the face in half the mouth is located below that line. The edges of the mouth should line up with the middle of the eyes.
Proportions of the front face Ears The ear length is from the top of the eyes to the above the mouth. The ears are often drawn way to small.
Proportions of the front face Neck The neck starts below the mouth and is not much smaller than the width of the face. The neck is often drawn to skinny. When it is drawn to skinny it feels like it will not support the head. Kind of like a bobblehead.
Let’s start drawing There are many different shaped faces, but each one begins with drawing an oval. The only thing you may want to change depending on your model is the width of your oval.
Step 1 Drawing the Shape of the Head The first step to drawing a portrait is to draw the shape of the head. I am going to use a long oval shape because that matches the face shape I am drawing. You want to look at the shape of the person’s face. You may want a wider oval if the face is rounder. Keep your arm loose as you lightly sketch the oval shape several times until you get a shape you like. Then go over your sketchy lines and draw a distinct oval shape.
Step 2 Location of the Eyes Remember the eyes are in the middle of the head. Divide your oval in half and draw a line across the halfway mark. Next, you need to create the spaces for the eyes. Remember there are five equal eye spaces across the head. Use your fingers to estimate how big the eye spaces will be and then sketch them in.
Step 3 Light Reflection Drawing the Eyes A few points to remember about the eye. Start your drawing with the tear duct. It’s shape will extend a little bit out. The Pupil and Iris are round, but they are cut off by the top of the eye. There is a light reflection that hits the eyes. It shows up as a white spot in the eye. The eyelashes feather(curve) from out of the eye. Remember the eye is round in shape. Shade it accordingly. Iris Pupil Tear Duct
Step 4 Location of the Nose Remember you will draw the nose above the middle of the bottom half of the face. The outside of the nose will line up with the inside of the eyes.
Step 5 Drawing the Nose A few points to remember about the nose. The tip of the nose is like a round ball. Draw the sides of the nose and the tip of the nose and use shading to define the rest. You also use shading to define different shapes of noses. If the nose was very pointy then you would have shading that made the nose look almost triangular. The shading that goes down the nose extends out from the upper eye lid.
Step 6 Location of the Mouth The mouth will be located below the middle half of the bottom face. Remember the outside of the mouth should line up with the inside of the eyes. .
Step 7 Drawing the Mouth A few points to remember about the mouth. Don’t forget that the center of the mouth on the top has a curve. The top lip is thinner than the bottom lip and the bottom lip has more a roundness. Lips, especially the bottom, are round in shape. Shade them to make them look round.
Step 8 Location of the Ear The ears are located about even with the top of the eyes and end slightly above the lips. .
Step 9 Drawing the Ears A few points to remember about the ear. The most common mistake is drawing the ear to small. The ear changes a lot depending on what angle you are looking at it from. You need to understand the structure of the ear when drawing it from the side.
Step 9 Drawing the neck. The neck comes out from slightly below the ears. It is almost as wide as the face. .
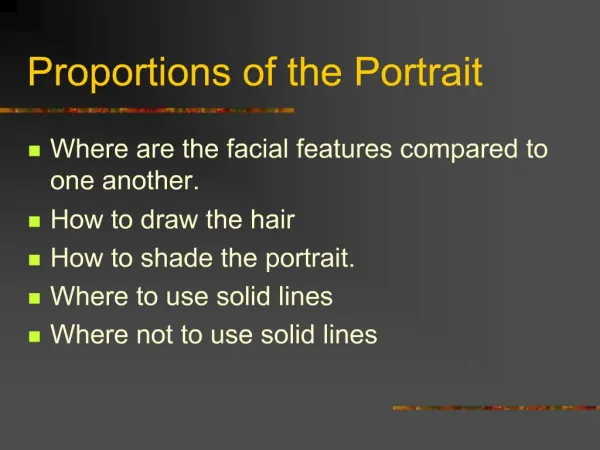
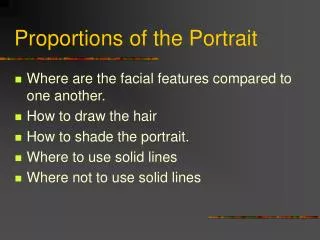
Step 10 Drawing the hair. There are three steps to follow when drawing hair: Draw the shape of the hair on the head showing where it curves. Hair is shiny so you need to have highlights and shadows that indicate the shape of the hair, just like highlights and shadows indicate the shape of an object. At this point your not worrying about strands of hair your just laying in the overall tone of the hair. Finally go on to draw the individual hair strands. Don’t draw every single one. You just want to draw some to make it feel like hair. .
Light Source Step 11 Shading your portrait. Here’s a few tips for shading your portrait. Light Source. Look at your model and think about where the light source is coming from. Typically one side of the face is going to be more in shadow. Dark Shading. Some of the places in the face that have the darkest shading are the corner of the mouth, the pupil, the nostril on the shadowed side of the face, under the chin (on neck) and the shadowed part of the eyebrows. Middle Tones. Don’t forget the medium tones that are used to make the transition from dark areas to lighter areas more gradual, and smooth. Without medium tones, the portrait would look harsh, and the darker shading would be too severe. Using medium tones properly will give the drawing more blended, natural look. Highlights. Don’t forget the classic highlighted spots. The eye highlight, lip, cheek, and bridge of nose have a highlighted spot. These are areas that are usually facing up, towards the light source. The eye and the lip have a moistness to them. The highlight will also be used to indicate this. Darkest Areas Highlights