Download
1 / 6
60 likes | 67 Views
Guide to Canon Pixma MX410 Wireless Printer Setup. Call 1-888-633-7151 for Canon mx410 setup, Setup Canon MX410, Connect Canon MX410 Printer to Wifi<br>You can also call us for tech assistance at<br> 1-888-633-7151 (For USA)<br> 44-808-164-5280 (For UK)<br>https://www.canonprintersupport247.com/blog/canon-pixma-mx410-wireless-printer-setup/

E N D
STEPS TO CONNECT CANON MX410 PRINTER TO WIFI You can also call us for tech assistance at +1-888-633-7151 (For USA) +44-808-164-5280 (For UK)
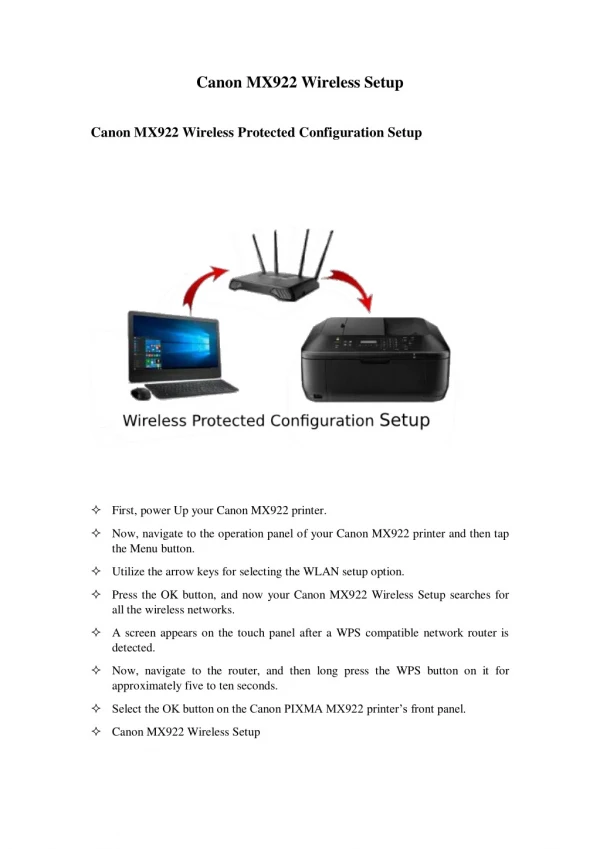
Guide to Canon Pixma MX410 Wireless Printer Setup ◦ The installation software shipping with the Canon PIXMA MX410 automates the wireless network setup, but if you skipped that part of the wizard or had not set up an access point at the moment, you can use the Canon IJ Network Tool to connect your printer to a Wi-Fi hot spot. To configure the link, you will need to understand the encryption technique and safety key of your wireless network.
◦ Step 1: Click in the notification area on the “Network Connection” icon, select from the list your wireless network and click on the “Connect” button. ◦ Step 2: Right-click the network, select “View Connection Properties” from the context menu and then select “Show Characters.” Steps to Canon mx410 setup ◦ Step 3: Write down the information next to the Security Type, Encryption Type and Network Security Key, then click “Cancel.” ◦ Step 4: Connect one end of the data cable to a numbered port at the back of the router and then connect the other end to the printer. ◦ Step 5: Press “Windows-Q,” enter the search bar with “IJ Network Tool,” then select “IJ Network Tool” from the outcomes. ◦ Step 6: Turn on the printer to display the printer in the Canon IJ Network Tool and then press “Update.” ◦ Step 7: Select the “PIXMA MX410” button and press “Configuration.” Select the “Wireless LAN” section and enter the access point name afterwards. ◦ Step 8: Click “Search,” select from the outcomes the suitable network and then click “Set.”
◦ Step 9: Select the suitable safety protocol — WEP, WPA or WPA2— from the drop-down menu “Encryption Method.” ◦ Step 10: To set your security key, click “Configuration” and follow the steps on the screen. The steps differ based on the chosen technique of encryption. ◦ Step 11: To finish the configuration and close all windows, select “Get IP Address Automatically” and then press “OK.” ◦ Step 12: Insert a blank sheet of paper into the MX410’s back tray and press “Menu” to go to Device Settings on the control panel. ◦ Step 13: Select “LAN Settings” from the options using the directional pad and then press the “OK” button. ◦ To print a copy of your network settings, use the directional pad to select “Print LAN Details” and then press “OK.” ◦ So, by using these steps you can ensure the complete Canon MX410 Setup.
We hope you'll get the solution after applying all the steps but if you were not able to setup then you can contact us for profession tech support ✓You can also call us for tech assistance at +1-888-633-7151 (For USA) +44-808-164-5280 (For UK) ✓You can visit our website at www.canonprintersupport247.com