Download
1 / 9
90 likes | 100 Views
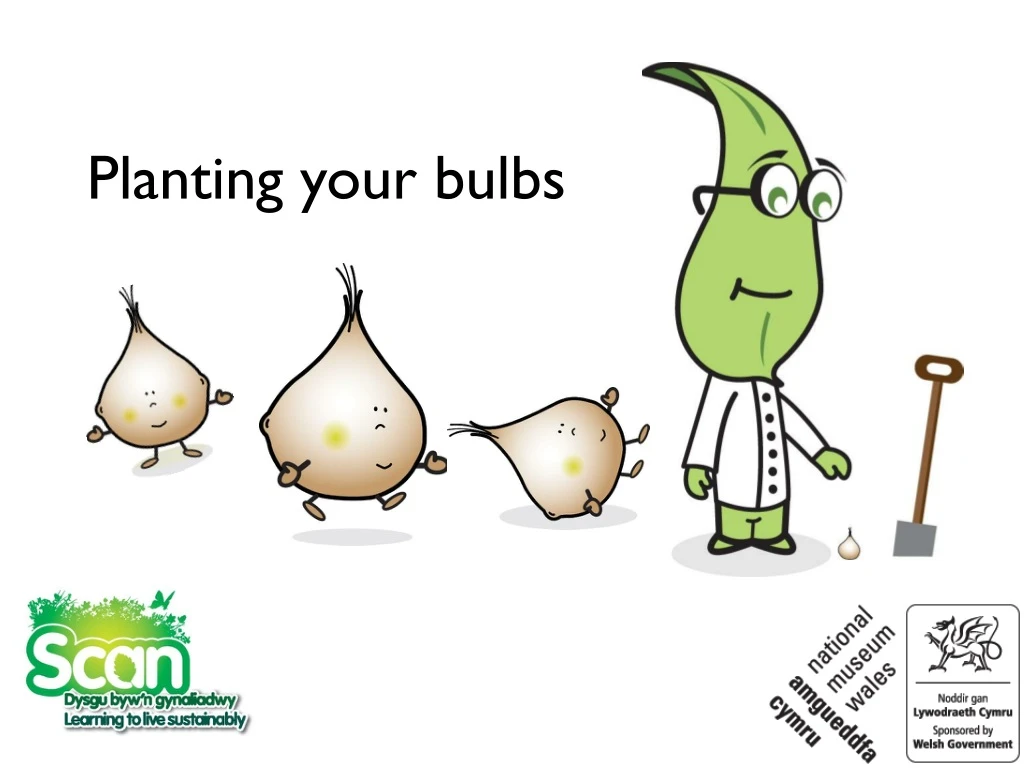
Planting your bulbs. A letter from Professor Plant. Hi Bulb Buddies! Congratulations on passing the last task and adopting your new bulbs! Now you are ready for the next task – Planting your bulbs! Please plant your bulbs on the

E N D
A letter from Professor Plant Hi Bulb Buddies! Congratulations on passing the last task and adopting your new bulbs! Now you are ready for the next task – Planting your bulbs! Please plant your bulbs on the 20th October (Wales & England) 27th October (Scotland) Remember to always care for your bulbs as you have promised in your adoption certificate.
Get your equipment ready! Each pupil should have: • 1 Daffodil bulb • 1 Crocus bulb • 1 Plant pot • Compost or good soil • 1 Ruler and pencil • 1 Plant label Daffodil Crocus Bulbs & competition kindly donated by the Edina Trust
Health & Safety! • Think of any accidents that could happen while you’re planting. Then decide on a set of safety rules.
Remember your bulbs are alive - hold them gently! Take your time to plant your bulbs properly. Relax and enjoy it! Read through the following advice on planting just before you actually plant your bulbs. Follow the instructions carefully to ensure a fair test. Good luck with this task!
How to plant • Fill your pot with 4cm of multi-purpose compost and push it down firmly. Mark the front of your pot with a small dot – to help you remember which bulb was planted where. 2) Place your Daffodil bulb on the compost, the correct way up - with the roots at the bottom. Put it on the left side when the dot is facing you.
How to plant • 3) Sprinkle soil around your bulb until it is half covered, then place your crocus bulb on the soil. Make sure there is space between the bulbs. Put it on the right side when the dot is facing you. • 4) Sprinkle compost over the bulbs and firm it with your fingertips.
How to plant 5) Fill up with compost to the top. 6) Water well, then top-up with compost if necessary. 7) Add your label. Send your stories and pictures to our bulb-blog and follow Professor Plant on Twitter! www.twitter.com/Professor_Plant
Now go to plant your bulb! • Once you have finished, check that you have planted your bulbs correctly then add your plant label to your pot, as shown. • Remember to wash your hands after planting!