Download
1 / 21
210 likes | 249 Views
I have come up with a new exciting topic, that is how to add captcha feature to your Android app. Let’s go ahead to discuss more things about what is captcha, how it will be useful and how to integrate this feature into your app.<br><br>https://www.loginworks.com/blogs/add-captcha-android-app/

E N D
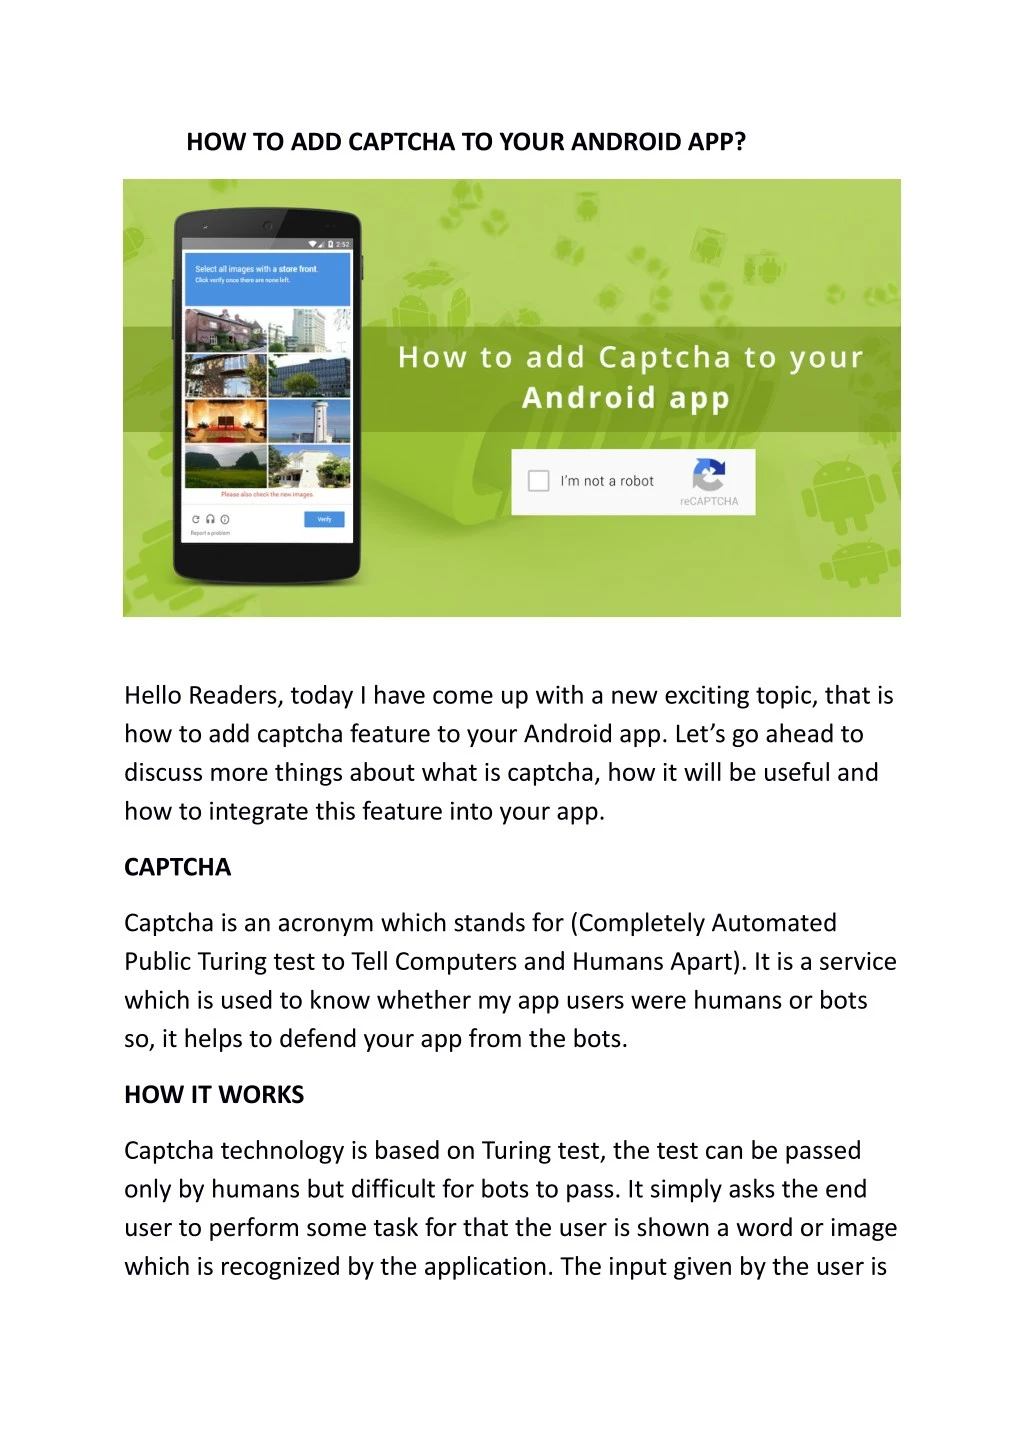
HOW TO ADD CAPTCHA TO YOUR ANDROID APP? Hello Readers, today I have come up with a new exciting topic, that is how to add captcha feature to your Android app. Let’s go ahead to discuss more things about what is captcha, how it will be useful and how to integrate this feature into your app. CAPTCHA Captcha is an acronym which stands for (Completely Automated Public Turing test to Tell Computers and Humans Apart). It is a service which is used to know whether my app users were humans or bots so, it helps to defend your app from the bots. HOW IT WORKS Captcha technology is based on Turing test, the test can be passed only by humans but difficult for bots to pass. It simply asks the end user to perform some task for that the user is shown a word or image which is recognized by the application. The input given by the user is
compared with the correct answer. If the answer matches the user is identified as human. TYPE OF CAPTCHAS We have different types of captchas to use based on our app requirements we can choose. 1. THE STANDARD CAPTCHA WITH AN AUDIO OPTION: Here the user is shown with a scrambled word which the user has to enter the same word in the box below. The user gets an option for next word if the current word is difficult to recognize. A visually disabled person can use the audio option to hear the word. 2. RECOGNIZE IMAGE
In this type of captcha, the client is solicited to choose the particular kind from pictures as appeared in the above figure. In this example, the user is asked to select all the images of cars. 3. 3-D CAPTCHA Here in the above image as shown the 3-D form which is more difficult for the user to solve but it keeps the bots out. 4. AD-INJECTED CAPTCHA It can also be called Commercial Captchas, If the user is spending 10 seconds over a captcha then why not to display an add beside it? yes,
the same happens here, while the user solves the captcha the user is shown with an AD. The demo is shown in above figure. APPLICATIONS FOR CAPTCHA Captchas have several applications for practical security. 1. Protecting app registration. 2. Protecting Email Addresses from Scrappers 3. Preventing comment spam in Blogs 4. Online polls. BUILDING THE PROJECT 1. Open your Android Studio 2. Go to File menu->New->New Project 3. Application name: Captcha 4. Company domain: Your package name 5. Click on Next button. 6. Minimum SDK: Android 4.4 (KitKat). 7. Again click on Next button. 8. Select Empty Activity and click Next button. 9. Activity Name: MainActivity. 10. Click Finish button. This will create your Android application Project named as Captcha. INTEGRATING SAFETYNET RECAPTCHA API 1. Open app level build.gradle file and the below dependencies.
dependencies { compile 'com.google.android.gms:play-services-base:11.0.1' compile 'com.google.android.gms:play-services-basement:11.0.1' compile 'com.google.android.gms:play-services-safetynet:11.0.1' compile 'com.google.android.gms:play-services-tasks:11.0.1' } 2. Click on the Sync now in Android Studio. 3. Open your AndroidManifest.xml and copy the below code in that file. <uses-permission android:name="android.permission.INTERNET"></uses- permission> 4. To use the internet in our application we need to give required permissions in AndroidManifest file. 5. AndroidManifest.xml file looks like this. AndroidManifest.xml: <?xml version="1.0" encoding = "utf-8"?> <manifest xmlns:android = "http://schemas.android.com/apk/res/android" package = "com.loginworks.captcha"> <uses-permission android:name = "android.permission.INTERNET"></uses-permission>
<applicationandroid:allowBackup = "true" android:icon ="@mipmap/ic_launcher" android:label ="@string/app_name" android:roundIcon ="@mipmap/ic_launcher_round" android:supportsRtl ="true" android:theme ="@style/AppTheme" > <activity android:name =".MainActivity" > <intent-filter> <action android:name ="android.intent.action.MAIN" /> <category android:name ="android.intent.category.LAUNCHER" /> </intent-filter> </activity> </application> </manifest> 6. Copy the package name from the AndroidManifest.xml 7. Go to the link https://www.google.com/recaptcha/admin#androidsignup 8. Paste the above-copied package name in the below Label. 9. Choose the reCaptcha Android. 10. Paste the same package name at Package Names
11. Accept the reCaptcha Terms of Service. 12. Click on Register button. 13. After Registration done you will get the Site Key and Secret key, please save it for future purpose. CREATING UI To create the UI open activity_main.xml which is below the layout folder, and copy the below code as shown. activity_main.xml: <?xml version="1.0" encoding="utf-8"?> <LinearLayout xmlns:android="http://schemas.android.com/apk/res/android"
xmlns:tools="http://schemas.android.com/tools" android:layout_width="match_parent" android:layout_height="match_parent" android:orientation="vertical" android:layout_margin="20dp" tools:context="com.loginworks.captcha.MainActivity" > <Button android:id="@+id/captcha_btn" android:layout_width="match_parent" android:layout_height="wrap_content" android:text="Captcha" android:onClick="connect"/> </LinearLayout> CREATING ACTIONS Now to create the actions/functionality in MainActivity file just follow this. MainActivity.java Open the MainActivity file and copy the below code. package com.loginworks.captcha; import android.app.ProgressDialog;
import android.os.AsyncTask; import android.os.Bundle; import android.support.annotation.NonNull; import android.support.annotation.Nullable; import android.support.v7.app.AppCompatActivity; import android.util.Log; import android.view.View; import android.widget.Button; import android.widget.TextView; import android.widget.Toast; import com.google.android.gms.common.ConnectionResult; import com.google.android.gms.common.api.ApiException; import com.google.android.gms.common.api.CommonStatusCodes; import com.google.android.gms.common.api.GoogleApiClient; import com.google.android.gms.safetynet.SafetyNet; import com.google.android.gms.safetynet.SafetyNetApi; import com.google.android.gms.tasks.OnFailureListener; import com.google.android.gms.tasks.OnSuccessListener; import org.json.JSONObject; import java.io.BufferedReader; import java.io.InputStream;
import java.io.InputStreamReader; import java.net.HttpURLConnection; import java.net.URL; public class MainActivity extends AppCompatActivity { final String SiteKey = "6LcW0UwUAAAAAFQfFY1a- 7AxSZxNSu0usk2JwhLC"; final String SecretKey = "6LcW0UwUAAAAAL4zYZyigh97pa73rz6jxmrSJR-a"; public String TAG = "Main Activity"; public String userResponseToken; Button btnRequest; @Override protected void onCreate(Bundle savedInstanceState) { super.onCreate(savedInstanceState); setContentView(R.layout.activity_main); btnRequest = (Button) findViewById(R.id.captcha_btn); } public void connect(View v) { SafetyNet.getClient(this).verifyWithRecaptcha(SiteKey) .addOnSuccessListener(this, new OnSuccessListener<SafetyNetApi.RecaptchaTokenResponse>() {
@Override public void onSuccess(SafetyNetApi.RecaptchaTokenResponse response) { // Indicates communication with reCAPTCHA service was // successful. userResponseToken = response.getTokenResult(); Log.d(TAG,"response "+userResponseToken); if (!userResponseToken.isEmpty()) { new Check().execute(); } } }) .addOnFailureListener(this, new OnFailureListener() { @Override public void onFailure(@NonNull Exception e) { if (e instanceof ApiException) { // An error occurred when communicating with the // reCAPTCHA service. Refer to the status code to // handle the error appropriately. ApiException apiException = (ApiException) e; int statusCode = apiException.getStatusCode(); Log.d(TAG, "Error: " + CommonStatusCodes
.getStatusCodeString(statusCode)); } else { // A different, unknown type of error occurred. Log.d(TAG, "Error: " + e.getMessage()); } } }); } public class Check extends AsyncTask<String, Void, String> { ProgressDialog progressDialog; @Override protected void onPreExecute() { super.onPreExecute(); progressDialog = new ProgressDialog(MainActivity.this); progressDialog.setCancelable(false); progressDialog.setMessage("Please Wait "); progressDialog.show(); } @Override protected String doInBackground(String... strings) { String isSuccess="";
InputStream is = null; String API="https://www.google.com/recaptcha/api/siteverify?"; String newAPI=API+"secret="+SecretKey+"&response="+userResponseToke n; Log.d(TAG," API " +newAPI); try { URL url = new URL(newAPI); HttpURLConnection httpURLConnection = (HttpURLConnection) url.openConnection(); httpURLConnection.setReadTimeout(8000 /* milliseconds */); httpURLConnection.setConnectTimeout(4000 /* milliseconds */); httpURLConnection.setRequestMethod("GET"); httpURLConnection.setDoInput(true); // Starts the query httpURLConnection.connect(); int response = httpURLConnection.getResponseCode(); progressDialog.dismiss(); System.out.println(response); is = httpURLConnection.getInputStream(); BufferedReader bufferedReader = new BufferedReader(new InputStreamReader(is)); StringBuilder stringBuilder = new StringBuilder();
String line; while ((line = bufferedReader.readLine()) != null) { stringBuilder.append(line).append("\n"); } String result = stringBuilder.toString(); Log.d("Api", result); try { JSONObject jsonObject = new JSONObject(result); System.out.println("Result Object : " + jsonObject); isSuccess = jsonObject.getString("success"); System.out.println("obj "+isSuccess); } catch (Exception e) { Log.d("Exception: ", e.getMessage()); e.printStackTrace(); progressDialog.dismiss(); } } catch (Exception e) { e.printStackTrace(); progressDialog.dismiss(); } return isSuccess;
} @Override protected void onPostExecute(String s) { super.onPostExecute(s); try { if (s != null) { switch (s) { case "true": return ; case "socketexception": return; } } } catch (Exception ex) { ex.printStackTrace(); } } } } LAUNCHING THE APP Now it’s time to launch our app by clicking the run button or we can use shift+10 in your android studio.
1. After clicking the run the app will be open on the device and you first observe the screen which is this way, having with one button CAPTCHA as shown above figure.
2. Tap on the button CAPTCHA, it will prompt the above screen as demonstrated that is checking you’re, not a robot.
3.Next, it will create another screen with demonstrating the pictures and requesting that the client select the predefined ones.
4. Select the specified images and click on the VERIFY button. CONCLUSION Thanks for reading this far, hope this blog will give you useful info to implement the captcha feature in your Android app. Keep reading and comment your queries in the comment section below. Connect with source url:- https://www.loginworks.com/blogs/add-captcha-android-app/