Download
1 / 16
160 likes | 167 Views
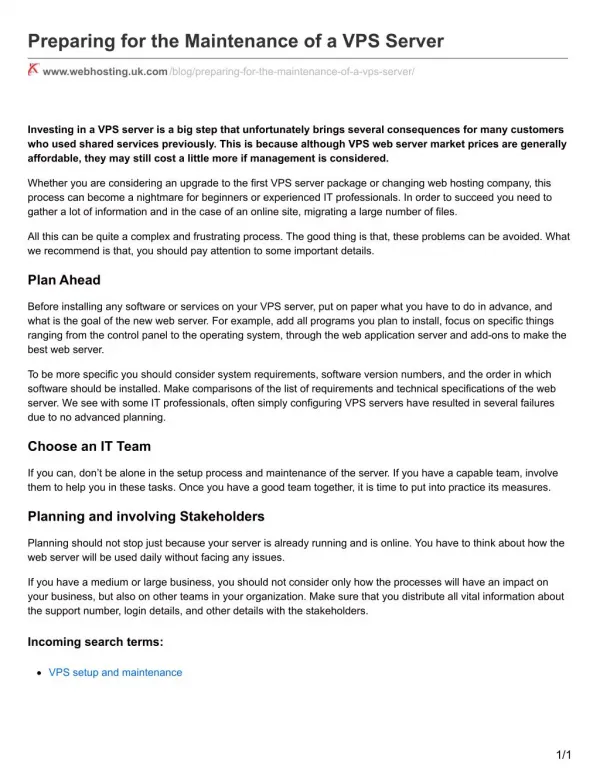
Learn how to access and configure the BIOS setup program, make necessary changes for specific situations, update and replace the BIOS chip. Includes instructions for floppy and hard drive configuration, boot order, plug and play settings, power management, and recovering from bad BIOS changes.

E N D
PC Maintenance: Preparing for A+ Certification Chapter 9: Working with the BIOS Setup Program
Chapter 9 Objectives • Identify the purpose of the system BIOS • Access BIOS Setup utilities • Know what settings to change in BIOS Setup for specific situations • Install a BIOS update • Replace a BIOS chip
BIOS • Basic Input Output System • Motherboard has a BIOS • Other devices may also have a BIOS (ex. printer, network router, video card) • Typically stored on a ROM or Flash RAM chip
CMOS • Complementary Metal Oxide Semiconductor • Type of RAM used for storing exceptions to BIOS settings • Powered by motherboard battery full-time
Accessing BIOS Setup • Watch for a message at startup telling which key to press
Exiting BIOS Setup • Refer to message onscreen for instructions • F10 is typical for saving changes • Esc is typical for discarding changes
Floppy Drive Configuration BIOS does not typically detect floppy drives
Hard Drive Configuration • Usually Plug-and-Play, but manual setup is possible; refer to label on disk drive
Boot Configuration • Set boot order (CD, Hard, Floppy, etc.)
Plug and Play • When Plug and Play OS is assumed, BIOS relinquishes control of many hardware resources • Reset Configuration resets BIOS assignments of resources from its own Plug and Play • Assign IRQ for USB support enables USB devices to work before OS loads
Integrated Peripherals • Legacy parallel and serial ports • Set addresses or enable/disable
Power Management • Can be configured in BIOS or in OS • OS is preferable if possible • Power management turned on in both places can result in conflicts
Recover from Bad BIOS Changes • Find reset jumper on motherboard • Change its position • Power system on for 5 to 10 seconds • Power system off • Reset jumper
Install BIOS Updates • Download update from manufacturer’s Web site • Check instructions on Web site • Many types of updaters • Command line utilities • Windows-based utilities • Boot disks
Replace BIOS Chip Pull chip with chip puller tool