Download
1 / 11
110 likes | 141 Views
CREATE PROJECT. Module Table of Contents Create Project Initiate Study Project Create Pre-Scoping Project (Project Information) 1 Create Pre-Scoping Project (Project Information) 2 Create Pre-Scoping Project (Community Information) Create Study Project (Project Information) 1

E N D
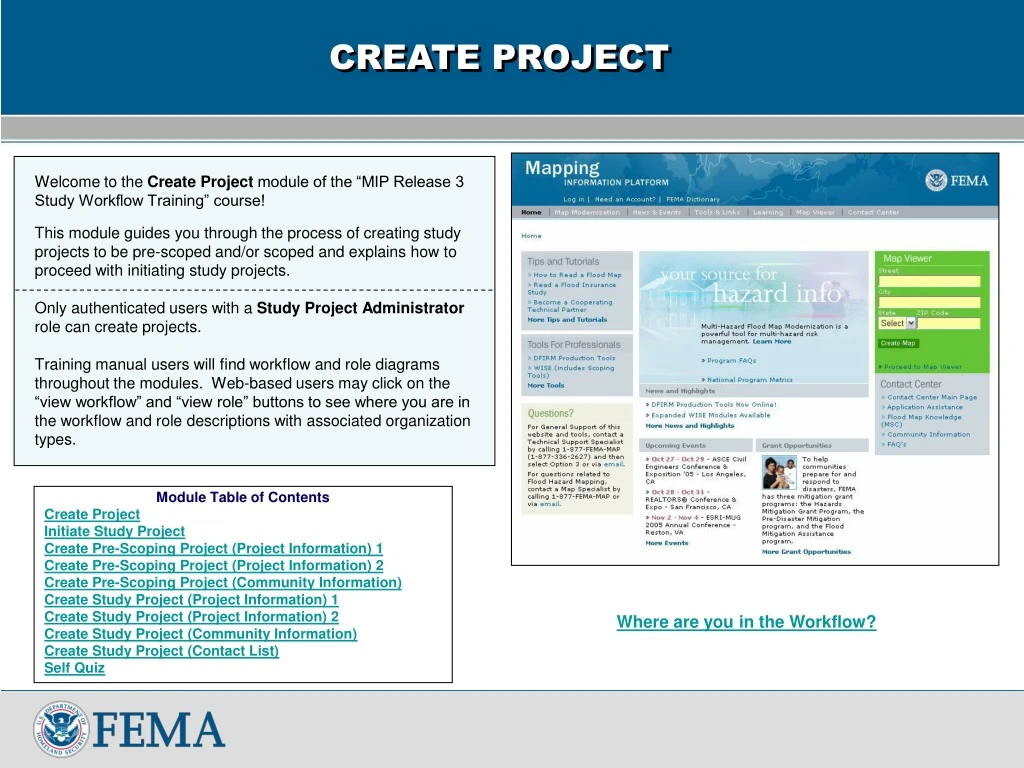
CREATE PROJECT Module Table of Contents Create Project Initiate Study Project Create Pre-Scoping Project (Project Information) 1 Create Pre-Scoping Project (Project Information) 2 Create Pre-Scoping Project (Community Information) Create Study Project (Project Information) 1 Create Study Project (Project Information) 2 Create Study Project (Community Information) Create Study Project (Contact List) Self Quiz Welcome to the Create Project module of the “MIP Release 3 Study Workflow Training” course! This module guides you through the process of creating study projects to be pre-scoped and/or scoped and explains how to proceed with initiating study projects. Only authenticated users with a Study Project Administrator role can create projects. Training manual users will find workflow and role diagrams throughout the modules. Web-based users may click on the “view workflow” and “view role” buttons to see where you are in the workflow and role descriptions with associated organization types. Where are you in the Workflow?
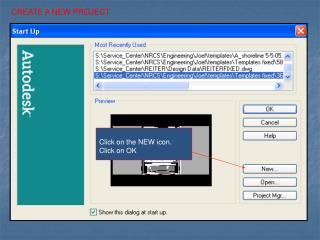
Create Project CREATE PROJECT Study Project Administrator Create Project Tab Need to create a study project?… To create a new study project, select the “Create Project” tab under Workbench. Select the “Studies” tab to create a study project. This will initiate the study workflow. Note: Studies are typically large mapping projects which include re-study work, physical map revisions, DFIRM conversions, and new mapping projects. Throughout this module the role performing the activity and a numerical or descriptive identifier for the screen are displayed in bold on the bottom left and right hand corners of the screen shot to the right.
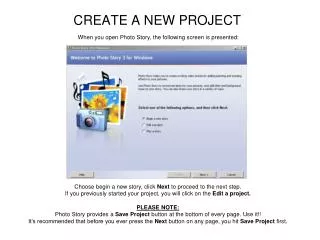
Initiate Study Project CREATE PROJECT The Study Project Administrator has two options when initiating a study project. If the project is going to be pre-scoped, select “Pre-Scoping.” Select “Study” to proceed directly to scoping the project. The FEMA “Region” drop-down list allows the user to select any of the 10 FEMA Regions. The drop-down is pre-populated based on the user’s regional geography (from the user registration list). For example, if a Study Project Administrator’s geography only includes Region 2, “2” will be pre-populated for “Region.” Reminder: Online Help content provides assistance to users and is available throughout the MIP. Study Project Administrator SS00 Create Project ROLE: Study Project Administrator Description of Role: Responsible for initiating new projects (i.e., entering all required information about project geography, responsible organization, cost, and schedule) and updating the cost and schedule information throughout the project. Organization Type: ModRMC, ModHQ, FEMARegion, or FEMA HQ could register to do this task. SS00Initiate Study Project Decide if you want to pre-scope the project (then go to SS01), or jump right to scoping (then go to SS02).
Create Pre-Scoping Project/Project Information CREATE PROJECT Study Project Administrator SS01 To create a pre-scoping project, enter a “Project Name” (e.g. “County (flooding source or multiple flooding sources)” or “Basin (community name or multiple communities)”) which will carry through for the life of the study project. The “Start Date,” “End Date,” and “Negotiated Cost $” refer to the pre-scoping task, not to the full study project. Select the type of organization (e.g. CTP) and the organization performing the pre-scoping work. Correct selection of “Organization Type” and “Organization Name” ensures the pre-scoping task is routed to the Work Item List of all potential Pre-Scoping Task Lead(s) of that organization. Create Project ROLE: Study Project Administrator Description of Role: Responsible for initiating new projects (i.e., entering all required information about project geography, responsible organization, cost, and schedule) and updating the cost and schedule information throughout the project. Organization Type: Continuation of SS00.ModRMC, ModHQ, FEMARegion, or FEMA HQ could register to do this task. SS01Create Pre-scoping Project (then go to SS03)
Create Pre-Scoping Project/Project Information CREATE PROJECT Study Project Administrator SS01 (Continued) If the organization for which you are trying to assign pre-scoping work is not available in the Organization Name drop-down list, that organization has not yet registered users in the MIP. You should contact MIPHelp and provide the appropriate list of users and accompanying registration information for users in that organization. Reminder:Contact MIPHelp at miphelp@mapmodteam.com or call 1-877-FEMA-MAP (1-877-336-2627), select option 2, to sign up for an account or to verify your account information.
Create Pre-Scoping Project/Community Information CREATE PROJECT Study Project Administrator SS01 Define the study area to be pre-scoped by selecting a “State,” “County,” and “Community” or by typing the Community Identification number (CID) of the study area. Selecting “county-wide” from the “Community” drop-down will enter all communities and the unincorporated areas into the MIP. Once the information entered has been reviewed and the “Complete Task” button has been clicked for the “Create Pre-Scoping Project” task, the pre-scoping project number will be assigned. Pre-scoping project numbers will have a suffix of “T.” For all study workflow tasks, there will be a Review screen (where all task information entered can be reviewed) and a Complete Task screen.
Create Study Project/Project Information CREATE PROJECT Study Project Administrator SS02 If the Study Project Administrator selected “Study” as the Project Type when initiating the study project, this “Create Study Project” screen would be the next screen that appears. Enter a “Project Name” (e.g. “County (flooding source or multiple flooding sources)” or “Basin (community name or multiple communities)”) which will carry through for the life of the study project. The “Start Date,” “End Date,” and “Scoping Negotiated Cost” information refers to the scoping task, not to the full study project. Create Project ROLE: Study Project Administrator Description of Role: Responsible for initiating new projects (i.e., entering all required information about project geography, responsible organization, cost, and schedule) and updating the cost and schedule information throughout the project. Organization Type: Continuation of SS00.ModRMC, ModHQ, FEMARegion, or FEMA HQ could register to do this task. SS02Create Study Project (from SS00 - then go to SS06)
Create Study Project/Project Information CREATE PROJECT Study Project Administrator SS02 (Continued) Select the type of organization (e.g. CTP) and the organization performing the scoping work. Correct selection of “Organization Type” and “Organization Name” ensures the scoping task is routed to the Work Item List of all potential Scoping Task Lead(s) of that organization. If the organization for which you are trying to assign scoping work is not available in the Organization Name drop-down list, that organization has not yet registered users in the MIP. You should contact MIPHelp and provide the appropriate list of users and accompanying registration information for users in that organization.
Create Study Project/Community Information CREATE PROJECT Study Project Administrator SS02 Define the study area to be scoped by selecting a “State,” “County,” and “Community” or by typing the Community Identification number (CID) of the study area. Selecting “county-wide” from the “Community” drop-down will enter all communities and the unincorporated areas into the MIP. Note: Multiple area projects can be created in the MIP. The areas remain grouped together through the end of the Data Development process, at which time they split into ‘sub-projects’. The sub-projects track the political boundaries being mapped (e.g. the boundaries of a countywide map). The most common application of multiple area projects is a watershed-wide project which encompasses multiple countywide maps.
Create Study Project/Contact List CREATE PROJECT Enter the names of the project contacts and provide phone numbers, email addresses, and mailing address information in the free text fields. None of these fields are required. This information will only appear in certain reports. Once the information entered has been reviewed and the “Complete Task” button has been clicked for the “Create Study Project” task, the study project number will be assigned. Study project numbers will have a suffix of “S.” Take the time to complete the short Self Quiz on the following page before proceeding to the next training module. Study Project Administrator SS02
Self Quiz CREATE PROJECT Self Quiz 1. Any authenticated MIP user can create study projects. True or False 2. When creating a study project, the Project Name entered will remain for the life of the study project. True or False 3. The negotiated cost information entered when creating study projects refers to the cost of the full study project. True or False This concludes the Create Project module of the “MIP Release 3 Study Workflow Training” course. Please proceed to the next module in the course, Manage Pre-Scoping. Answers: 1. False, 2. True, 3. False