Download

1 / 25
310 likes | 473 Views
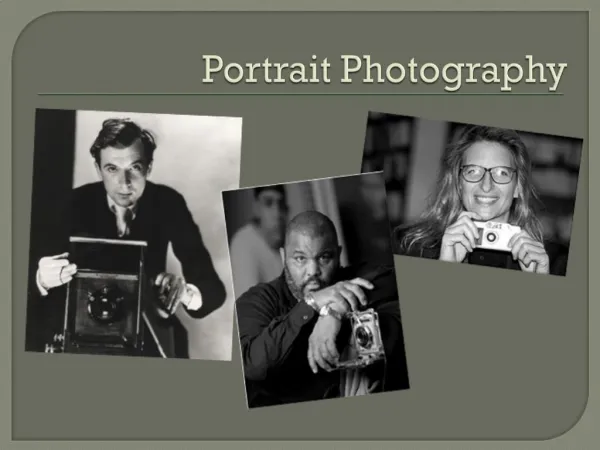
Portrait Photography. LENSES AND HOW THEY ARE DIFFERENT. Super wide angle (Fisheye) (10mm, 15mm ) Wide angle Standard (18mm-55mm)used for landscapes FIXED/PRIME LENS- SPECIFIC mm 55mm, 85mm Telephoto (zoom) - 70mm+ Used for portraits and distance shots.

E N D
LENSES AND HOW THEY ARE DIFFERENT • Super wide angle (Fisheye) (10mm, 15mm) • Wide angle Standard (18mm-55mm)used for landscapes • FIXED/PRIME LENS-SPECIFIC mm 55mm, 85mm • Telephoto (zoom) -70mm+ Used for portraits and distance shots
PHOTO SYTLES BASED ON LENS FISH EYE 10MM-15MM WIDE ANGLE- 18MM-70MM TELEPHOTO- 70MM+
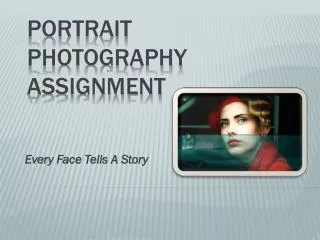
Portrait and People Photography Photographs that show the expression of a human most likely using their face as the main focal Point DO NOT CUT OFF LIMBS FEET,HANDS, ELBOWS
Get Close - Big mistake is not getting close enough to your subject. Get close, fill the frame with your subject!
Settings - Settings and scene can really add emotion to a portrait. Settings tell us information about the people and their way of life
Separate subject and background • Using a lower DOF allows you to isolate your subject. Separate the subject from the background to highlight the focal point of your image • This doesn’t necessarily mean setting your aperture to the lowest number possible, rather to a lower number (5.4-11) to give your subject separation from the background • Pull your subject away from background to minimize distraction of background…or you as the photographer step back and ZOOM in on subject.
Props - Props help to give the photographs a life and tell us more about the subject. Include props but don’t let them become the main focus of the portrait.
Lighting • Make sure the lighting ADDS to the photograph rather then subtracts. Lighting can make or break a photograph. • Shoot FROM the source of your light to fill in faces • Shoot in early morning or towards end of day for nice soft diffused light. Mid day light is way to harsh and high to effectively fill out facial features
Lighting – Silhouettes • Shoot into the light. First meter for the light source itself (set SS/Aperture) then focus on your subject and release shutter. • Make sure subject blocks the source of light • Point shoot cameras-adjust lighting by adding negative exposure • On dSLR cameras- meter lighting first then lower exposure to negative
Change your angle • You can minimize distractions in your photographs by switching up your angle • Different angles can really change the mood and meaning of a photograph
Work/Life/Candid - Don’t tell your subject to pose. Rather be unobtrusive and photograph them doing what they do. A posing smiling person is not always the best.
Assignment Requirements 4 Portraits • Backlit/ Silhouetted • Waist and above • Close up/Head Shot • Work/Life/Candid • Shoot RAW or RAW+Jpeg • Point & shoot cameras place on PORTRAIT setting • dSLR place on MANUAL and adjust lighting • Reference Photos 6 to 8 photos of ideas for portrait photo shoot Jan.14th-Bday and Jan 15th-Aday • 1-35 picture contact sheet include 8 to 9 of each portrait style due • Contact sheet due ADAY-JAN 21st and BDAY-JAN 22nd
1. Backlit/ Silohetted • Subject will be completely black • Having the subject being involved in an action or a pose of some sort will most likely enhance the photo..separate the extremities from the body • How • Meter for sky, set shutter speed + apature • Then compose shot, subject will be very underexposed • Make sure subject blocks the light source
2. Waist and above • Setting is key on this one. • Either choose a setting that will add to the photograph OR • Find a very neutral setting • Separate subject from setting with lower DOF
3. Close up/Head Shot • Get just the shoulders and above • This is the Hollywood headshot. • Make sure your lighting allows you to fill out all facial features…USE NATURAL LIGHTING! • Fill your frame with the subject
4. Work/Life/Candid • Capture a shot showing a person in their natural setting • Doesn’t necessarily need to fill the frame as the setting and the props will add to the setting • Higher DOF might be helpful as the scene should add to the person in their natural setting