1 / 19

Furniture Installation Guide: Back Panel, Columns, Glass, Seals, and Handles

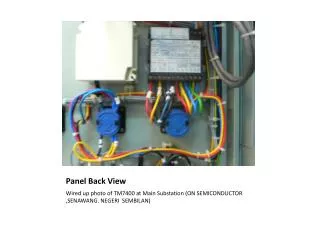
This guide provides step-by-step instructions on how to install the back panel, columns, glass, seals, and handles for a furniture piece. Follow the provided instructions to ensure a successful installation process.

Download Presentation

Furniture Installation Guide: Back Panel, Columns, Glass, Seals, and Handles

An Image/Link below is provided (as is) to download presentation Download Policy: Content on the Website is provided to you AS IS for your information and personal use and may not be sold / licensed / shared on other websites without getting consent from its author. Content is provided to you AS IS for your information and personal use only. Download presentation by click this link. While downloading, if for some reason you are not able to download a presentation, the publisher may have deleted the file from their server. During download, if you can't get a presentation, the file might be deleted by the publisher.

E N D

Presentation Transcript


  1. Install the back panel ,with 5*25mm screw, 4 pcs

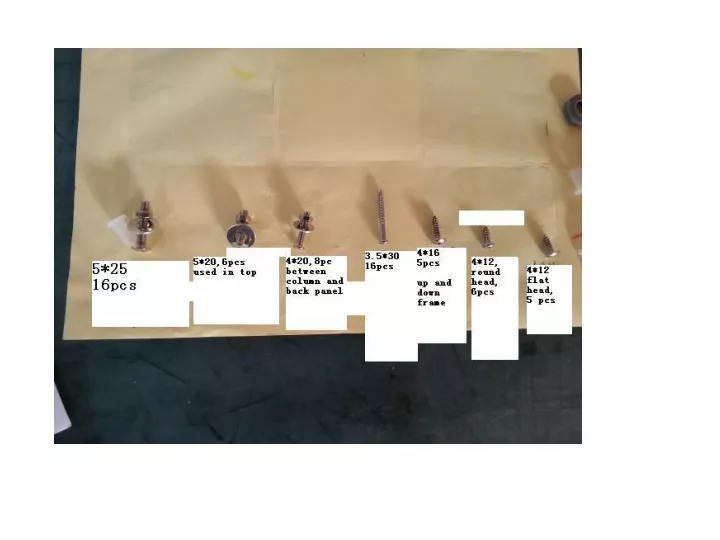
  2. Remember to put in the seal 5*25mm screw,4 pcs

  3. Fasten the column with panel, 4*20mm screw,4 pcs

  4. 4*16mm round head screw, 3 pcs

  5. 2 pcs up 3.5*30mm screw 2 pcs down

  6. Top frame 4*12mm flat head screw Install this alu part and top frame

  7. 3.5*30mm screw

  8. Install the side column 4*12mm flat head screw

  9. Make the frame of this glass

  10. 3.5*30mm screw Install another column

  11. Put on the cover with 5*20mm screw,11 pcs

  12. Install two glass

  13. Install the door glass Put the smaller wheel into the small hole

  14. Hang the door glass

  15. Install the lower wheel

  16. Install the seal and handle seal Magnetic seal

More Related