Download
1 / 20
200 likes | 207 Views
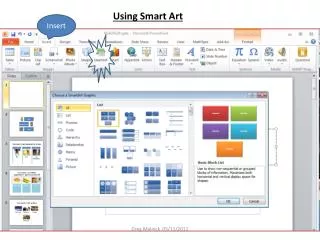
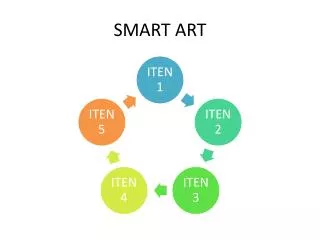
Insert Smart Art Graphic. Click Insert SmartArt Graphic icon on the slide (or) Click Insert tab Choose Smart Art SmartArt dialog box will appear Choose require type in the SmartArt box Click OK. Consider When Choosing a Smart Art. Insert Picture from File.

E N D
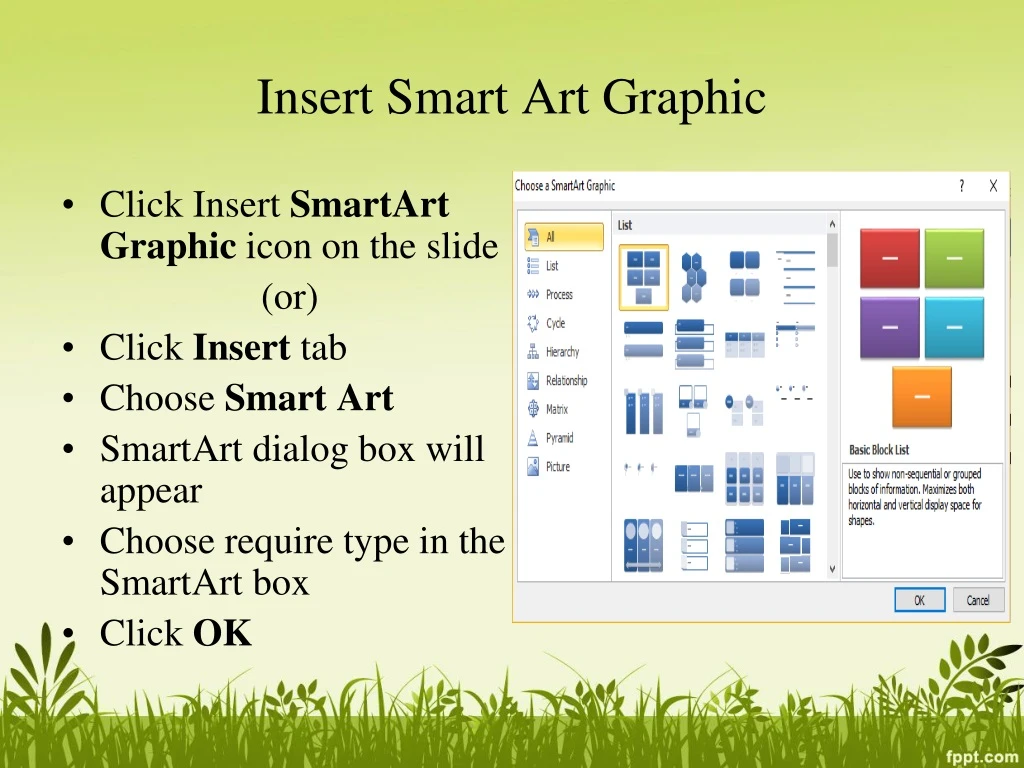
Insert Smart Art Graphic • Click Insert SmartArt Graphic icon on the slide (or) • Click Insert tab • Choose Smart Art • SmartArt dialog box will appear • Choose require type in the SmartArt box • Click OK
Insert Picture from File • Click Insert Picture from File icon on the slide (or) • Click Insert tab • Choose Picture • Insert Picture dialog box will appear • Locate the image file from the folder to where it is saved. • Click Insert button
Format the Picture • Select the picture that you want to change format • Click Format tab • Choose desired format
Insert Clip Art • Click Insert Clip Art icon on the slide (or) • Click Insert Tab and Choose Clip Art • Clip Art Task Pane dialog box will appear on the right of screen • Type text in the Search For box • Click Go • Click desired picture
Insert a Header and Footer Go to “Insert” then “Header and Footer” This dialog box allows you to add a date and time on the slide.
Cont’d • You can also add date and time, slide number
Insert Movie & Sound • Click the movie icon on the slide (or) • Click Insert Tab • Click Movie in Media Clips group • Insert Movie Dialog box will appear • Locate the media file where it is saved • Click Open Button
Drawing Shapes utycc.moe.edu.mm monywauni.moe.edu.mm myeikuni.moe.edu.mm cumdy.moe.edu.mm tumdy.moe.edu.mm …….. MOE Portal www.moe.gov.mm www.moe. edu.mm www.moe-st.gov.mm dhe.moe.gov.mm dbe.moe.gov.mm dae.moe.gov.mm dmnl.moe.gov.mm dtpc.moe.gov.mm …….. mail.moe-st.gov.mm staff.moe-st.gov.mm library.moe-st.gov.mm ……..
Insert Transitions Between Slides • Slide Transitions are the animation-like effect that occur in Slide Show view when you move from one slide to the next. • You can control the speed of each slide transition effect, and you can also add sound
Slide Transitions Go to the “Transitions” ribbon or Animations Tab Select desired Transition from toolbar
Custom Animation • Select the text or image that you want to create custom animation • Click Animations Tab • Click Custom Animation in Animations group • Animation Task Pane box will appear on the right of screen • Choose animation from Entrance, Emphasis, Exit, Motion paths
Rearrange Slides • To move a slide, click on the slide thumbnail in the left column • Drag and drop the slide at the desired location. • To move consecutive slides at one time, click and hold the Shift key as you select the slides you want to move. • Drag and drop the slides at the desired location.
Remove Custom Animation • Select the effect that you want to remove • Click Remove button in the task pane
Preview a Presentation • Go to the “Slide Show” • Select the point in the slide show that you would like to begin viewing. • From beginning • From current slide • The shortcut key is F5
Print the Presentation • Click Office Button or File • Click Print and Quick Print • Shortcut Key Ctrl+P • Print Dialog Box will appear
Print Handouts 2010 • Select “File” then select “Print” • A dialog box appears that allows you to change the printer and select the number of copies to be printed. • You can also select to print handouts of the slideshow.