Download
1 / 6
60 likes | 61 Views
Skip your everyday jewellery designs and astonish everyone by creating some eye-pleasing ladies' jewellery pieces with clay.t

E N D
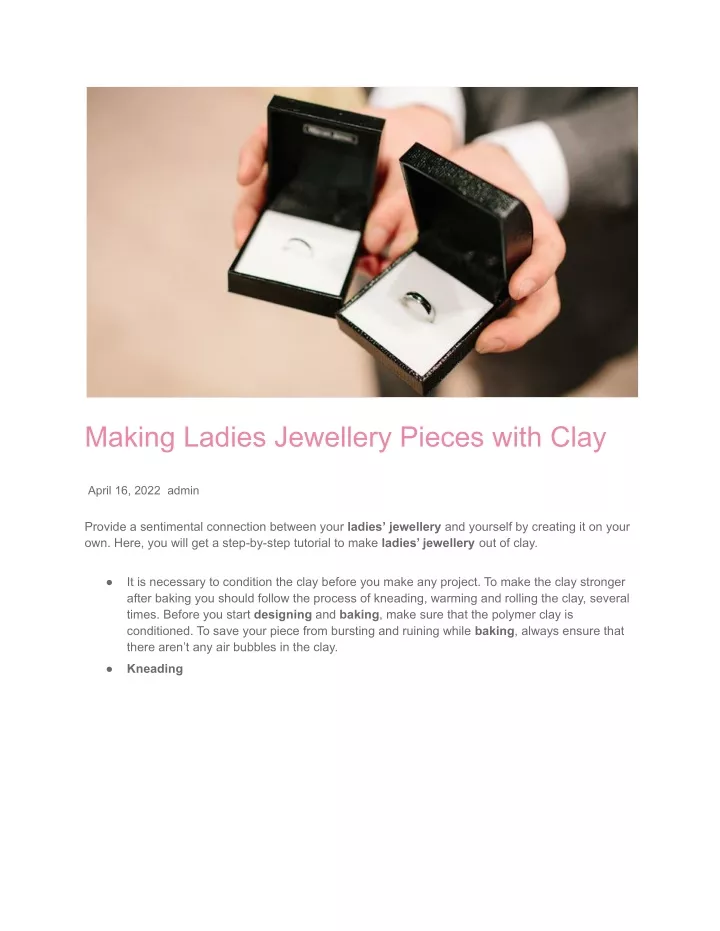
Making Ladies Jewellery Pieces with Clay April 16, 2022 admin Provide a sentimental connection between your ladies’ jewellery and yourself by creating it on your own. Here, you will get a step-by-step tutorial to make ladies’ jewellery out of clay. ● It is necessary to condition the clay before you make any project. To make the clay stronger after baking you should follow the process of kneading, warming and rolling the clay, several times. Before you start designing and baking, make sure that the polymer clay is conditioned. To save your piece from bursting and ruining while baking, always ensure that there aren’t any air bubbles in the clay. ● Kneading
source: Royi Sal Jewelry Team For making ladies’ jewellery set out of clay, begin by playing with the clay. From your pack, pinch off a piece of clay that is the right size for making your ladies’ jewellery set. Kneading the clay between your thumb and first two fingers will help soften the clay as you work with it. ● Rolling After the clay has turned soft, roll the clay into an even, smooth ball between your fingers. ● Twisting the Clay to Make Women’s Jewellery Sets Once the ball turns smooth, roll it out on a clean, flat surface into a snake-like length. Double the length, hold each end and twist the clay into a doubled rope form. ● Warming the Clay
To get warm and glossy clay, roll the twisted coil into a ball between your hands. Further, roll the ball into a coil, repeating the twist, and then back into a ball. ● Rolling Out Take a couple of minutes break and then roll the clay out with the roller to the desired thickness of your ladies’ jewellery set. Make sure that you roll on a clean surface, such as your cutting mat or parchment paper. ● Sticky Stuff If the clay starts to stick to your work surface or the roller, use the roller after applying a little alcohol. Let the clay dry for a couple of minutes. ● Piercing A toothpick or stylus can be used to pierce holes and add patterns to the surface of the clay prior to firing. Push the stylus needle into the clay to leave a pattern or a round impression on the surface. When the tip reaches the work surface, rotate the stylus very slightly to widen the holes. ● Placing an Image Trim the transfer paper that has the image to the correct size for your ladies’ jewellery set and place the face on the clay. To ensure contact between the paper and the clay, burnish lightly with your ring finger. ● Wetting Soak a paintbrush with water and brush lightly over the back of the paper, saturating the paper. You will see the image appear through the paper. To maintain contact, place something lightweight on top of the paper, such as a pack of cards. Keep it aside for 5 minutes, then brush over the image with water again. Let it dry for a further 10 minutes. ● Revealing Image To reveal the transferred image on the clay that you are using to make women’s jewellery sets, carefully remove the backing paper, lifting it squarely. ● Trimming
To trim a shape from clay, use a sharp craft knife and a straight edge ruler on a cutting mat. Most of the mats come with ruled divisions to help you judge straight lines and achieve right-angled corners. ● Using Shape Cutters You can use the clay in a variety of ways once it is ready. A cookie-cutter is an ideal choice to create shapes that can be baked or embellished further on ladies’ jewellery. ● Using a Stamp Use special stamps or any object with a raised and patterned surface to make impressions in clay and create molds. Prepare the clay by rolling out to the desired thickness and ensure that the stamp is clean before use. ● Making an Impression on a Ladies’ Jewellery Set source: Royi Sal Jewelry Team
Push the stamp into the clay surface, deep enough to cover the detailing around the borders and then, lift the stamp away to reveal the impression. The clay can be embellished, trimmed and baked further, as per the requirement. ● Smooth Operator To remove fingerprints from women’s jewellery sets, gently smooth the clay with your ring finger. If you find fingerprints after baking, sand them smooth by using 600 or 800 grit sandpaper dipped in water. Sand before glazing and in a single direction for best results. Do not sand transferred image areas. Recommendations on the Best Type of Clay for Making Women’s Jewellery Sets The best brands of polymer clay for making women’s jewellery sets are Sculpey Premo, Fimo Professional and Kato Polyclay. You can consider Sculpey Souffleif if you want a softer clay with a matte finish. Try Cernit if you want translucent and speciality colours. In case you want to stick to just one brand, start with Premo. It is widely available in stores and online and it has a nice medium firmness that works well for ladies’ jewellery sets. 1. Sculpey Premo It is best suited for new artists because it performs well in a variety of projects. Not only is it a medium firmness clay that is easy to work with but it also retains fine detail. Premo is ideal for learning how to make women’s jewellery sets and is well-loved for its strength and flexibility. 2. Kato Polyclay It is a professional level polymer clay developed by artists for making ladies’ jewellery sets. It is more firm than Premo and a little less firm than Fimo Professional. Its firmness is ideal for holding detail and sharp lines though it can take a little longer to condition this clay. 3. Fimo Professional Fimo Professional will hold detail well as it is considered one of the stiffer polymer clays. When you first take it out of the packaging, it can be hard and crumbly but don’t give up. You will fall in love working with it, after a little conditioning.
Create a mini ladies’ jewellery kit to keep all your jewellery pieces intact, including the ones mentioned above. At Hunar Online, you will get access to detailed video lessons and can learn from anywhere. You will get 24/7 faculty support and a chance to learn from the experts of the industry. You can also watch our trial classes and get a glimpse of our courses. You can start learning your favourite course by downloading the app. Also Read: South Indian Jewellery Design: 10 Famous Necklaces So, what are you waiting for? Join Hunar Online Courses and do what you always wanted to do.