Download

1 / 21
220 likes | 432 Views
Bridge Project: Team Truss-Arch. By Laila Dingwall, Casey Byers, Katie Glore, and Kyle Fowler. Outline. Introduction Prototype Construction Testing Final Design Construction Testing Evaluation and Conclusion. Efficient Meet Constraints. Goals. 8in. 19in. 2.5in. 16in.

E N D
Bridge Project: Team Truss-Arch By Laila Dingwall, Casey Byers, Katie Glore, and Kyle Fowler
Outline • Introduction • Prototype • Construction • Testing • Final Design • Construction • Testing • Evaluation and Conclusion
Efficient Meet Constraints Goals 8in 19in 2.5in 16in
Prototype Testing Component Analysis
Component: Compression • Keep depressors short for more strength • Longer members fail under less weight • Make sure to pick stronger depressors from box when selecting
Prototype Testing Prototype Analysis
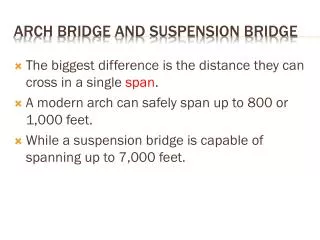
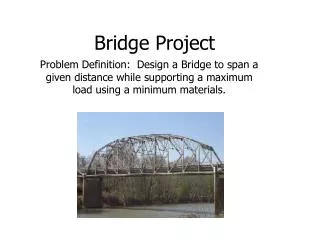
Research • The design of the arch of the Fremont Bridge (Portland, OR) inspired the design of the top and bottom arches • From various truss structures it was noticed that all utilize triangles. • This knowledge helped in the connecting of the arches together Construction of the Fremont Bridge, 1973 Above photo courtesy of the Office of Auditor, City of Portland
Designs Solid Arch Arch with String Support Truss Arch
Prototype Testing Prototype Performance
Testing Process Prototype Weight: 0.712 lbs Anticipated Load: 100 lbs Prototype Maximum Load: 165 lbs Prototype Efficiency: 232
Why the Prototype Failed • Notice how the bridge is not squarely on the jig • This caused it to slip off
Design Sheet
VS 137% Increase
Failure Points
Conclusion • Arch bridge used to distribute the weight to the ends of bridge and to the jig. • Diamonds were used on the top of bridge was used to push pressure to the arches. • Internal X structure used to keep it from collapsing at the point of pressure. • Precise measurements were made to see that the bridge was built to fit perfectly into the jig.
Conclusion • Bridge failed both times on the ends and started to buckle at the diagonal connectors. • Shorter sticks could have been used for the connectors. • Glue other then the hot glue could have been used for joint strength. (Time was the reason for initial use.) • More reinforcements to keep the arches from bending.