Download
1 / 13
130 likes | 138 Views
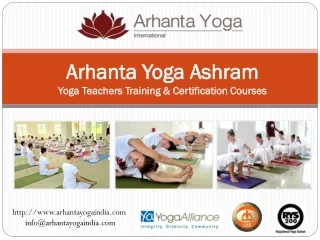
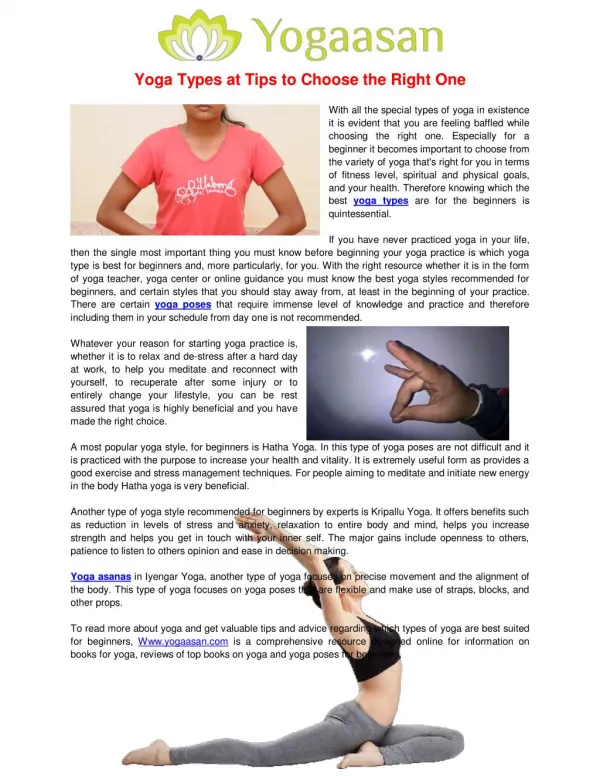
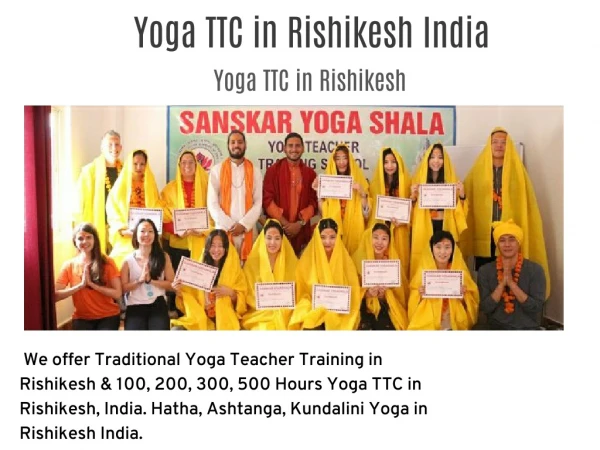
Sri Yoga Ashram, Yoga school in Rishikesh offers Yoga teacher training course which is quite intensive and affordable and available in residential and non-residential manner. We also offers various benifits with our 200hrs Yoga TTC.

E N D
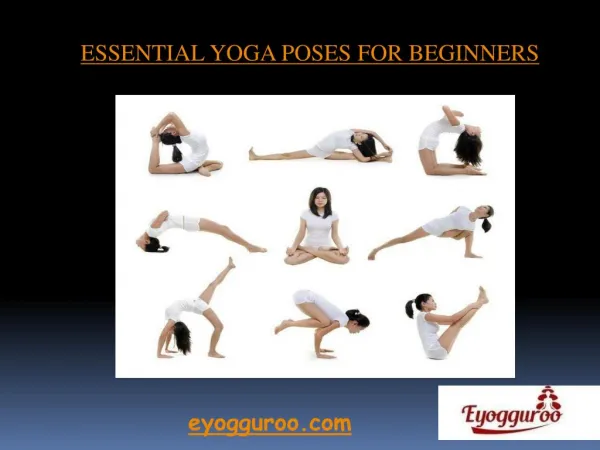
Intensive Yoga Poses Ashtanga Yoga…..
Intensive Yoga Poses Ashtanga Yoga…..
STEPS : • 1. First sit in the Lotus Pose (Padmasana). • 2. Put your arms in-between the gape of your thighs and calf muscles, and your palms should touch the ground or floor through this gape. • 3. Now spread out your fingers, pointing forward. • 4. Push your palms as much as possible. After that, breathe in while you try to lift your body. • 5. You have to support your body weight by your palms. By daily practice, you will gain the ability to achieve balance. • 6. Hold the Position for 1 to 5 minutes and breathes normally. • 7. Breathe out and release the pose and get back to the ground. • 8. As per your convenience repeat the pose as much as you can.
BENEFITS : • 1. It stretches your Arms, spine and strengthens your shoulders, Elbows and wrists. • 2. Makes your chest broader. • 3. Loosened up your legs. • 4. This asana develops balance and strength furthermore increases your concentration level. • 5. The perineum contracts amid this asana, in this manner, the muscles are reinforced. • 6. This asana enacts and manages the Muladhara Chakra. • 7. Invigorates your digestive system. • 8. Stimulates the digestive system. • 9. Beneficial in menstrual discomfort and hip pain.
STEPS : • 1. Sit in the Padmasana (Lotus Pose), Keep your feet high on your thighs, just close to the groin. • 2. Place your right arm behind to your back and reach round till your right hand is close to the left hip. • 3. Now bow forward a little; twist your trunk to your right side and try to grasp the right thumb of toe, resting on the left thigh firmly with the index finger and the middle finger. • 4. Sit straight and remain in the position for a few seconds. • 5. Equivalently, place your left arm behind your back; crossing your right arm and try to reach round till your left hand is close to your right hip. • 6. Now bend forward a little. Twist your torso to the left and bring your shoulder blades together, try to grasp the left thumb of toe, resting on the right thigh firmly with the forefinger and the middle finger. • 7. Sit straight and remain in the position for a few seconds. • 8. Try to keep your head, neck and spine straight. Your knees should press the ground. • 9. Look straight forward and breathing normally.
BENEFITS : • 1. Make your legs flexible. • 2. It stretches the joints of shoulders, wrists, back, elbows, hips, knees, ankles and makes them more flexible. • 3. Beneficial in the shoulders and back pain. • 4. It improves the posture of the spine. • 5. It increases the range of the shoulder movements. • 6. It is beneficial in constipation and improves the functions of digestive system. • 7. Daily practice of this Asana is beneficial in Arthritis. • 8. Helps to make your spine straight.
STEPS : • 1. Lie down on your back on the yoga mat. Bend your knees with feet on the ground or Yoga mat. • 2. Breathe in along with slightly raise your pelvis off from the ground. At this time slide your hands with palms facing down under your hips. • 3. Relax your hips (Butts) on your hands. Remember that not to lift your hands throughout the process (keep your hands firmly on the ground palms facing down). • 4. Keep your forearms with little-lifted elbows near to the side of your mid-section (Torso). Breathe in along with push your elbows & forearms strongly against the ground or floor. Then, push your shoulder blade to your back when you breathe in and raise your upper section (upper torso). Keep your head far from the ground/floor. • 5. Now, Relax your head by placing on the ground and make an arch by your back as well as raise your chest also. Keep on your mind don’t rest your head completely on the ground try to place your crown part on the floor. But keep very less amount of weight on your crown (head), for avoiding lots of pressure on your neck part. • 6. You may also straighten your legs or bend your knees on the ground for your comfort. Hang on in the Pose around 30 to 60 seconds.
BENEFITS : • 1. The fish pose build your neck and upper back muscles stronger. • 2. Matsyasana gives calmness to your mind, decreasing the level of anxiety, stress, depression, and fatigue. • 3. Matsyasana is good for improving your posture. • 4. Stretches and tones your abdominal region. • 5. It also stretches the hip flexors. • 6. The fish pose gives relief in mild back pain. Corrects the issue related to stomach like constipation. • 7. It stretches and strengthens your chest, by which fish pose is best for respiratory problems. • 8. According to the text, the fish pose kicks out all general issues from your body. • 9. Lower down the pain during Menstrual in women.
https://sriyogaashram.com sriyogaashram@gmail.com