Download
1 / 40
400 likes | 408 Views
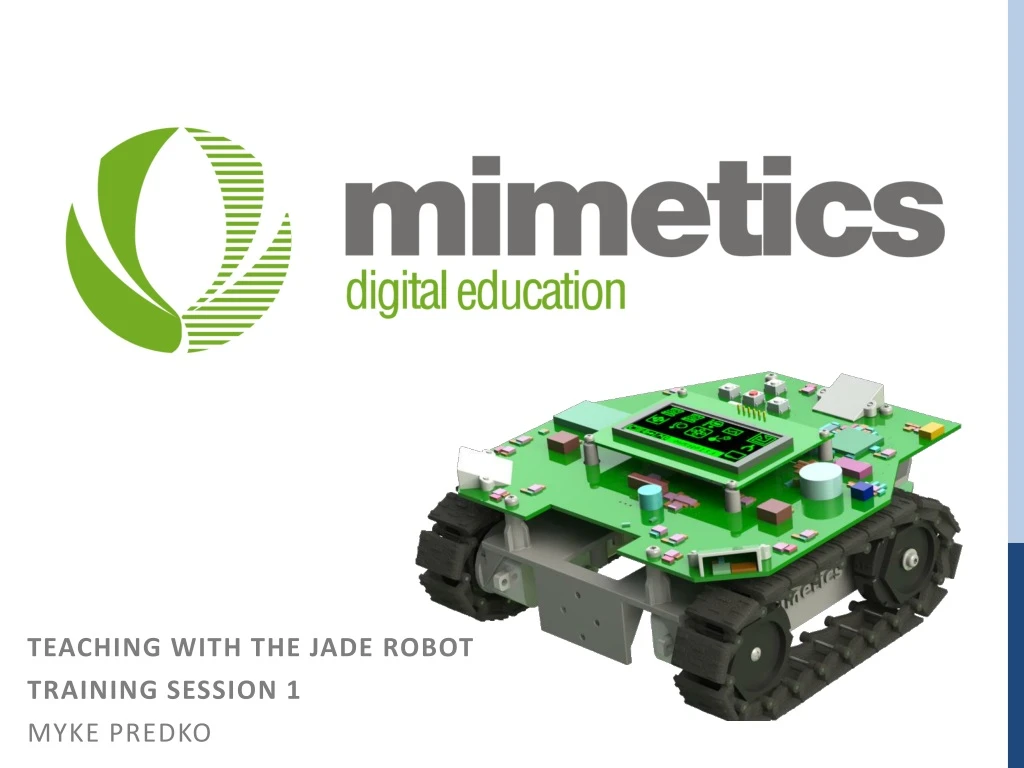
Mimetics Canada. Teaching with the Jade Robot Training Session 1 Myke predko. about the Jade Robot. The Jade Robot is a Differentially Driven Mobile Robot The Jade Robot is Powered by a Rechargeable Battery Battery life is 8+ hours The Jade Robot has the following “All Aspect” sensors:

E N D
Mimetics Canada Teaching with the Jade Robot Training Session 1 Myke predko
about the Jade Robot • The Jade Robot is a Differentially Driven Mobile Robot • The Jade Robot is Powered by a Rechargeable Battery • Battery life is 8+ hours • The Jade Robot has the following “All Aspect” sensors: • Object Detection and Ranging • Light Levels • The Jade Robot has a Spectrometer and Line Sensor on the Bottom • There is an OLED based User Interface • Not a Touch Screen but uses Five Buttons for Navigating Apps and Selecting • On the User Interface are a Variety of Demonstration Applications • Programming Scratch & C is Accomplished using a Chrome Extension • Students login with their Microsoft Student Accounts • No Student data is Saved or Accessible outside the Chrome Extension
What makes a Robot? A robot can do more than one task. A robot uses sensors to determine what to do next.
Required Background for Teachers • Computer Operation with • GUI Interface Using Mouse or Trackpad • Google Chrome Browser • Google Classroom Login or Microsoft Login • Integer Math Operations • Addition, Subtraction, Multiplication, Division with Remainder • Integer Math Comparisons • Equals, Not Equals, Less Than, Less Than or Equals to, Greater Than, Greater Than or Equals to • Plotting Two Dimensional Arrays • Basic Time and Motion Concepts • 1000 milliseconds (ms) = 1 second • Distance = Velocity * Time
Top of the Jade Robot Expansion Adapter Front Left Object/Light Sensors Camera Port Front Right Object/Light Sensors I2C Expansion Port I2C Expansion Port Speaker Bluetooth Adapter OLED Display Reset on Jade Robot 1.5 USB Charging Port User Interface Buttons (Down Button to Wake Up) Rear Object/Light Sensors
Bottom of the Jade Robot Servo Ports Spectrometer & Line LEDs and Sensors Charging LEDs (on Other Side with Jade 1.5)
Getting Started Press and Hold the “Down” Button to Wake up the Robot • Navigate with the Up/Down/Left/Right Buttons • Select Activities with the Middle Button • Will have the “Main” Panel with Demonstration Apps
Experiment with Basics • Spectrometer: • Test Different Materials • Responds to Oxygen, Hydrogen • Copper, Titanium & Iron • Remote Move: • Control Robot Movement • Observe how Tracks Move • Moth Mode: • Follow Light But NOT TOO CLOSE! • Note Field of View • Object Avoidance: • Stay Clear of Objects • Note Field of View
Basic Facts • To Return to the Main Panel: • Select “Return” Icon & Press Middle Button • NOTE: Basic Apps Have Selected “Return” • Spectrometer: • Spectroscopy is Study of the Interaction of Matter & Energy • Remote Move: • Can also use a DVD Remote Control • Moth Mode: • First Robot Application by William Grey Walter • Object Avoidance: • Uses Infra-Red Light (Try Black Objects)
Programming Creating a Sequence of Instructions for the Robot to Follow
On Robot Programming • Navigate to “Program Demo” on the Main Panel • Found on Bottom Middle • Navigate to Arrows and Press the Middle Button to Record the Movement as a Step in the Program. • Navigate to the Circle Between the Arrows (“Start” will Appear on the Top Line) and Press the Middle Button to Execute the Program
Jade RoBot Bluetooth Set Up 1 • Make Sure Bluetooth is on with the Jade Robot • Should be a Blue Flashing LED on Right Side of Robot • To Turn on Bluetooth, Navigate to Settings • And then “Bluetooth” • Turn On
Jade Robot Bluetooth Set Up 2 Select this Box to Turn off Sleep Timeout • Turning off Sleep Timeout Is Recommended • Navigate to “Robot Name” • This is the Bluetooth “Friendly Name”
ChromeOS Pairing • ChromeOS devices do not Require a Separate Pairing Operation: • When Jade Support is active, Select the Jade Robot from the List and it will be paired and connected automatically
Windows 7 Pairing 1 From Windows START Button , select “Devices and Printers”
Windows 7 Pairing 2 Click “Add a device” & Select Jade Robot when it Appears
Windows 7 Pairing 3 Wait for Notification that the Jade Robot has been Added
Windows 10 Pairing 1 From Windows “Settings”, Select “Devices/Bluetooth, printers, mouse”
Windows 10 Pairing 2 Click “Add Bluetooth or other device” followed by “Bluetooth” when “Add a device” Appears
Windows 10 Pairing 3 Select the Jade Robot
Windows 10 Pairing 4 Wait for Notification that the Jade Robot is Paired
Mac OSX Pairing 1 Open “System Preferences” and Select “Bluetooth”
Mac OSX Pairing 2 Wait for Jade Robot Name to Appear and Click “Connect”
Mac OSX Pairing 3 Wait for “Connected” message on Jade Robot
PC Programming Set Up 1 Login to a Windows Machine & Start Chrome Browser Search for “Jade Support” and Click on “Jade Support – Google Chrome” Click “Add App” Wait through “Checking” Then:
PC Programming Set Up 2 Login With Your Google or Microsoft Account & Authorize Access This Allows Jade Support To Store Programs on Your Account No Personal Information Is Accessed
PC Programming Set Up 3 Click on “Bluetooth Connections” and Wait for Your Jade Robot’s Name to Appear and Select it
Scratch Programming 1 Click on “… Select a Project …” Followed by “New Project” When the “New Project” Dialog Box Comes Up, Enter “Iroquois 1” as the Project Name and Click on “Create Project”
Scratch Programming 2 Block Buckets Workspace
Scratch Programming 3 Drag Blocks onto the Workspace from the Block Buckets and Connect them
Scratch Programming 4 Start with a Program that just has the “Forwards” Block
Scratch Programming 5 1. When Ready, Click on the “Reset” Button 2. Put the Robot on the Floor 3. Click the “Run” Button
Scratch Programming 6 • When you have a Block with a Puzzle Piece inside, it must be filled with a value. • Math Value • Sensor Value • Variable • etc.
Programming ERRors New Users will Experience Two Errors 95% of the Time Blocks are not Connected. Block with Puzzle Piece Will NOT be Filled with a Value
Scratch Programming 7 • Copy this Program and then Try some of your own with: • forwards, reverse, left & right • Delay & Numbers • stutter
Scratch Programming 8 Add the Repeat Block and Come up with Interesting Patterns as it’s Now Time for…
Myke Predko, President/Chief Designer https://www.mimetics.ca/, myke.predko@mimetics.ca, (416)346-4739
Training 1 Update History 2019.03.12 – Original Release for Iroquois Central School Board 2019.03.14 – Updated to Provide Instructions for Windows 7, Windows 10, Mac and ChromeOS Pairing