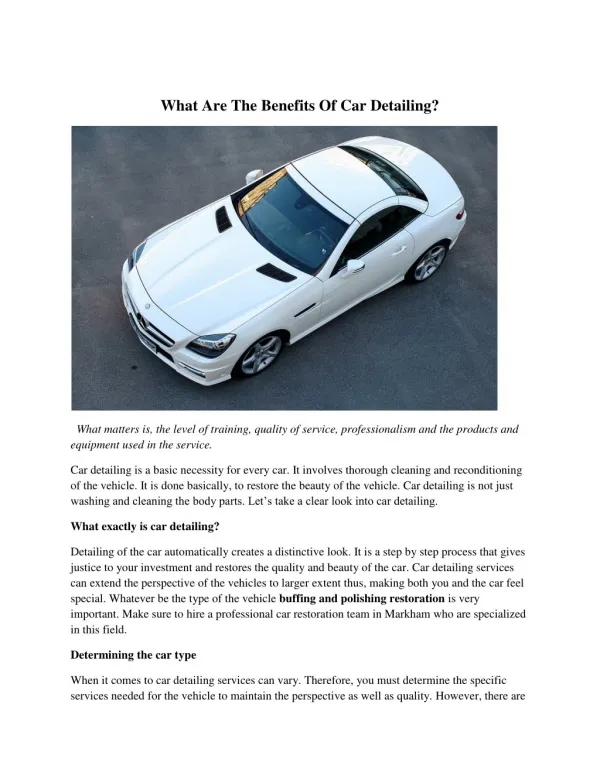
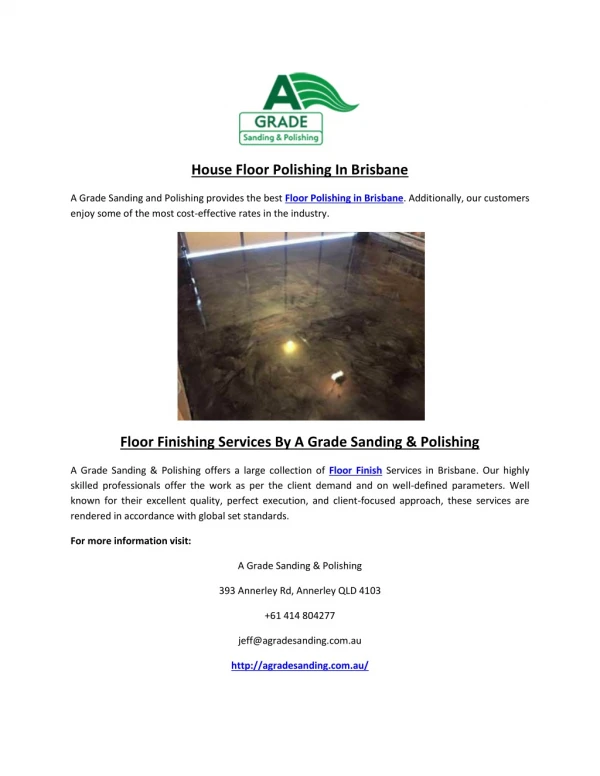
Download

1 / 54
710 likes | 1.45k Views
dr shabeel p n. FINISHING AND POLISHING. The surface of the casting that is retrieved from investment is too rough for use in the mouth.Five preparatory procedures need to be performed on any type of cemented restoration after it has been fabricated. PROCEDURES. Preliminary finishing

E N D
dr shabeel p n FINISHING AND POLISHING
The surface of the casting that is retrieved from investment is too rough for use in the mouth.Five preparatory procedures need to be performed on any type of cemented restoration after it has been fabricated
PROCEDURES • Preliminary finishing • Try-in & adjustment • Pre-cementation polishing • Cementation polishing • Post-cementation finishing
The internal and external aspects of restoration are handled differently. • External surface smooth &perfect uninterrupted transition from restoration to tooth • Rough surface plaque accumulation-injurious to health of periodontal tissue • Try in satin finish after chairside adjustment high luster • Finishing&polishing- accomplished with fixed routine-coarse and fine
ABRASIVES AND POLISHING MATERIALS • ABRASIVES:exceptionally hard material that develop sharp cutting edges when they are chipped. • POLISHING MATERIALS:abrasives of softer material that are reduced to extremely fine particle size.
COMMONLY USED ABRASIVES AND POLISHING MATERIALS • DIAMOND • SILICON CARBIDE • EMERY • ALUMINIUM OXIDE • GARNET • SAND • CUTTLE • TRIPOLI • ROUGE • TIN OXIDE
COMMONLY USED FORMS • SEPARATING DISCS • MOORE’S DISC • HEATLESS STONES • BUSCH SILENT STONES • GREEN STONES • PINK STONES • WHITE STONES • RUBBER WHEEL AND POINTS
ZONES OF FINISHING AND POLISHING • ZONE 1:INTERNAL MARGIN • ZONE 2:INTERNAL SURFACE • ZONE 3:SPRUE • ZONE 4:PROXIMAL CONTACT • ZONE 5:OCCLUSAL SURFACE • ZONE 6:AXIAL WALL • ZONE 7:EXTERNAL MARGIN
Inspect under surface of cast under magnification for small nodules or bubbles • Remove nodule with no:330 bur in high speed .Trace negative angles on inside of occlusal surface with tip of bur • Ideally the cast should touch the die only in the marginal region –there should be a slight gap every where else for future cementation. • A uniform space of 25 – 35micrometer necessary • If nodules present removed with round carbide bur
Use a separating disc to cut the sprue from the casting • Diagonal cutting plier may be used. • Hold hand piece with a firm pen grasp while cutting the sprue next to the casting • Avoid tipping the disc- if a disc binds in the cut grooves – it may flip the casting out of our hand • After removing the sprue , use separating to trim the remaining portion of sprue attachment on the casting until the contour in that area is continuous with the contour of the restoration surrounding the sprue
Sprue immediately adjacent to the casting is removed with separating disc
Use coarse rubber disc-to smooth away the roughness left by the separating disc. • Use finer Burlew/gold lustre blue disc in similar manner after coarse disc-now entire surface smooth with satin finish • Axial surface finished to the margin-do not extend over the margin-seat the restoration on the cast • Adjust the interproximal area-until restoration seats completely with contacting adjacent teeth
Adjust occlusion in articulator-centric&eccentric • Remove restoration from working cast and place it back to die • No:0-”bud” finish bur – to smooth grooves on occlusal surface • Smooth cusp tips and blend them into the grooves on the occlusal surface with a small rubber sulci disc • External surface should have a satin like finish produced by Burlew rubber polishing wheel
If careful and gentle no need of anesthesia • Patient’s unimpaired tactile sense can be valuable during adjustment of occlusion • Small safety ring provided by cutting a thin slice from hollow sprue • Attach it to the wax pattern where it will not interfere with occlusion • Thread floss through the ring before trying casting in the mouth.
A safety ring may be fashioned by cutting a thin slice from hollow sprue
A length of dental floss is looped through the ring on the casting
Remove provisional restoration by grasping the buccal and lingual surface with tips of backhaus towel forceps and rocking it to the facial and lingual. • Remove the left cement particles • Wipe of prepared surface with cotton pellet ( dry ) • Wash with luke warm water
A)Richwil crown remover soaked in hot waterB)patient closes on softened cubeC)patient opens quickly and forcefully to remove crown
Evaluation of restoration in following sequence: • Proximal contact • Margins • Occlusion • Contour • Esthetics
Adjustment of proximal surface contact • Proximal contact – neither too tight nor too light. • Place the restoration on the tooth & seat it with firm finger pressure. • Do not mallet / apply occlusal pressure. • Crown can be removed with Richwil crown remover • soaked in hot tap water for 1min • Patient closes on the softened cube • Patient opens quickly and forcefully to remove crown
Test for proximal contact with waxed dental floss • Satin finish on gold restoration - advantageous- shiny burnished area where tight contact occurs
Marginal adaptation • After proximal contact corrected seat restoration and examine margin closely-should not be ; • Overextended • Under extended • Too thick • Open- gap greater than 50µm
Various materials used to detect discrepancies • Chloroform & rouge / thinned typewriter correction fluid-painted in the internal surface • Thin layer of dry aerosol indicators – sprayed • DISCLOSING WAX: • Fill restoration ½ full of disclosing wax • Heat in flame to flow the wax & adhere to inner surface • Teeth wet with saliva( avoid sticking of wax) • Wax solidified seat restoration hold for 10 sec then remove
Areas of metal – tooth contact –appear as shiny spot devoid of wax • Relief impinging areas with no:30 bur-allow restoration to seat further • Remove disclosing material by swabbing with chloroform and sand blasting • Tooth cleaned with cavilax
GOLD MARGIN FINISHING • 2 types of margins- sub gingival & supragingival • Casting placed on prepared tooth and have the patient seat it by closing on plastic bite wafer/wooden stick • Burnishing and marginal adaptation with dull spratley knife(30µm adaptation) • Finishing with white stone (60µm adaptation) • Final precementation smoothening with 3/8 inch cuttle disc
All accessible margins are burnished intraorally with a smooth dull instrument
Margins are finished with a white stone rotating from gold to tooth
OCCLUSAL ADJUSTMENT Ask the patient to close in customary position Check if patient can hold the shim in between adjacent teeth with crown out – if not the crown too high Ask the patient to bite in centric relation Force until all teeth touch
If mandible shifts to side of restoration Buccal incline of maxillary lingual cusp / lingual incline of mandibular buccal cusp adjusted If mandible shifts away from restoration BULLS Cntd…..
If patient can hold shim stock on adjacent teeth with the crown out,but not with it , the crown is too high
Premature contact on buccal incline of maxillary lingual cusp produces buccal shift to mandible
Premature contact on lingual slope of maxillary buccal cusp produces lingual shift of mandible
Premature contact on lingual incline of maxillary lingual cusp produces lingual shift of the mandible
NON WORKING MOVEMENTS • Non working interference
NON WORKING MOVEMENTS • Working interference
CONTOUR • Improper contour-impaired gingival health • Excessive convexity near gingival margin • Plaque accumulation
ESTHETICS • Restoration viewed from conversational distance- see if contours harmonize with rest of patient’s dentition • Let patient look in a mirror
Shiny finish Matt finish (sandblasting) Enable observation of facets/burnishing produced by occlusal contact after casting in mouth Polished to high shinepolish axial surface with Tripoli on soft bristle brushocclusal anatomy restored (171 L carbide bur )