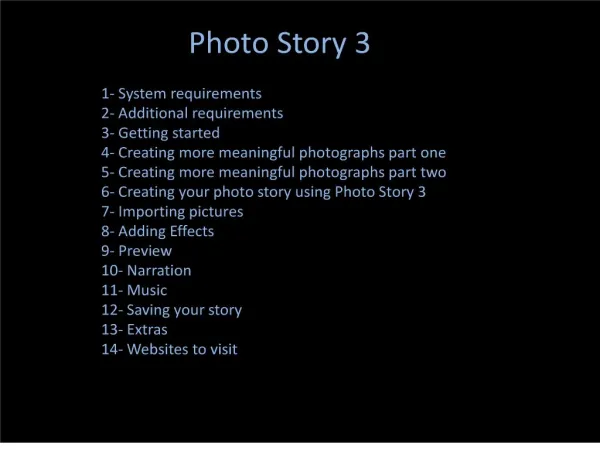
Download
1 / 22
220 likes | 360 Views
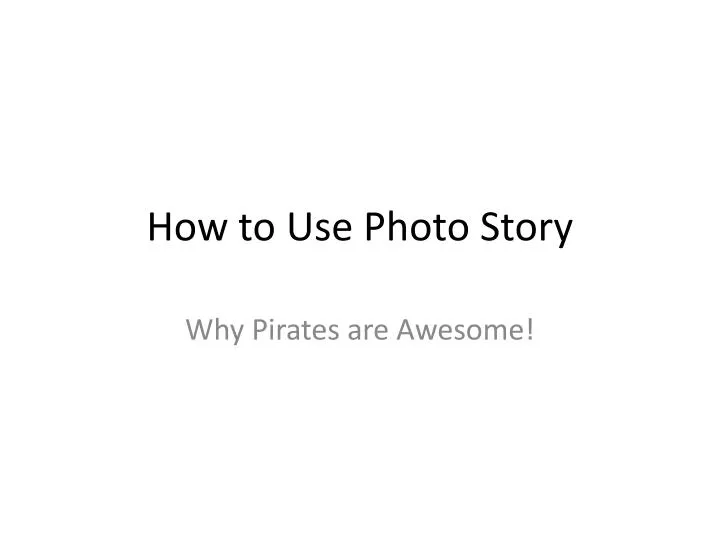
How to U se Photo Story. Why Pirates are Awesome!. For some people, Photo Story may be in the Microsoft Office Folder!. Step 3: Click on “Photo Story 3”. Step 2: Click on “All Programs”. Step 1: Click Here. This window should pop up. Step 4: Click “Next”.

E N D
How to Use Photo Story Why Pirates are Awesome!
For some people, Photo Story may be in the Microsoft Office Folder! Step 3: Click on “Photo Story 3” Step 2: Click on “All Programs” Step 1: Click Here
This window should pop up Step 4: Click “Next”
This window now should be open! Click on the Goodies$ drive. Find the “Thompson 6th Grade” folder. This one! Click on me!
Find your topic’s folder! For this demonstration we’re dong Pirates
Your picture should show up here in the window. You can now do “snazzy” stuff to your picture by clicking “Edit” This button
Create an arrangement of pictures that fit your topic by clicking “Import Pictures” When you have all of the pictures that you want for your presentation click “Next”
Now you can add text to the pictures about your topic Pirates are awesome because they could get away with stealing stuff…..and they say YARG a lot!
This button allows you to change the font and text color This drop down window has a variety of “snazzy” picture effects This button changes the picture that you are viewing in the window When you are done adding text to you pictures hit “Next”
Now you can start to record your voice and narrate your story. When the red button is blinking your voice is being recorded =D
When you are done talking hit this “Stop” Button. If you click on the “Preview” Button you can listen to what you have just recorded Repeat this process for All of your pictures that you want to have sound clips. When you have finished recording audio for all of your pictures click “Next”
In Mrs. Thompson’s Goodies$ Drive folder you should see the “Sounds” folder
Find a sound clip that you like for background music in this folder and then click “Open”
Adjust the music so that it does not overpower your voice recordings. When you are done adjusting the volume of your background music click “Next”
Save your presentation to your student drive or your personal flash drive!
Ms. Gates decided to use her Flash Drive Then click “Save” Name your presentation the title of your topic.
This window will then pop up! DO NOT TOUCH THE COMPUTER UNTIL IT GOES AWAY!
CONGRATULATIONS! You have now completed your presentation feel free to watch it After watching your presentation, if you want to make any changes click on the “Back” button and you can edit your presentation