Download
1 / 14
160 likes | 308 Views
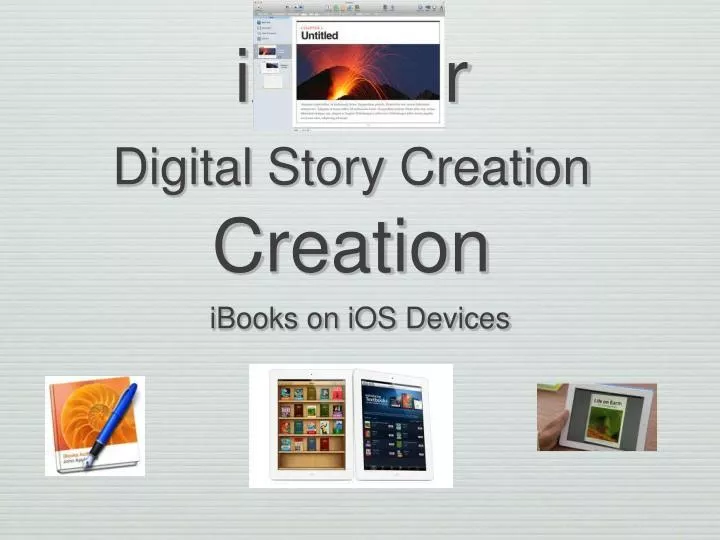
iAuthor Digital Story Creation Creation. iBooks on iOS Devices. What is iAuthor and what can I create with it?. Getting Started. Find iAuthor in the Spotlight (Drag it into your dock if you like.) Choose a pre-made template. Type the title of your book. Book Organization.

E N D
iAuthorDigital Story CreationCreation • iBooks on iOS Devices
Getting Started • Find iAuthor in the Spotlight (Drag it into your dock if you like.) • Choose a pre-made template. • Type the title of your book.
Book Organization • Add chapters, sections, and pages by clicking on the “Add Pages” button in the upper left. • Change your view of the book by changing the “View” settings. • Show or hide editing tools.
Text and Widgets • Use text, shapes, tables, or charts from the top toolbar in your workflow. • Choose the widgets to add interactive objects to your book. • Widget types include Gallery, Media, Review, Keynote, Interactive Image, 3D, or HTML
Widget Descriptions • Gallery: A sequence of images your readers can swipe through, each with its own custom caption. • Media: A movie or audio file readers can play. • Review: A sequence of interactive multiple-choice or drag-to-target questions. • Keynote: A slideshow or other presentation created with Keynote. • Interactive image: A graphic with callouts (labels); readers can pan and zoom to view detailed information about specific parts of the graphic. • 3D: Add a 3D COLLADA (.dae) file readers can manipulate. • HTML: An HTML5 widget (with the extension .wdgt).
Let’s Try It • Choose widgets and then select Gallery. • Click and drag photos into the Gallery window.
More Tools • Use the Inspector tool buttons to format text, objects, widgets, hyperlinks and more. • From left to right, the inspector buttons are: Document, Layout, Wrap, Text, Graphic, Metrics, Table, Chart, Link, and Widget.
Adding Media • Add audio, photos, and movies using the Media button in the iAuthor toolbar. The file you create must be compatible with iAuthor such as an mp4 (mpeg) file. • In iMovie, go to Share, choose Export Using QuickTime and then choose MPEG-4 as your export type. • Use GarageBand to create your own royalty free music or QuickTime to record your voice or a screencast. (M4A audio files) • Note: Movie and audio files must be in a format QuickTime supports. http://support.apple.com/kb/HT3775
Adding Images • You can add these kinds of digital files to an iBooks Author document: Image files: JPG, JPEG, PNG, GIF • Some animated GIFs can be blurry, so be sure to test your images and animations.
Preview Your Book • To preview your book, connect an iPad to your computer and open iBooks. • Select your iPad in the Devices list and click Preview.
Finish and Publish • Use the Publish button to save your book. • To publish your book to the iBookstore, you need and iTunes Connect Account and iTunes Producer. • If you do not have these items then your book can still be viewed on the iPad. • Click Share and then choose Export and then iBooks. Choose Standard Book for iBooks from the Export As pop-up menu. Click Next. Type a name for the book., choose a place to save it, and click Export. • To view on the iPad, you need iBooks 3 and iOS 5 or later. • Log into your DropBox account on the iPad and open your .ibooks file to preview your book. Choose the “Open In” option in the upper right hand corner of the iPad screen. • More tips can be found at http://support.apple.com/kb/PH2809?viewlocale=en_US
Help and Tutorials • 1) iBooks Author Support http://www.apple.com/support/ibooksauthor/ • 2) Use the Help Button in iAuthor to assist you. • 3) iBooks Author Quick Start Guide http://gcisdtraining.wikispaces.com/file/view/iBooksAuthorQuickstart.pdf
Image Sites • Pics4Learning | Free photos for education • Totally Free Web Stock Photos, Pictures, Images No Royalty: school, blogs, FaceBook, commercial web use download • Clip Art Collection for FL instruction • Coloring pages, photos and crafts | Images for education