Download
1 / 43
430 likes | 667 Views
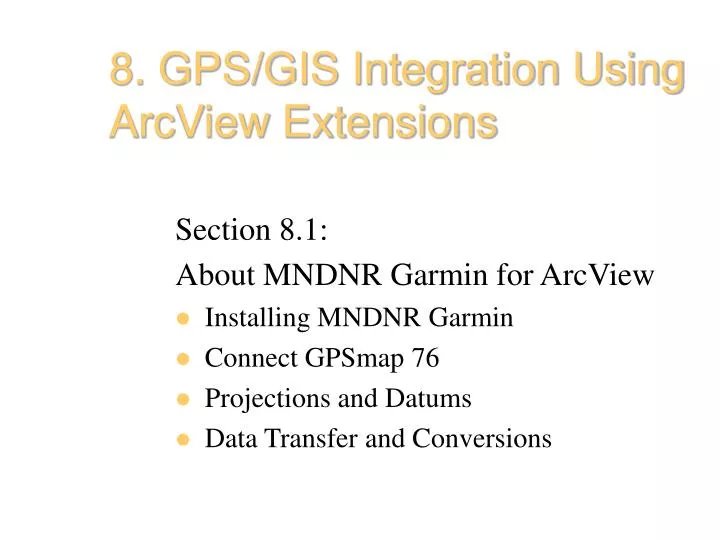
8. GPS/GIS Integration Using ArcView Extensions. Section 8.1: About MNDNR Garmin for ArcView Installing MNDNR Garmin Connect GPSmap 76 Projections and Datums Data Transfer and Conversions. DNR Garmin Extension for ArcView. Current Version:

E N D
8. GPS/GIS Integration Using ArcView Extensions Section 8.1: About MNDNR Garmin for ArcView Installing MNDNR Garmin Connect GPSmap 76 Projections and Datums Data Transfer and Conversions
DNR Garmin Extension for ArcView Current Version: ArcView Extension: 3.0 VB Program: 1.2.4Build Date: 3/15/2002Posted Date: 4/11/2002 Platform/ArcView Version: Windows/3.x
Functionality Highlights At this time this extension contains the following functionality:
Installing MNDNR Garmin • Download from: http://files.dnr.state.mn.us/aboutdnr/bureaus/ mis/gis/tools/arcview/extensions/dnrgarmin/dnrgarmin_setup.zip • Save to: C:\esri/av_gis\arcview\ext32 • Typical Install
Connect Garmin Map 76 • Connect Garmin Map 76S with the Serial port cable to the hard drive. • Put the Garmin Map 76S in simulator mode. • Start ArcView and turn on DNR Garmin extension.
B A E D C F A - Latitude B - Longitude C - Altitude D - Estimated Positional Error (EPE) E - If you are inside a building there will be no display of Latitude, longitude, altitude or EPE. It is suggested that you start the GPS in “Simulator” mode to retrieve this information. F - Upon connection you will see a “Connected” message in the lower left portion of the status bar.
8.1.3 Projections and Datums Set Projection – All data transferred from the GPS unit is in Latitude Longitude, Decimal Degrees, WGS84 Datum. You can choose to use the data in this format or you can have ArcView automatically convert the data to any projection it supports. Use this option to set that projection. The projection you set will be saved and applied to all data transfers. Any data uploaded to the Garmin unit is assumed to be in this coordinate system and is projected to Lat/Long prior to uploading to the GPS.
8.1.4 Data Transfer and Conversions Convert Points – After waypoint or track have been downloaded there is the option of converting this information from point format to Polyline or Polygon format.
8. GPS/GIS Integration Using ArcView Extensions Section 8.2: Download Waypoints using MNDNR Download waypoints from the receiver Conversion of waypoints to shapefiles Save as text file
Download Waypoints • With Garmin Unit connection active, click the Waypoint Menu option. • Select Download • Download progress tracked in message bar • Pop-up window alerts user when download is complete.
Editing the Waypoint Download Click on the Advanced button to display the waypoints download. One method of processing the waypoints to create line or polygon shapefiles is to edit the download table.
Editing the Waypoint Download Waypoints can be selected and deleted. Unneeded columns can be selected and deleted. Attributes in any field can be edited. Delete Button Clear Selection Button
Creation of a Point shapefile After editing the download table, a point shapefile can be created. The points can also be saved as graphic elements or as a GPS Text file.
Convert Points to Polygon shapefile Waypoints have to be selected to create a polygon. Select the Convert Points option on the DNR Garmin menu Select Ident as the Order Field
Convert Points to Polygon shapefile The polygon is created based on the sequence of the entries in the IDENT
Convert Points to Polygon shapefile Selected points are used to create polygons based on the sequence of the entries in the IDENT field.
Convert Points to Polygon shapefile Shapefiles will consist of single polygons with no attributes.
Convert Points to Line shapefile Line shapefile creation is similar to the creation of polygon shapefiles.
Save text file of waypoints The Waypoint download can be saved as a text file. Unneeded columns can be selected and deleted. Attributes in any field can be edited.
8. GPS/GIS Integration Using ArcView Extensions Section 8.3: Download TRACKS using MNDNR Download tracks Conversion of tracks to shapefiles Conversion of multiple tracks Conversion of a track into multiple polygons Save tracks
Tracks versus Waypoints What's the difference??? Extent of hay cut captured in Waypoint Mode • Tracks consist of multiple points collected continuously without user input on the basis of Time, Distance, or a combination of both. • Track data cannot be averaged. • Waypoints are individual points collected only when the user presses the enter key. • Tracks are particularly useful in capturing line or polygon features with curvilinear shapes. Extent of hay cut captured in Track Mode
Download Tracks • With Garmin Unit connection active, click the Track Menu option. • Select Download • Download progress observed in message bar • Pop-up window alerts user when download is complete.
Editing the Track Download Click on the Advanced button to display the tracks download. Blue highlight lines indicate the start of individual Tracks. Start of individual Tracks are also indicated by the attribute in the “new_seg” field.
Creation of shapefiles from Tracks After editing the download table, a point, line, or polygon shapefile can be created. The tracks can also be saved as graphic elements or as a GPS Text file.
Convert Tracks to shapefiles PointLine Polygon Also more than one feature can be converted from the GPS download at a time.
Convert Multiple Tracks to a Single Polygon Sometimes a polygon boundary cannot be captured with one track. Multiple tracks can be modified in the download table to create a single polygon feature. Track 1 Track 3 Track 2 Track 2 Track 3 Track 1
Convert Multiple Tracks to a Single Polygon Track 3 Track 2 Track 1 Conversion of the multiple tracks to a polygon would have this result. Modification of the download table is necessary for the creation of a single polygon.
Active Track vs. Saved Track Features created from a Saved Track Saved tracks are useful for obtaining an estimate of area and length on-site. Saved Track Feature created from an using a distance interval. Active Track Saved tracks have a different appearance in the download table. The time and date under the ident field. The time field is populated with a fake value. Feature created from an Active Track using time interval.
Data Collection using Tracks with Garmin set to time interval User must be careful to not stop movement while collecting data in track mode using time interval. When motionless trackpoints will be collected continuously as the GPS position wanders.
8. GPS/GIS Integration Using ArcView Extensions Section 8.4: Upload Waypoints to the Garmin Map76 using MNDNR
Upload GIS Features as Waypoints • From the File menu • Select Load • Waypoints From • Have choice of text file, shapefile, or graphic. Only a point shapefile can be uploaded as waypoints.
Upload Waypoints ID and Comments • An attribute can be selected to number or ID the waypoints. Cancel will generate a sequential ID list. • A second pop-up window allows the use of one additional attribute as a Comment for the waypoints. Cancel will generate a Date and Time comment.
Uploading the Waypoints Waypoints are not created until the Waypoint/Upload is clicked. A pop-up window will announce the upload on the computer. The Garmin Map76 will also display a message box announcing the delivery of the waypoint data.
Viewing Uploaded Waypoints After the upload process the newly entered waypoints can be viewed on the Garmin unit on the map or table.
8. GPS/GIS Integration Using ArcView Extensions Section 8.5: Upload Tracks to the Garmin Map76 using MNDNR
Upload GIS Features as Tracks • From the File menu • Select Load • Tracks From • Have choice of text file, shapefile, or graphic. Only a line or polygon shapefile can be uploaded as tracks.
Uploading the Tracks Tracks are not created until the Track/Upload is clicked. A pop-up window will announce the upload on the computer. The Garmin Map76 will also display a message box announcing the delivery of the data transfer.
Viewing Uploaded Track After the upload process a newly entered track can be viewed on the Garmin unit on the map.
Activity 8A – Download and Process Data from the Garmin GPSmap76 using MNDNR Software Activity 8B: Upload Data from the Garmin GPSmap76 using MNDNR Software