Download
1 / 32
320 likes | 451 Views
Getting Started. The following slides outline the steps to planning and creating your PowerPoint slide show presentation. The Four P’s of Presenting. Remember the Four P’s before you begin your presentation: Plan Prepare Practise Present . Plan, Prepare, Practise & Present.

E N D
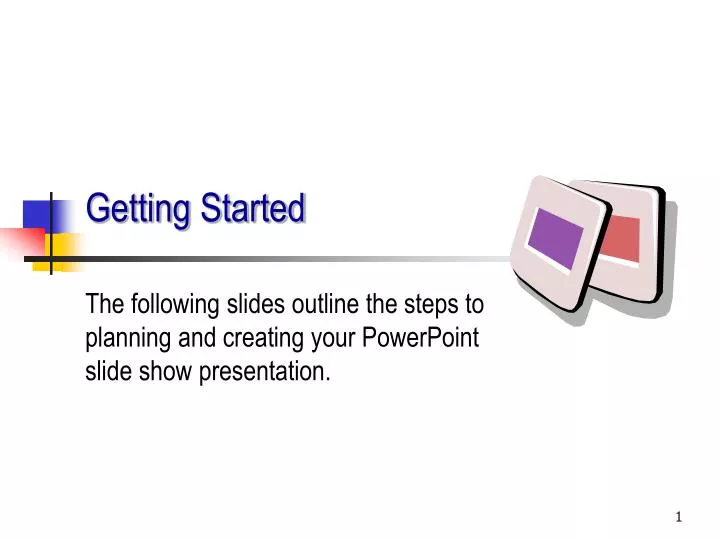
Getting Started The following slides outline the steps to planning and creating your PowerPoint slide show presentation.
The Four P’s of Presenting Remember the Four P’s before you begin your presentation: • Plan • Prepare • Practise • Present
Plan, Prepare, Practise & Present • Planby defining your audience and purpose. • Prepare the structure and timing of your presentation. • Practise your content to build confidence. • Present your topicwith enthusiasm.
Six Steps to a Presentation There are six basic steps to creating a presentation. #1. Write Your Report #2. Select a Design Layout #3. Create Each Slide #4. Add Transitions and Music #5. View Presentation #6. Edit and Rehearse
Creating a New Presentation • When you start PowerPoint you have four options: • AutoContent Wizard • Design Template • Blank presentation • Open Existing Presentation
Auto Content Wizard • The Auto Content Wizard appears when you start a new presentation to move you step-by-step in creating different types of reports. “Generic” is a standard report.
Designing the Layout Before you begin creating your slides, design a layout for your presentation.
Three Design Options You have THREEoptions for designing the layout of your presentation • Blank Presentation to format each slide individually. • Master Slide and Apply to All • Design Template from the Gallery
Option #1: Blank Presentation Option #1 : Start with a Blank Presentation if you wish to “start from scratch” and design the layout for each slide individually. Add your own .. • Backgrounds • Text • Graphics • Layout
Slide Sorter View • See all your slides in… View / Slide Sorter View
Blank Slide • Titles Bar • font is pre-formatted. • Text Box • Picture Frame • You can change the layout later, go to… Format / Slide Layout
Changing Background Picture Format / Background / Fill / More Fills / Picture
Changing the Background Go to …Format / Background • Background Fill / • Fill Effects • More Fills / Picture • Select Picture click to advance
Option #2: Slide Master Slide Master allows you to design a personalized template for your entire presentation. You can make any changes later.
Using Slide Master: Go to.. View / Slide Master • Slide Master formats the fonts, titles and backgrounds for your entire presentation.
Option #3: Apply Design Template • Go to Format / Apply Design Template • Design Templates allow you to choose Presentation Design themes.
Creating Your Slides You have planned the content and layout for your presentation, Next introduce text, elements and animations to create your slides.
Creating Slides • There are six basic steps to creating an individual slide. #1. Select a Slide #2. Add Text #3. Insert Elements #4. Add Animations #5. Preview Slide #6. Save Changes
Adding and Deleting Slides View / Slide Sorter View Ctrl+M Press <Delete>to remove a slide Insert / New Slide<Ctrl + M> to add a slide. Click and Dragto rearrange the slide order
Auto Layout • The Auto Layoutdialogue box appears every time you insert a new slide. • Your choices can be removed and changed later if you wish.
Choose a Slide Layout Insert / New Slide / AutoLayout Choose a layout for: Text and Titles Tables Charts & Graphs, Graphics
Add Elements with Insert Menu WordArt Slides Movies Music INSERT MENU Photos &Graphics Sounds Hyperlinks:http://www.yahoo.ca AutoShapes & Text Charts & Graphs
Inserting the Text • Insert new Text Boxes Go to…Insert / Text Box • Copy the content from your report • Type directly on the slide. or • Type into Outline View
ClipArt Gallery ClipArt Gallery is a database of design objects. • Insert / Pictures /Clip Art Gallery … • or Insert / Picture / ClipArt Gallery / Clips Online
Inserting Slides from Files • Work in Slide Sorter • Select where you wish to insert files • Insert slides from another presentation • Go to … Insert / Slides from Files
Apply Slide Transition Effects Go to • Slide Show / Slide Transitions Transition Effects change the slides as you view the presentation
Transition Tips • Go to…Slide Show /Slide Transition • Select…Apply to All Consistent transitions save time and look professional.
Save Your Presentation • Go to …File + Save As to save your presentation as “filename.ppt” • Use Ctrl + S to save your changes after every slide.
View Your Slide Show • View / Slide Show or • Slide Show / View Show • Press F5 to view the entire slide show presentation.
Presentation Review Tips Plan your presentation • Write your report before you begin your slide show. • Select the layout and design of the presentation before your start working on individual slides. • Create your slides • Rehearse and edit your presentation.