Download
1 / 2
20 likes | 173 Views
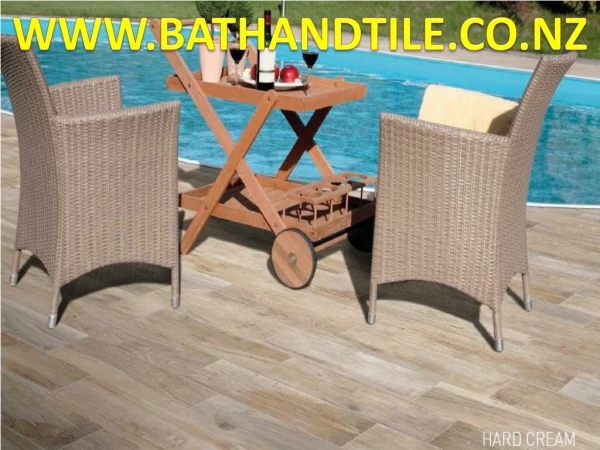
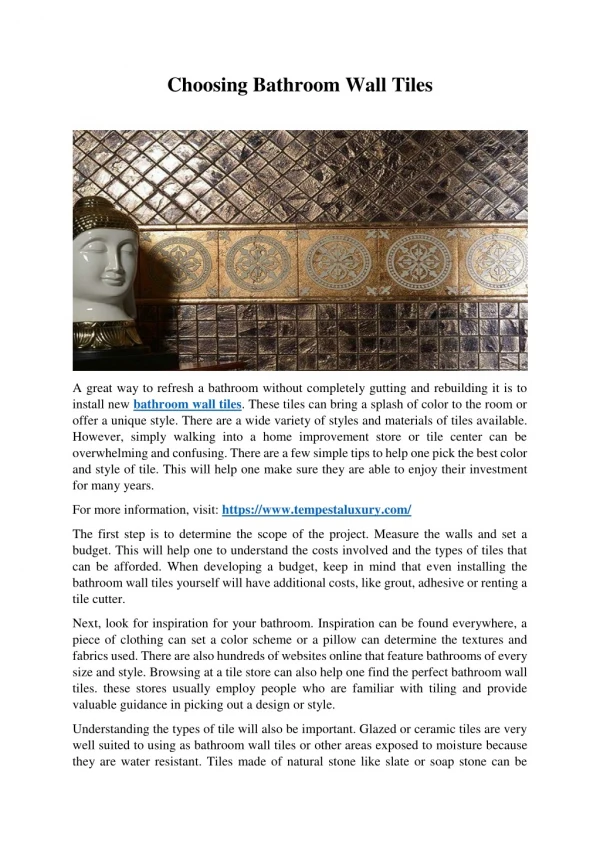
Buy online High quality and designer tiles from leading Tiles supplier store in UK. Shop new designs of tiles for Kitchen, bathroom, flooring and wall at cheap price.<br>SHOP HERE: http://goo.gl/kn92i8

E N D
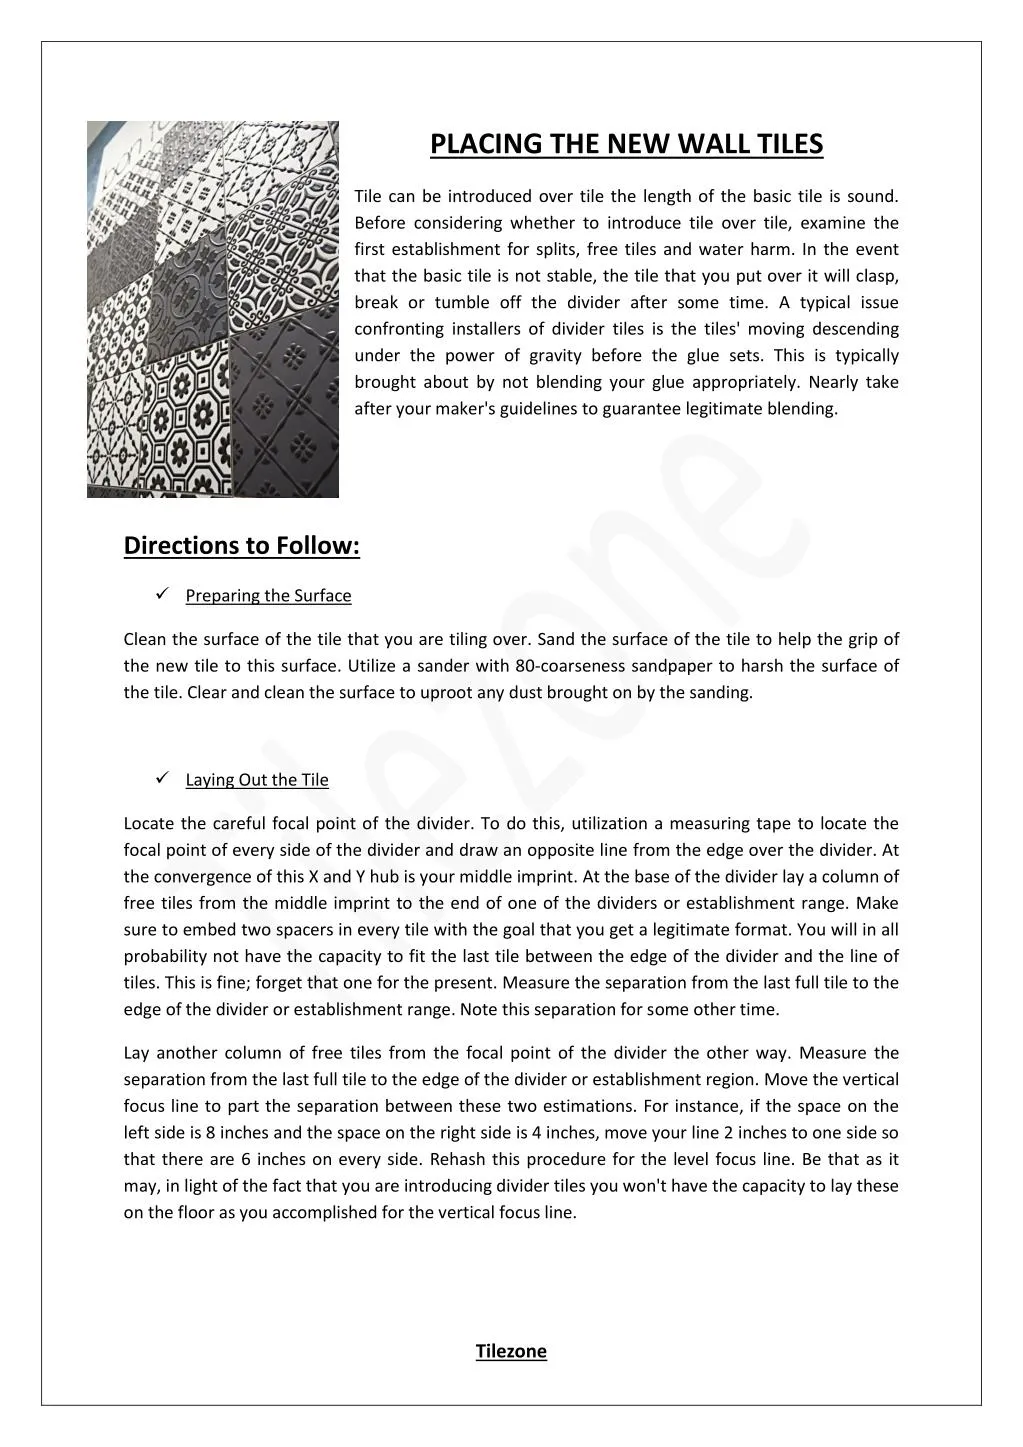
PLACING THE NEW WALL TILES Tile can be introduced over tile the length of the basic tile is sound. Before considering whether to introduce tile over tile, examine the first establishment for splits, free tiles and water harm. In the event that the basic tile is not stable, the tile that you put over it will clasp, break or tumble off the divider after some time. A typical issue confronting installers of divider tiles is the tiles' moving descending under the power of gravity before the glue sets. This is typically brought about by not blending your glue appropriately. Nearly take after your maker's guidelines to guarantee legitimate blending. Directions to Follow: Preparing the Surface Clean the surface of the tile that you are tiling over. Sand the surface of the tile to help the grip of the new tile to this surface. Utilize a sander with 80-coarseness sandpaper to harsh the surface of the tile. Clear and clean the surface to uproot any dust brought on by the sanding. Laying Out the Tile Locate the careful focal point of the divider. To do this, utilization a measuring tape to locate the focal point of every side of the divider and draw an opposite line from the edge over the divider. At the convergence of this X and Y hub is your middle imprint. At the base of the divider lay a column of free tiles from the middle imprint to the end of one of the dividers or establishment range. Make sure to embed two spacers in every tile with the goal that you get a legitimate format. You will in all probability not have the capacity to fit the last tile between the edge of the divider and the line of tiles. This is fine; forget that one for the present. Measure the separation from the last full tile to the edge of the divider or establishment range. Note this separation for some other time. Lay another column of free tiles from the focal point of the divider the other way. Measure the separation from the last full tile to the edge of the divider or establishment region. Move the vertical focus line to part the separation between these two estimations. For instance, if the space on the left side is 8 inches and the space on the right side is 4 inches, move your line 2 inches to one side so that there are 6 inches on every side. Rehash this procedure for the level focus line. Be that as it may, in light of the fact that you are introducing divider tiles you won't have the capacity to lay these on the floor as you accomplished for the vertical focus line. Tilezone
Place a tile at the middle stamp and hold it with your hand. Put you tile spacer on top of the tile and make a blemish on top of the tile spacer. Set the base of a tile at this imprint and rehash the procedure. Place a tile spacer and make an imprint. Measure the separation from the last full tile to the highest point of the divider. Mark this separation for later utilize. Setting up the Thinset Pour a large portion of the producer's suggested measure of water into the 5-gallon pail. Discharge half of the sack of thinset into the pail. With your processor/powerful bore set at a low speed, with the blender appended, mix the water and thinset. Include the remaining water and thinset in little clumps while blending, until you have included the greater part of the water and thinset. In the wake of mixing completely, permit the thinset to sit for 15 minutes so that the cements inside of it can completely fuse. Laying the Tile Scoop a segment of thinset out of your basin with the half- crawl trowel. Begin at your inside imprint and spread the thinset over the old tiles. Tilt the trowel at a 30-degree point and spread the thinset in expansive half-circular segment strokes. The edge of the trowel ought not drag along the tile underneath, but rather ought to press the thinset against the hidden floor. Spread a few square feet of thinset out. Try not to cover the entire floor. Place one tile at your inside imprint, toward the edge of the quarter of the divider that you are beginning with. Try not to press the tile down into the thinset, yet give it a delicate, even squeeze with the goal that it bonds to the thinset. Place a tile by that one and embed two tile spacers between them. Place the tile sufficiently close that you don't need to move the tile too much keeping in mind the end goal to be flush against the spacers. Whenever completed, permit tile to set for 48 hours, unless you utilized a quickset thinset, in which case allude to the producer's curing time. Grouting the Wall Blend the grout as per the producer's guidelines. Scoop a container estimated bit of grout with the cushioned grout coast. Begin grouting from an edge of the room that will permit you to progress in the direction of the entryway. This will keep you from being caught in the room and walking over the grout. Spread the grout in a corner to corner bearing to the joint. Keep the buoy at a 30-degree point and be careful about crevices in your scope. Utilize a wet grout wipe to wipe up any overabundance grout in a corner to corner heading to the joint. It doesn't make a difference which askew course you tidy the grout up in, simply don't run the wipe straight down the grout joints yet. Wash the wipe frequently and ensure you enough uproot any grout on the surface of the tile. Wipe the grout wipe along the joints to break and shape the grout inside of the joint. Permit the grout to dry as indicated by maker's details. Tilezone