Download
1 / 24
930 likes | 5.23k Views
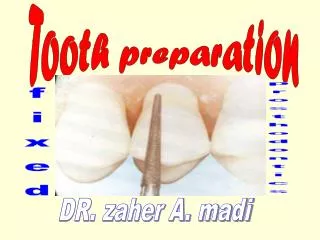
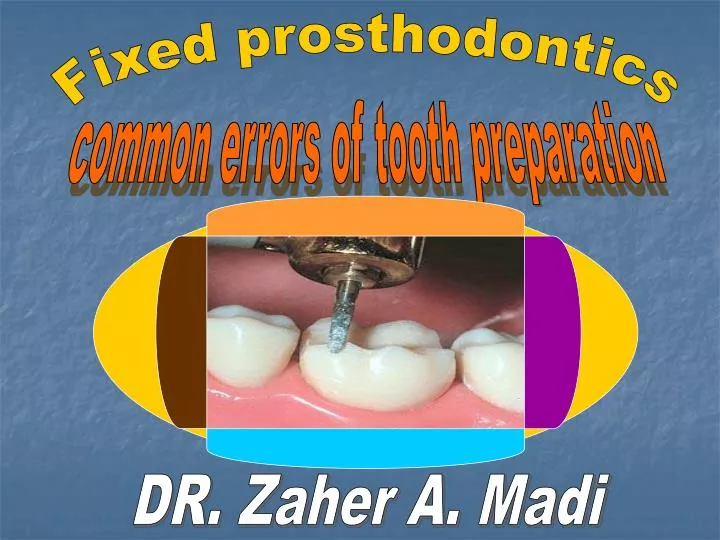
Fixed prosthodontics. common errors of tooth preparation. DR. Zaher A. Madi. Common errors of tooth preparation.

E N D
Fixed prosthodontics common errors of tooth preparation DR. Zaher A. Madi
Common errors of tooth preparation The frequently erros which encounter the dentist during the tooth preparation can be observed in dental lab after pouring the model . These errors lead to inadequate reduction , which force the technians to fabricate inadequate restorations 1- inadequate occlusal (incisal ) reduction Result: lead to minimal interocclusal space (clearance) - thin restorative material in occlusal surface ( perforation or fracture of restoration ) - over bite ( high occlusion ) disorders in occlusion (T.M.J problems ) - non-anatomical form of occlusal surface
2 – lack of uniform reduction of or buccal surfaces result : lead to over-bulky (overcountour) of restoration and non esthetic appearance (restoration out of dental arch ) 3 – inadequate proximal reduction result: lead to insufficient embrasure space ,which cause pressure of restoration on dental papillae (gingivitis) - divergent proximal walls 4 – over-reduction of tooth structure (hieght and diameter of crown) result : lead to loss of retention and resistance of restoration - Pulp exposure(need R.C.T )
5 – undercuts creating on axial surface (mesio-distal and bucco-lingual surfaces) and lack of parallelism of abutments result :lead to difficult seating of restoration (no seating) 6 – inadequate reduction of margins (finish line) result : bad impression of margins - bad marginal integrity of restoration 7 – excessive taper on the tooth preparation result :less retention and less resistance of restoration
8 - SHARP ANGLES ON THEPREPARATION result: poorly crown fit - may provide potential fracture stimulation for all ceramic crowns 9 – damage ( injury) of biologic width of periodontium (attached gingiva – junctional epitheluim) Result :periodontal complications (problems) 10 – damage of countour of proximal surfaces of the adjacent teeth Result :leave space (gap) between restoration and adjacent teeth , which lead to food impaction and its complications
further reduction of wall block out undercut undercut within one surface
opposing walls diverge undercut taper walls more
What to Do Problem overtapered prep; loss of retention and/oradd retentive groove shoulder & bevel create
Problem What to Do finish line too heavy -walls are over-reduced Create a bevel to finish line
Problem What to Do finish line light(indefined)walls are slightlyr-reduced increase axial reduction
Tissue management in fixed prosthodontics Gingival Retraction
Tissue mangement in tooth preparation It’s the temporary retraction (pushing away) of the gingival tissue from the tooth surface in the cervical area , which lead to widening of the gingival sulcus , to give more clear observation and operation in this area . Indication 1- During preparation - For accurate position of finish line and its extention during reduction , to avoid injury of gingiva and its bleeding 2- During impression taking - To expose the marginal finish line to obtain completely reproduction of this margins and to provide sufficient bulk of impression material at the margin to prevent its tear or distoration upon removal from the mouth or pouring in stone - to provide a clear and dry field , free from blood or gingival fluid during impression taking
Technique (methods) of gingival retraction 1- mechanical technique 2- chemical technique 3- mechano-chemical technique 4- elctrosurgical technique - mechanical technique for this technique used : - copper band - retraction cord - orthodontic rubber band or waxed dental floss
The commonly and widely used for mechano-chemical technique is a retraction cord impregnated in chemicalis Retraction cord technique It’s a method of pressure packing the cord soaked or impregnated in the chemicalis (Alum – aluminuim chloride – Ferric sulphate ) which lead to enlargement of the gingival sulcus , to control of fluids seeping from the silcus and to stopping the gingival bleeding (hemostasis )
Procedure - prepared teeth are dried and isolated with cotton rolls - saliva evacuators are placed (saliva suction) - cut enough piece of cord length to encircle the tooth opproximately 5cm - cord is dipped in chemicalis (25% alumium chloride ALCL3 solution in a dappen dish . note – there is in sale ready impregnated retraction cord as - the retraction cord is looped around the tooth and held tightly with the thumb and forefinger - the cord is packed (pushed) into gingival sulcus starting from the mesial surface then proceed to lingual or buccal and end at distal surface
- the cord can be paked with special blunt instrument like Fischer packing instrument or DE plastic instrument . The instrument should be angled slightly towards the root to facilitate the subgingival placement of the cord . - excess cord is cut off near the distal surface - after 5 – 10 minutes , the cord should be removed slowly to avoid bleeding (the cord must be slightly moist before removal because removing dry cord from the sulcus can injure the epithelial lining of the gingiva ( note – dry cord adhere to capillaris of epithelial gingiva) - after cord removal , impression is taken (must be sure that the area is clean from bleeding )
Impression with negative details of shoulder Cord is placed with retracted gingiva and forming shoulder Cord is removed and completely formed shoulder Placing retraction cord Cord packer Retraction cord (ultra-pack)
2 – technique by expa-syl Excellent retraction. Physically displaces tissue for superb marginal access. Safe. Minimal pressure required. No danger of rupturing epithelial attachment. Significant timesaving. Places quickly. Comfortable.Much less time and force needed than with packing cord. Haemostatic.Controls bleeding and crevicular seepage.(from sulcus)
Chemical technique Chemicalis are frequently used to enhance the retraction process and to control hemorrhage (bleeding) , and commonly used in combination with retaction cord . Experience has shown that are safe when the time of use not exceed 15minutes Requirements for chemicalis used with gingival retraction cord - its should produce effective gingival displacement and hemostasis - it should not cause any irreversable damage to the gingival tissue . - it should not have systemic side effects in the patient
Chemicalis used in this technique 1- aluminum chloride (25% Alcl3 solution –hemodont) 2- alum solution (Aluminuim potassuim sulphate) – ALK(So4)2 3- Ferric sulphate Fe42(So4)3 ( ultrapack- astringent ) 4- tannic Acid solution 5- Epinephrine 1/1000 (8% Racemic epinephrine ) Epinephrine is cause hemostasis and local constriction which results in temporary gingival shrinkage but , its contraindicated and not recommended to use on gingival tissue in patient with :- - Cardiovascular disease (CVS)– increased heart rate (tahycardia )
- Hypertention – elvation of blood pressure - Diabetes - Hyperthyroidism - hypersensitivity to epinephrine (Allergy )
Electro-surgical technique This technique accomplished by electrosurgical apparatus (units)