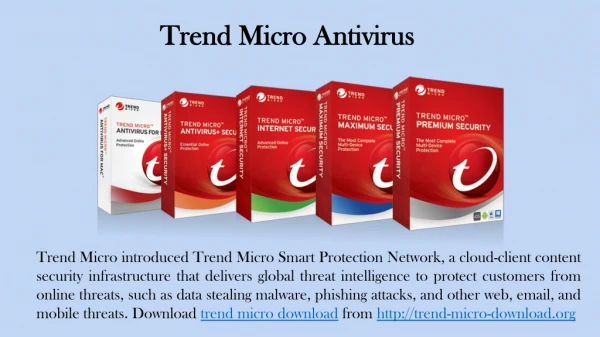
Download
1 / 10
100 likes | 103 Views
How to download and install Trend Micro on a Mac computer is described in this article. For University of Wisconsin-Madison Faculty and Staff with personally owned Mac computers, Trend Micro Maximum Security is available. Windows Defender is the recommended solution for personally owned Windows PCs, according to the Office of Cyber security.

E N D
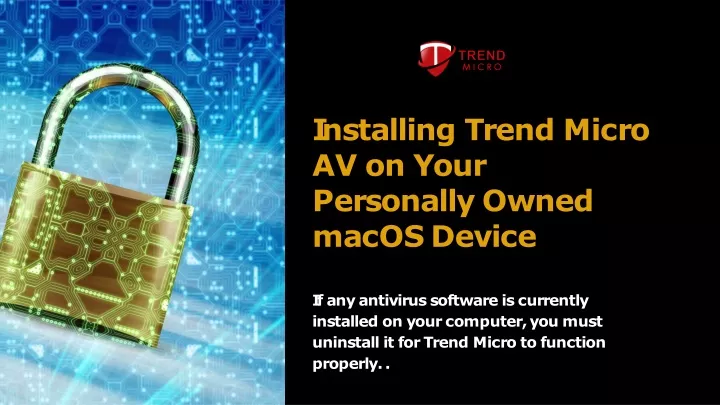
InstallingTrendMicro AVonYour PersonallyOwned macOSDevice Ifanyantivirussoftwareiscurrently installedonyourcomputer,youmust uninstallitforTrendMicrotofunction properly..
First-time Installationand LicenseActivation ofTrendMicrofor Mac Ifanyantivirussoftwareiscurrently installedonyourcomputer,youmust uninstallitforTrendMicroto functionproperly..
TrendMicro MaximumSecurity. PERSONALLYOWNEDMACOSDEVICE MovetowardstheUWMadisonSoftwareLibrary andselectTrendMicroMaximumSecurity. AgreetothelicensetermsbyclickingtheTrend Micro security button. In the next few minutes youwillreceiveanemailcontainingyouroneyear licencekey.
Installationod DeepSecurity Manager Windowhostswillnowappearas dsm.testlab.localwithinthedomaintestlab.local. Thelatestversionofadeepsecuritymanageris thendownloadedfromthedownloadcenterof TrendMicro.
Afterchoosingyourinstallationlanguageclickon ok. Torunaproductionenvironment,thepre-installationcheckis noticingthatVMis not configured with enough resources. However, this is a demonstration so it shouldn’tbeaproblemasofnow. Then,clicknext Thoroughlygothroughthelicenseagreementandclickacceptradiobuttonwhenyouagree to the conditions. Then, proceed with clicking next. To check whether there's a previous version installed, the upgraded version is run. A new installation is starting in this demo environment. Youmayproceedtochangelocationaccordingtoyourpreferenceandthenclick next. Some required details like database hostnames, database instances would be required to fill up. However, for demo purposes currently, embedded installation is being used. Please note that using theembeddeddatabasefortheproductionenvironment,astheinstallerwillnotacceptitandmight alsoremindyouthesame.
Now,entertheactivationcode. YouareonlysupposedtochangeHostnames,IPaddresses,andportnameswhenyour environmentsomehowusestheportsrequired.Orelseyoucanclicknext. Toclicknext,first,configureyouraccountandclicknext. Configureyoursecurityupdatesinthisstep.Thiscreatesascheduledtaskforsecurityupdates(and updates your procedures accordingly). As this is a demo environment, no proxy server is used to accessTrendMicroforsecurityupdates. Next,configurethesamescheduledtaskforthesoftwareupdates. For distributing definitions and updates to the protected agents and virtual appliances in your lab environment, enable a ray agent. For the production environment, you can install it in one or multipleenvironmentsseparateservers.However,inademoenvironment,itwillbeinstalledinthe management server. Forthedemoenvironment,smartfeedbackwillbedisabled.Whenasummaryshowsuponyour screenwithalltheinstallations,confirmthateverythingisconfiguredcorrectlybeforeyoubegin theinstallation.
Onceyouaredonewiththeinstallation,youwouldneedtoallowDSMconsoletoopenandclick finish.Onceloggingintodeepsecuritycustomertakesplace,thedashboardwillbeshownup. DeepSecurityManagerConfiguration Inthislab,first,addthevCenterinstalledearlier. Navigatetothe"computers"tab,right-click "computers"(ontheleftmost menu)andselect"addVMwarevCenter". EnterconfigurationDetails. AfterconfiguringDeepSecurityinvCenter,youneedtodeploythevirtualappliancesforagentless protection. We won't have to deploy the filter driver since we are using vSphere 6 with Trend Micro Deep Security 9.6. Irecommend you be aware of this if you have been using older versions ofDeepSecurityandvSphere. ThefirststepistoimportthevSpheresecurityappliance.Downloadthe9.5virtualapplianceshere. Oncethedownloadiscompleted,open-‘Administration’gotoupdates->software->local.Import thefiledownloaded.
Onceyouimportthepackage,openyourvCenterinthecomputer’s view,thendrilldownto “hosts and clusters”. right-click the host you want to protect and select “actions -> Deploy agentlesssecurity”. Selectthedetailsofemploymentonceyouenteranamefortheappliance. Enteryournetworkconfiguration. YoucanprovisiontheVirtualapplianceas thickorthin(accordingtoyourpreference),andwait forthedeploymenttocomplete.Oncethatiscomplete,youcanactivatetheVirtualappliance. Afterdoingthis,theagentwillappearinthelistofcomputers,andyoucanactivatevirtual machineswithoutinstallingtheagent. Agent-basedprotection The first step is to add our Active Directory to Deep Security Manager. While you can protect systems without an active directory, this makes deployment significantly easier. Adding a new directoryis as simple as clicking"AddDirectory"andenteringyourADdetails.Fromtheleft-hand menu,click"Computers",andthenrightclick"Computers".
Next,createascheduledtasktosynchronizethedirectory The agent will have to be imported next. Navigate to "Administration" and then update -> software -> download center. Type "Windows" into the search bar. Select the latest agent version, then right-click and choose "Import". When the import is complete, select “Support” in the top right corner of the management console, then click on “Deployment scripts”. Find the script for your platform and copy it. As a result of adding our active directory, we should be able to see the computers associated with the domain. Check that you can see your computers by opening the computers tab and browsing through your list of computers. Normally an agent is deployed through a management tool or preinstalled in an image in a production environment, but in this case, the manual installation will be enough. Activate or reactivate the agent by clicking on the Actions -> Activate/Reactivate link in the deep security manager after the agent has been installed. Within a few minutes, the status of your machine should change to "managed (online)," and your virtual machine will be protected by Trend Micro Deep Security. The Deep Security software enables you to enable features such as anti-malware, intrusion prevention, firewalling, and other securityproductsbyopeningthedetailsofaprotectedcomputer(orbycreatingapolicy).Assoon as you have this setup, you are ready to begin testing the product and its extensive set of options toprotectyourenvironment.
Doyouhave anyquestions? PleaseCallUs OnTollFreeNo+61-872-000-111