Download
1 / 24
240 likes | 423 Views
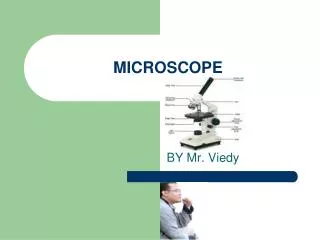
Microscope Notes. Paste this paper into your notebook on the right side. Write the function of each part on the left. 1 . Eye piece View specimen Magnification of 10. 2 . Objectives Red (small) 4x Yellow (medium) __x Blue (large) ___X. 3 . Stage

E N D
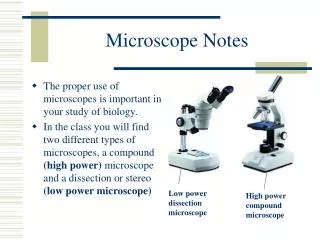
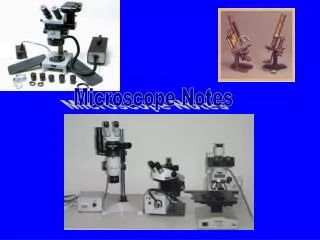
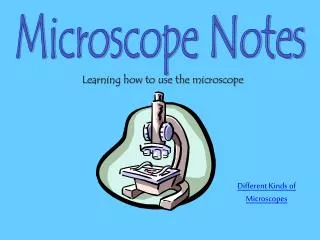
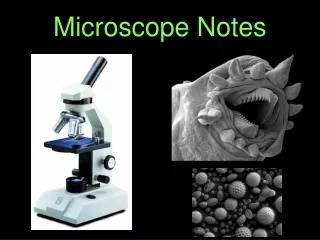
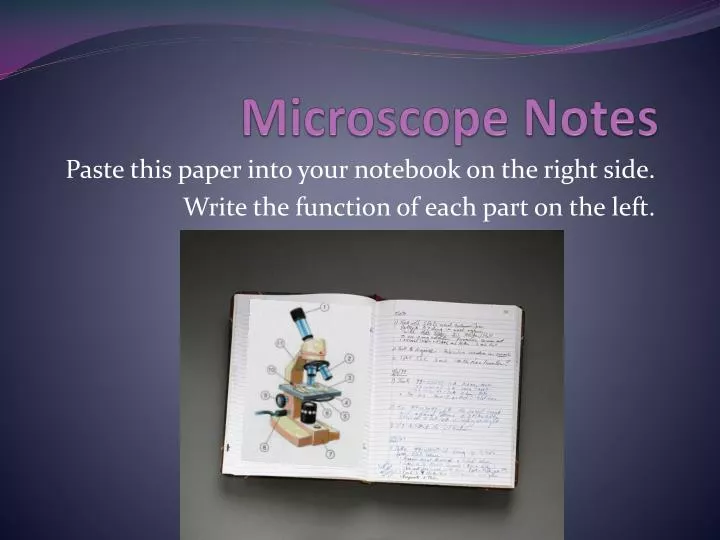
Microscope Notes Paste this paper into your notebook on the right side. Write the function of each part on the left.
1. • Eye piece • View specimen • Magnification of 10.
2. • Objectives • Red (small) 4x • Yellow (medium) __x • Blue (large) ___X
3. • Stage • Platform where microscope slide is placed.
4. • Stage clip • Secures the microscope slide to the stage.
5. • Microscope slide with cover slip • Secures specimen for viewing
6. • Disc diaphragm • Adjust the amount of light for viewing.
7. • Base • Supports the stage & body of microscope.
9. • Coarse adjustment • Moves stage up & down. • “rough focus”
8. • Fine adjustment • Brings image into a sharper focus. • “fine tune”
10. • Stage adjustment • Moves stage left to right or forward & back.
11. • Arm • Supports body tube.
YOUR DRAW 12. • Nose Piece • Supports the objectives. • Rotates the objectives.
YOU DRAW 13. • Light source • Provide light
You draw 14. • Cord hanger • Hangs the electric cord
How to make a wet mount… • Go to the supply table. • Grab 1 microscope slide. • Use the pipette and place 2 drops of water onto the slide. • Pluck 1 elodea leaf. Lay the leaf flat into the water. • Grab 1 cover slip and cover the leaf. • Go back to seat. Be sure the stage is at its lowest point and the red objective is directly above the stage. WAIT FOR INSTRUCTIONS! DO NOT GO ANY FURTHER!
How to focus a slide. • Use the coarse adjustment and lower the stage to its lowest point. • Rotate the nose piece so that the lowest objective (the red one) is above the stage. • Open the stage clip and slide microscope slide onto the stage. Gently let go of the stage clip so that is secures the slide. • Use the stage adjustment to move the microscope slide to that the it is directly above the hole in the center of the stage.
How to focus a slide continued • Use the coarse adjustment to raise the stage. • Watch in the eye piece! Raise the stage until you see “something”. Remember…rough focus. • Now that you see “something” use the fine adjustment and make it even clearer. You should be able to make out what you are looking at. • Now use the nose piece and rotate the objectives to medium magnification. DO NOT MOVE THE STAGE! • Use the fine adjustment and make it even clearer. It should be slightly bigger.
How to focus a slide continued • Now use the nose piece and rotate the objectives to largest magnification. This time WATCH! If your slide has a bump, it could hit the objective. If it looks like its going to hit use the coarse adjustment to move the stage SLIGHTLY…SLIGHTLY! If you move it too much you have to do it all over again. • Use the fine adjustment and make it even clearer. It should be bigger and you should be able to see clearly what the specimen is.
Write the steps of how to remove a slide from the stage of the microscope.
How to remove a slide. • Use the coarse adjustment and lower the stages to its lowest point. • Rotate the nose piece so that the smallest objective is above the stage. • Open the stage clip and slide the microscope slide off the stage.
Got it? • Excellent! • Go to you class page on QUIA and complete the microscope review.