Download
1 / 27
280 likes | 429 Views
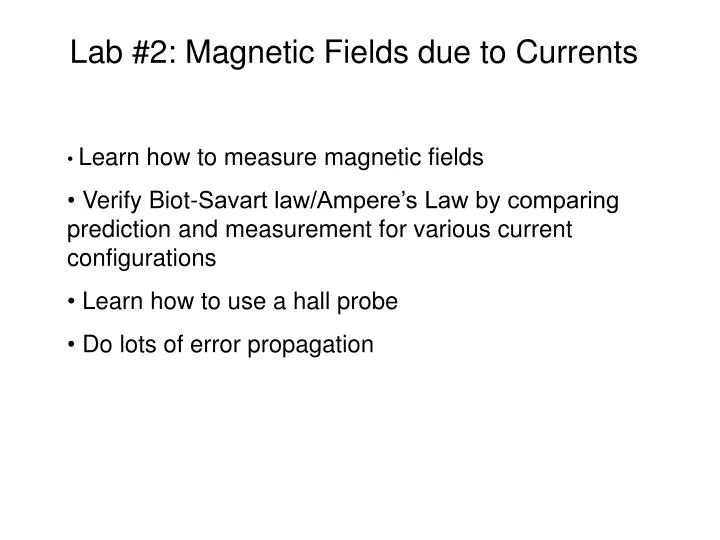
Lab #2: Magnetic Fields due to Currents. Learn how to measure magnetic fields Verify Biot-Savart law/Ampere’s Law by comparing prediction and measurement for various current configurations Learn how to use a hall probe Do lots of error propagation. Lab #1: REDO REPORT!.

E N D
Lab #2: Magnetic Fields due to Currents • Learn how to measure magnetic fields • Verify Biot-Savart law/Ampere’s Law by comparing prediction and measurement for various current configurations • Learn how to use a hall probe • Do lots of error propagation
Lab #1: REDO REPORT! • Due: Oct.3 (same time as Lab#2 report) • see RUBRIC (276 web page) • should be a stand-alone document • cover page, abstract (basics + results) • SECTIONS: introduction, equipment, procedure, analysis, discussion, conclusions – qual + quant , (appendices). • data – only analyzed tabular data, plots, etc • error – means nothing unless its next to a value! • sig figs: Vwrong = (2.38973832567234 +/- 0.11285763234546) volts • Vright = (2.39 +/- 0.11) volts
Lab #2: Magnetic Fields due to Currents • Learn how to measure magnetic fields • Verify Biot-Savart law/Ampere’s Law by comparing prediction and measurement for various current configurations • Learn how to use a hall probe • Do lots of error propagation
Biot-Savart Easy to make a magnetic field using a current is a unit vector pointing from the bit of current dl to the place at which you want to calculate the field. B field is perpendicular to the current and the vector pointing from the current to the point where the field is being calculated.
B fields Infinite wire
Current loop Electric dipole “magnetic dipole”
Solenoid 100 Tesla pulsed field magnet at Los Alamos
Toroid G0 magnet at Jefferson Lab http://www.jlab.org superconducting toroid B(DL) 1.6 T-m
How can we measure B fields? Note: only the component of B perpendicular to the current is measured!
Hall Effect What is the size of the potential? Force on the current is zero when the force due to the electric field cancels out the force due to the magnetic field
Hall Effect To get something big enough to measure, you want to make I and B as big as possible, t as small as possible. B=1T, I=10A, t=0.0008 m (thinnest wire that can carry 10A). For copper, n=5x1028 m-3, q=1.6x10⁻¹⁹ C Pretty small!
Hall Probe Meter • orientation of probe important • zeroing of scale important • calibration of probe important • note decade scale
Calibrating the Probe • Calibrate the gauss meter before using it. Some are broken! This is your chance to check! • Set meter to calibrate, read calibration constant on the probe, and adjust large metal screw until you get that reading • Turn to measure and zero using the black zero knob • flip back and forth between calibrate and measure a few times to verify your calibration is stable. The tips of these probes are very fragile! These probes are very expensive! That’s why you have to double up. Please, please, please, please, please be gentle with them!
Systematic Errors(report only) Assume all other systematic errors are small compared to the measurement of the B field (i.e. only random errors from Fluke meter) The manual for the Hall Probe meter gives a 4% systematic error on the linearity for this device (assume offset error is zero):
Experiment Need to double up on this lab!
Single Coil: part I B vs I at center of coil Fit B vs I. Verify the intercept is consistent with zero. Extract N from the slope. Take into account the random errors and the syst error on B as you did last week. (random errors go into the fit: systematic error is calculated for the slope, not for the data points, and is added in quad with the error on the slope due to random errors from the fit)
Single Coil: Part II B vs x at fixed I(read carefully in your lab manual about what happens if you don’t have your center position quite right) Fit u vs v. Verify slope is consistent with 3/2. Will extract N from intercept. But, need random errors in u,v to do fit.
Single Coil: part II Be careful! The error on a is really a systematic error, since it is common for all values of u. Don’t include it in the errors you send when you are fitting u vs v!
Single coil Add random errors on the intercept from fit in quad with sys error from B field. (translate sys error in B field into sys error on v and propogate that into a sys error on the intercept using the formulas from last week.) Then, calculate N and the error on N
Two coils (Skip part VI)
Toroid (Do part VII)
hints • Read your lab manual carefully. Lots of important details in the instructions. • keep your credit cards, etc away from magnet (watches, pdas, memory sticks) • axial probe (round) for loops, transverse (flat with round plastic cover) for toroid – flat part normal to field direction • open switch when not actually doing measurement: large currents can overheat the coil. • when push button, allow for settling time • to center, move the probe in and out and look for the position that gives maximum field • for transverse probe (used for measuring toroid) need to rotate probe to get max b field reading before starting • Fluke: 10A (DC) setting
hints • when doing linear fits, taking data so as to give the largest possible range in x values is very helpful! • for toroid, be careful not to go into edges of coil • for single coil, if you have the position of the center wrong, instead of a straight line, you will get one that bends back on itself. If you have this, adjust the center position until it is straight. • note UNITS:
Changes to Manual • Do NOT “reverse the direction of the current and see if the magnetic field reverses” (A1 and C1) – not good for analogue meter. • Skip second part with 2 coils (Part VI) • For toroid (Part VII), ignore the last sentence of C1. Instead, measure from the inside the windings, through the windings, to outside of the windings. However, realize that only a small portion of the data (inside the windings, but not near the edge) will be useful for testing the equation in C.2.