Download
1 / 65
650 likes | 783 Views
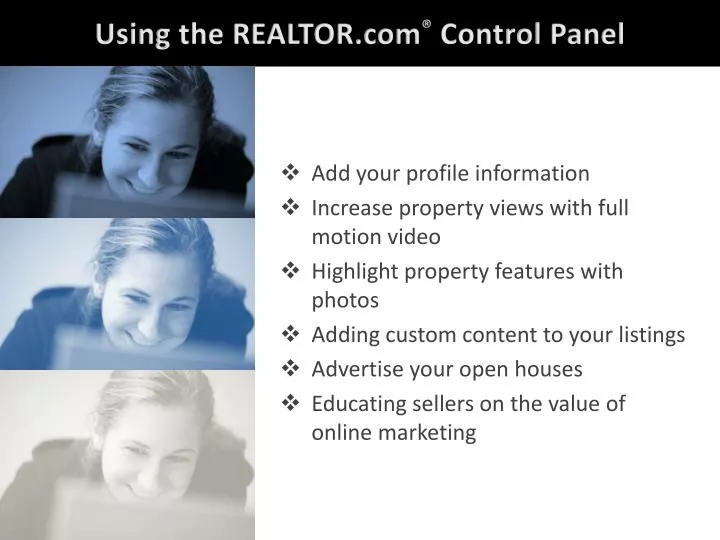
Using the REALTOR.com ® Control Panel . Add your profile information Increase property views with full motion video Highlight property features with photos Adding custom content to your listings Advertise your open houses Educating sellers on the value of online marketing.

E N D
Using the REALTOR.com®Control Panel • Add your profile information • Increase property views with full motion video • Highlight property features with photos • Adding custom content to your listings • Advertise your open houses • Educating sellers on the value of online marketing
Scroll to the FOR REALTORS® area on the home page • Control Panel Sign In • Chooseyour MLS • Enter your MLS ID • Enter your password • Click GO Click Control Panel Login
Go To solutioncenter.realtor.com • Control Panel Sign In • Chooseyour MLS • Enter your MLS ID from the login sheet • Enter your password • Click Sign In
Add Security Question and Answer • Choose a question • Enter Answer • Click Submit
Accept the Terms & Conditions • Click I Accept
NRDS Identification Number • Enter your NRDS number here or • ClickAsk me later • You can skip 3 times
Step 1 Complete Your Profile • Click Edit Profile
NEW! Personal Info • Photo • Business Cards • Broker Information • Email • Login Information • Social Networking • About Me Agent Profile Page Note: Click Save to save changes made in each section
Personal Info - Photo • Click edit photo • Click Open • Locate photo and click Open
Personal Info - Photo • Click Save • Recommended photo size is 80x120
Personal Info – Product Business Card • Click edit product business card • Your Name or Team Name – 80 characters • Slogan – 60 characters • Your personal website URL – 150 characters • 3 Phone Numbers • Click Save
The Result • Your Name • Slogan • Up to 3 Phone Numbers • Link to website
Personal Info - Profile Business Card • Name • Phone # • Website • Slogan
Personal Info – Broker Information • Broker Information • Enter Office Name – 80 characters • If required to display broker info on listings click Yes and fill in additional information • Click Save
Personal Info - Email • Contact Emails • Consumer Inquiry Email – inquiries from consumers • Your Contact Email – email from REALTOR.com® • Product Emails • Solution-specific emails – complete as appropriate • Click Save
Personal Info – Login Information • Password • Choose a password with at least 6 characters, maximum of 15 • Use at least one number • Use at least one letter • Cannot be the same as your MLS Alias ID • Security Question • If you haven’t already done so, choose a security question and provide the answer
Personal Info – Social Networking http://www.linkedin.com/in/christine http://www.facebook.com/christine http://www.twitter.com/christinehale • Social Networking • Enter a link for LinkedIn • Enter a link to your Facebook business page • Enter a link to your Twitter page
Social Networking – The Result Allow your sphere of influence to reach out to you through social media
Personal Info – About Me 1997 As a prominent real estate figure in the community, Christine is dedicated and experienced in helping people with their real estate needs. This kind of experience and dedication sets the standards for excellence in the industry. She knows that real estate is a • About Me • Enter your first year of service • Enter your bio in the About Me area (use returns for new paragraph) • Check box to Accept Terms & Conditions • Click Save
About Me – The Result This is your chance to market yourself to the many home shoppers that visit REALTOR.com® - include as many pertinent and interesting details as possible.
Account Information - Expertise • ClickExpertise
Expertise – Agent Information New! • Select Agent Type • Buyer • Seller • Buyer & Seller • Field of Business displays if you have provided your NRDS ID number • Click Save
Expertise – Locations & Neighborhoods • Location Information • Choose your state & country of license • Communities/Neighborhoods • Enter Communities/Neighborhoods where you specialize - 250 char max • NO SPACES NECESSARY, use commas to separate! Anytown,AnytownHeights,WestAnytown • Neighborhood Info • Turn off/on the display of Neighborhood information 00001,00002,00005,00006 • Primary Marketing Zip/Postal Codes • Enter one zip code for each Community entered • NO SPACES NECESSARY, use commas to separate! • Click Save
Expertise – Professional Expertise • NAR Information • Enter your NRDS ID and your designations, fields of business and language will be automatically associated with your REALTOR.com® account • Specializations/Keywords • Describe your specialties to appear on your profile page • 90 character maximum • Click Save
Expertise – The Result • Areas Served • Agent Information • Fields of Business • Specializations
Listing Detail PagesAfter Updating Account Information Best Practices Tip Be sure the first phone number displayed is the most likely to be answered in-person, if possible. Consumers jump from listing to listing, so ideally you want to respond before they move to someone else.
Be Ready for Mobile Consumers! Best Practices Tip When you have enter a mobile number in the Control Panel it automatically appears on your listings on the REALTOR.com mobile apps. Ask me for the free Marketing to Mobile Consumers Preparation Guide
Your Completed Profile Page • Overview • Listings
Add a Listing Video • Upload File • Select video file • Follow steps to complete upload
After Adding a Listing Video Best Practices Tip Use effective lighting & music to complement the property style.LESS IS MORE!Don’t lose the consumer’s attention with a video that’s too long!
Add up to 25 Photos Per Listing • Adding Photos • Click Upload New Photos
Add up to 25 Photos Per Listing • Adding Photos • Click Browse • Navigate to folder with property photos • Select photos • To select all the photos in the current folder, press CTRL-A
Add up to 25 Photos Per Listing • Adding Photos • Select photos, pressing CTRL to select multiple photos • Press CTRL-A to select all photos in the folder • Click Open • Adding Photos • Click Upload
Add up to 25 Photos Per Listing • Adding Captions • Click Click to add Caption • Enter caption using up to 160 characters • Click Save • Repeat for all photos
Add up to 25 Photos Per Listing • Rearrange Photos • Drag and drop the photos into the order you want them to occupy on your site. • The photo in position 1 will be used as the default on the Search Results page. • Click the Save Changes button. • Please allow up to an hour for your images to appear.
After Adding 25 Photos Best Practices Tip Submit High Resolution photos for BIG impact! Use close-up photos for architectural details and community photos to keep consumers interested.
Customize the Property Description This property listing is for demonstration purposes only. This is not an actual property available for purchase. For over twenty years, this home has protected the love and joy of a wonderful family.
After Adding a Custom Property Description Best Practices Tip Remember to write as if you are walking a customer through the photo gallery of REALTOR.com® describing the most interesting details as though you are with a customer looking online.
Add Eye-Catching Animated Headlines Call Christine Hale at 800-878-4166 for a show Only home on the market in this desired area
After Adding Headlines Best Practices Tip Add your name and phone number to help build your brand in your marketplace in one headline. Use the best property feature for second headline.
Special Message Text • Special Message Box Text • Use up to 255 characters • Will be displayed under the property photo First time on the market in this desirable neighborhood. This home will not last on the market long - serious buyers should act quickly! Call Christine for a personal showing 800-878-4166
Creating Open House Ads • Open House • Create up to 5 open house ads for each property • Open House Ads are automatically deleted when the date passes