Download
1 / 24
270 likes | 484 Views
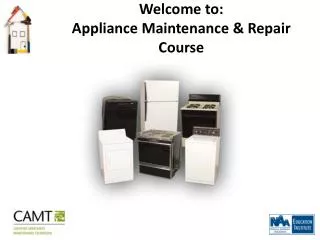
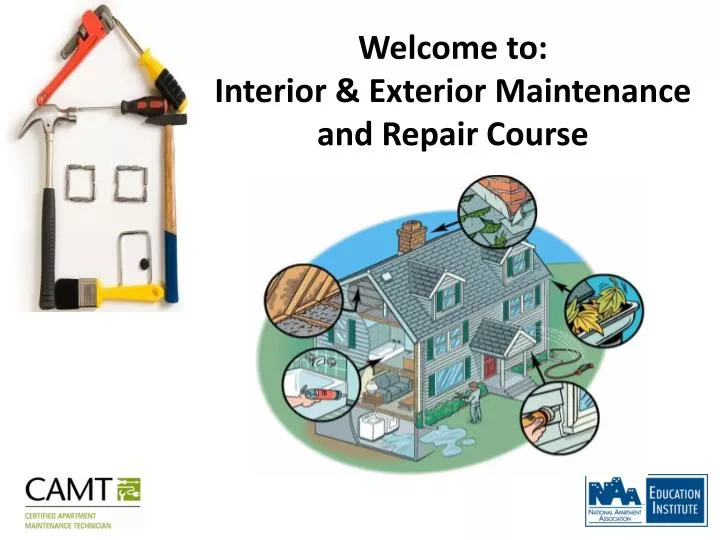
Welcome to: Interior & Exterior Maintenance and Repair Course. Agenda. The Make-Ready Maintenance Caulking Ceilings and Walls Locks Tile Other Interior Maintenance & Repairs Curb Appeal and Exterior Building Inspections General Swimming Pool Area Safety

E N D
Agenda • The Make-Ready Maintenance • Caulking • Ceilings and Walls • Locks • Tile • Other Interior Maintenance & Repairs • Curb Appeal and Exterior Building Inspections • General Swimming Pool Area Safety • Key Takeaways, Action Plan, & Wrap-Up
Before We Start • This is a full day course, with two 15 minute breaks and a one-hour lunch. • Your full participation is greatly appreciated! • You will be using your Resource Guide • Watching in-class demonstrations & videos • Having group discussions and • Completing a few hands-on activities
Other Housekeeping Items • Locations of Restrooms. • Emergency Exits. • Kitchen and/or Break Area. • Vending machines. • Registration. • Smoking Area. • Turn pagers and cell phones off. • Get comfortable. • Be open minded and have fun!
Make-Ready Maintenance • Turn to page 1 in your Resource Guide and take notes. • Make the apartment“as good as new”. • Seeing the vacant apartment through the eyes of the “future resident” and “your management team”. • Let’s take a Make-Ready “tour” with a maintenance pro, courtesy of a brief “video”. • What did we learned from the video? • Does anyone know what lost rent is?
Make-ready Checklists & Inspections • How many of you use “Checklists” for Make-ready Maintenance? • Make-ready Boards? • Assignment Sheets? • Computer-Generated Tools? • Turn to page #2 of your Resource Guide • How does your community handle Make-ready Inspections? • Turn to page #3 in your Resource Guide
Make-ready Checklists & Inspections • First Inspection identifies the overall condition of the apartment. • Second Inspection verifies that the apartment is ready for its new residents. • Using the Make-ready Checklists to track the Make-ready Process. • Using the Make-ready Board to track the Make-ready Process. • Let’s Try It: Mini Make-ready Inspection! Turn to page #4 in your Resource Guide.
Debriefing!! • What maintenance issues did you find during the Inspections? • What things looked good? • What was easiest about this inspection? • What was the hardest? • Was there any items damaged by the prior residents? • Will the prior residents have to pay for any of these damaged items?
Caulking • Remove the Old Caulk • Mask the Edges of the Joint • Apply the Caulk • Smooth the Joint • Finish Up the Job
Ceilings & Walls: Fixing Dent/Gouge in Drywall • Trim away loose or frayed paper. • Prepare Joint Compound. • Apply Joint Compound. • Let Joint Compound dry. • Apply a second coat of Joint Compound. • When patch is dry, sand and prime.
Ceilings & Walls: Fixing a Popped Nail or Screw in Drywall • Drive drywall screw through the drywall. • Carefully “dimple” the popped nail using a hammer. • Fill the dimples with joint compound. • Allow compound to dry. • Apply second coat of joint compound. • Sand the area with fine-grit sandpaper. • Wipe, prime, and paint surface.
Ceilings & Walls: Repair a Small Hole in Drywall • Prepare the Area. • Apply the Patch. • Apply Wallboard Compound. • Prime and Paint.
Ceilings & Walls: Patch a Larger Hole in Drywall • Prepare Opening • Install Support Blocking • Install Drywall Patch • Tape Joints • Apply Joint Compound • Prime and Paint
Ceilings & Walls: Repairing Plaster • Widen the surface of the crack using a hammer and chisel. • Remove debris. • Wet surface. • Spread plaster patch material. • Allow time to dry. • Apply second coat of patch material. • Sand surface smooth. • Prime and Paint.
Ceilings & Walls: Repairing Orange Peel Surfaces Manual Technique: • Prepare redi-mixed joint compound. • Apply compound with 3/8” nap roller. • Feather out the rolling. • Do a final roll in one direction. • Allow time to dry completely. • Lightly sand. • Rub the repaired area with cloth. • Prime and paint.
Ceilings & Walls: Repairing Orange Peel Surfaces Aerosol Spray Technique: • Protect working area with plastic. • Read instructions for spray texture. • Hold spray can 12” to 24” from surface. • Spray using circular motion. • Let dry and paint.
Ceilings & Walls: Repairing Orange Peel Surfaces Using a Pressure Sprayer: • Protect working area with plastic. • Read the instructions. • Stand 3 to 4 feet from the wall. • Move sprayer in sweeping motion. • Rinse and clean equipment. • Let dry and then paint.
Tile: Cleaning Grout • Spray Cleaner or Bleach. • Let cleaner soak into grout. • Scrub grout with stiff brush. • Dry grout with a clean cloth. • Apply grout sealer. • Keep clean.
Tile: Re-grouting Tile Prepare the Area: • Scrub tile & grout with cleaner. • Remove damaged grout with grout saw. • Clean area. Apply Grout & Sealer: • Mix grout • Damp area • Apply new grout • Smooth the new grout • Let the grout dry. • Clean and apply grout sealer.
Tile: Replacing Tile • Remove the Damaged Tile. • Install the Replacement Tile. • Apply Grout.
Swimming Pool Area Safety • Visible Depth Markers. • Self-closing and Self-latching Gates. • Life-saving Equipment. • Adequate Lighting. • Phone for Emergencies. • Proper Signing.
Supplemental Information Don’t Forget… Take the Online Training for this CAMT Course!! • To continue your education. • To acquire more knowledge and skills for CAMT Designation test and for work. • Takes approximately 30 minutes. • You can take it from any computer with access to the Internet. • Go to the following web site: www.kaleidolearning.com/NAAEI/CAMT • Type the ID and password your received here.
Thank you for being a part of today’s Interior & Exterior Maintenance Repair Course!!