Download
1 / 9
90 likes | 93 Views
Color correction and color grading are essential processes that take movies and photoshoots from their raw beauty to vivid, spectacular worlds. And they require a monitor that can convey as many shades of color in truest precision as possible. A professional-level LED monitor that is pre-calibrated will ensure that your vision will be conveyed accurately.

E N D
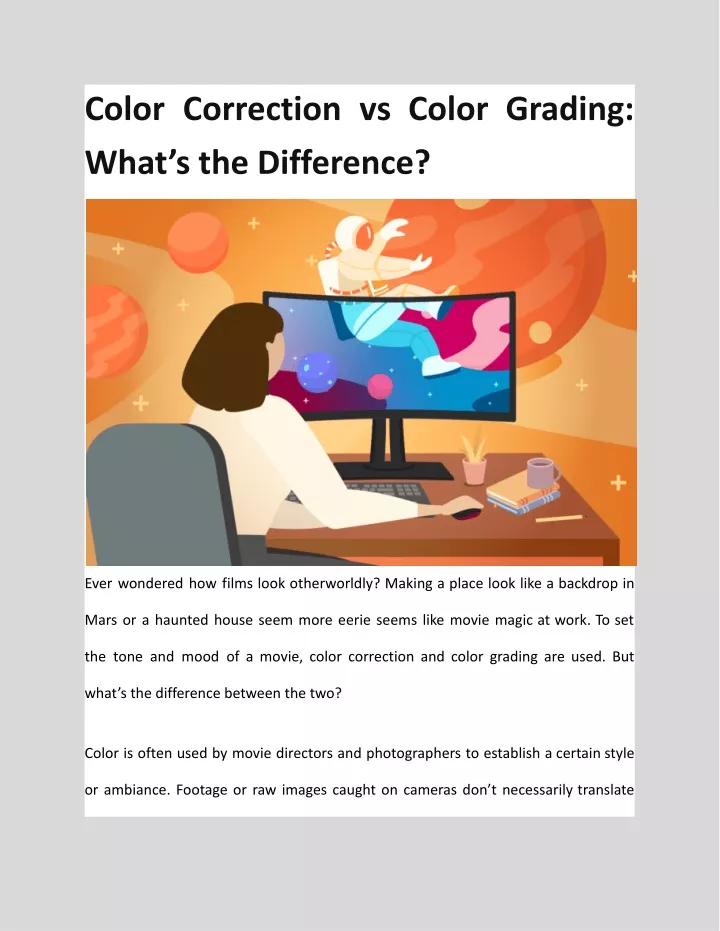
Color Correction vs Color Grading: What’s the Difference? Ever wondered how films look otherworldly? Making a place look like a backdrop in Mars or a haunted house seem more eerie seems like movie magic at work. To set the tone and mood of a movie, color correction and color grading are used. But what’s the difference between the two? Color is often used by movie directors and photographers to establish a certain style or ambiance. Footage or raw images caught on cameras don’t necessarily translate
onto the screens accurately and perfectly. Color correction and color grading are used in the editing process to adjust color to its best viewing experience. Color Correction vs Color Grading Color correction and color grading have often been used loosely for each other. But they are two separate processes in video or photo editing. To understand the difference between color correction and color grading, we need to realize that they are both parts of a technical process in post-production. Color correction is usually done before color grading. What is Color Correction? Color correction is a technical process that adjusts hue, saturation, and brightness to bring overall color in line with the human eye. It brings consistency across the footage and corrects any technical color errors.
Ways to Color Correct There are some simple ways to correct color on a basic level. Do keep in mind that every adjustment in each step affects one another, so you will have to go back to earlier steps to make the necessary changes. Adjust white balance White balance is a process to attain a true white in an image or video so that all the other colors fall in the right areas. Light ranges from warm to cool tones, so adjusting white balance is about changing the temperature and tint by adding more warmness
or coolness. A curved application is usually utilized to fine-tune white, grey, and black levels in post-production. Tweak exposure Exposure is the measure of how bright or dark the footage or photo is. To set it at its proper exposure, adjust levels of brightness, contrast, highlights, shadows, whites, and blacks. Using curves Use the Three-Way Color Corrector This tool allows you to have control over hue, saturation, brightness, and contrast within one interface. It’s an efficient way to experiment with different looks for your footage by dragging a point within each color wheel. The three wheels control either highlights, mid-tones, or shadows of your video. What is Color Grading? Color grading is an artistic process of adjusting color in a photo or video to create a stylized tone and mood. It sets the final look and feel of a film or portrait. Color grading is usually done after color correction.
Ways to Color Grade The process of color grading is about adding color information on top of existing color values, and not changing them. Apply split toning Split toning is a quick way to apply a specific color onto the lights and darks of an image or video, without affecting brightness or amounts of shadows and whites. This allows one color to be added on a certain highlighted area and another to a darker one. For example, you can change the tone of the image without affecting skin tones.
The simplest way to implement split toning is to adjust hue and saturation within highlights and shadows. You will also need to use the balance feature to qualify which brightness levels are shadows or highlights – this brings more precision to split-tone adjustments. Use scopes Scopes make sure the edited colors are translated across different screens right. There is no point in spending time and effort color grading footage and then have the video look entirely different on someone else’s screen. Scopes present the true levels of exposure, color balance, and saturation – making sure that each shot match visually and colors are broadcast-safe. There are four primary video scopes to use: ● The histogram is usually used in photography to show the distribution of luminance within an image; however, it doesn’t tell you where the dark and light pixels actually are. ● Like histogram, waveform lets you see the luminance distribution throughout the image or footage, but it also shows you where the individual bright and dark elements are. It allows you to set exposure properly and ● RGB parade is essentially three separate waveforms for the red, green, and blue channels. It shows the luminance value of each color channel and
allows you to adjust the curve specific to the color you want. So, if you want less red in the shadows, it will only affect the red waveform. ● Vectorscope uses a six-point color wheel to dial color hue and adjust saturation in an image or video accurately. It works in tandem with a waveform to ensure greater conformity in each shot. Using LUTs for Color Correction and Color Grading LUTs (Lookup tables) are preset color filters used to alter the colors of videos or photos. They adjust levels of gamma, saturation, luminance, contrast, and hue automatically. LUTs contain saved information that can be applied to every single footage and image all at once. They are useful and convenient tools for enhancing color correction and color grading work. There are about six types of LUTs and they serve different purposes. ● The transformation LUT takes one image from one color space to another. ● Viewing LUTs are usually used by the videographer or photographer during production so that muted colors or washed-out images can be used. ● Calibration LUTs ensure that there are uniform colors at all points of the editing and coloring process. ● Log normalization LUTs tone-map log footage into a standard (Rec. 709) or cinematic color space (DCI-P3).
● The 1D LUT can only control one single parameter in white point, color balance, and overall contrast. It takes a blanket approach and applies the setting to everything. ● Unlike 1D LUT, a 3D LUT offers more control over hue, saturation, luminance, gamma, and contrast separately in a three-dimensional color space. LUTs can be created and applied to different formats such as LOG, RAW, Rec. 709, Rec. 2020, HDR, and more. Generally, colorists use the log normalization LUT as a starting point before starting the color correction process. Once the proper color correction is completed, they would move on to the color grading phase and import a
LUT pack onto their footage. As the pack contains pre-determined values, it will apply the desired look onto the film or photo all at once. Some Final Thoughts Color correction and color grading are essential processes that take movies and photoshoots from their raw beauty to vivid, spectacular worlds. And they require a monitor that can convey as many shades of color in truest precision as possible. A professional-level LED monitor that is pre-calibrated will ensure that your vision will be conveyed accurately.