Download
1 / 14
140 likes | 413 Views
구글 애플리케이션 전용 비밀번호 설정. ㅇ 설정 사이트 접속. ㅇ 로그인. 구글 애플리케이션 전용 비밀번호 설정. ㅇ 앱 비밀번호 설정 (1 / 4). 구글 애플리케이션 전용 비밀번호 설정. ㅇ 앱 비밀번호 설정 (2 / 4). 구글 애플리케이션 전용 비밀번호 설정. ㅇ 앱 비밀번호 설정 (3 / 4). 구글 애플리케이션 전용 비밀번호 설정. ㅇ 앱 비밀번호 설정 (4 / 4). 메일 발송 자바 코드 작성. ㅇ 필요 라이브러리. - mail.jar

E N D
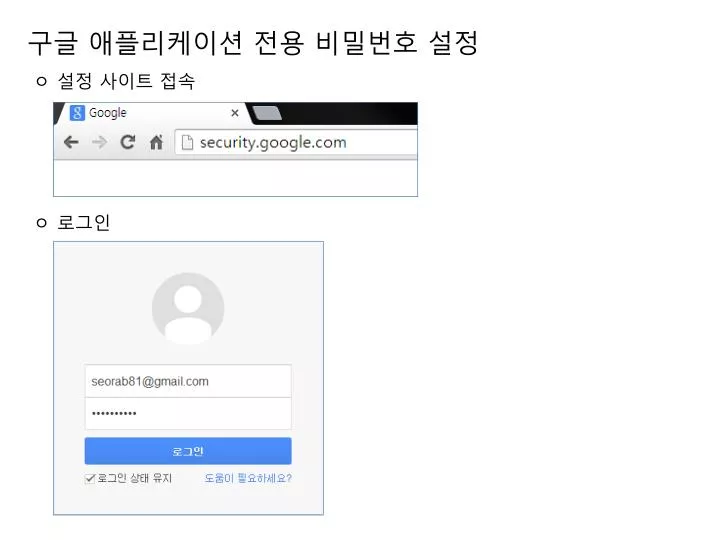
구글 애플리케이션 전용 비밀번호 설정 ㅇ설정 사이트 접속 ㅇ로그인
구글 애플리케이션 전용 비밀번호 설정 ㅇ앱 비밀번호 설정 (1 / 4)
구글 애플리케이션 전용 비밀번호 설정 ㅇ앱 비밀번호 설정(2 / 4)
구글 애플리케이션 전용 비밀번호 설정 ㅇ앱 비밀번호 설정(3 / 4)
구글 애플리케이션 전용 비밀번호 설정 ㅇ앱 비밀번호 설정(4 / 4)
메일 발송 자바 코드 작성 ㅇ필요 라이브러리 - mail.jar - spring-context-support.jar
메일 발송 자바 코드 작성 Mailer.java (1 / 4) – edu.spring.board.common public class Mailer extends Authenticator { private static Mailer instance = null; public static Mailer getInstance() { return instance == null ? new Mailer() : instance; } /** * 인증 */ @Override protected PasswordAuthenticationgetPasswordAuthentication() { return new PasswordAuthentication(“구글계정", "앱비밀번호"); }
메일 발송 자바 코드 작성 Mailer.java (2 / 4) /** * 메일 발송 * @param subject : 제목 * @param content : 내용 * @param receiver : 받는사람 주소 */ public void sendMail(String subject, String content, String[] receiver) { // 메일 정보를 담기 위한 객체 Properties p = new Properties(); // SMTP 서버의 계정 설정 p.put("mail.smtp.user", "seorab81@gmail.com"); // SMTP 서버 정보 설정 p.put("mail.smtp.host", "smtp.gmail.com");
메일 발송 자바 코드 작성 Mailer.java (3 / 4) // 메일 발송 기본 정보 p.put("mail.smtp.port", "465"); p.put("mail.smtp.starttls.enable", "true"); p.put("mail.smtp.auth", "true"); p.put("mail.smtp.debug", "true"); p.put("mail.smtp.socketFactory.port", "465"); p.put("mail.smtp.socketFactory.class", "javax.net.ssl.SSLSocketFactory"); p.put("mail.smtp.socketFactory.fallback", "false"); try { // Java Mail 에서 사용할 세션 객체 생성 Session ses = Session.getInstance(p, this); // 메일을 전송할 때 상세한 상황을 콘솔에 출력 ses.setDebug(true); // 메일의 내용을 담기 위한 객체 MimeMessagemsg = new MimeMessage(ses);
메일 발송 자바 코드 작성 Mailer.java (4 / 4) MimeMessageHelper helper = new MimeMessageHelper(msg, true); helper.setSubject(subject); // 제목 helper.setText(content); // 본문 내용 helper.setTo(receiver); // 수신자 메일 주소 final MimeMessagefMsg = msg; // 메일 발송 실행 new Thread(new Runnable() { @Override public void run() { try { Transport.send(fMsg); } catch (Exception e) { e.printStackTrace(); } } }).start(); } catch (Exception e) { e.printStackTrace(); } } }
컨트롤러 연결 MainController @RequestMapping("mail") @ResponseBody public Map<String, Object> mail(HttpServletRequest request, @RequestParam Map<String, Object> map) { Map<String, Object> returnMap = new HashMap<String, Object>(); Mailer mail = Mailer.getInstance(); mail.sendMail("제목", "내용테스트", new String[]{"seorab@naver.com"}); return returnMap; }
메일 발송 mail.do 접속
메일 발송 console 로그
메일 발송 console 로그
