Download
1 / 5
50 likes | 55 Views
This document provides your solutions and instructions like, Short steps to resolve the printer issue, Elaborate steps for resolving the printer issue, i cannot get my printer to work, Quick steps for printer troubleshooting, Detailed steps for printer troubleshooting.

E N D
my printer doesn't work Sometimes the issues in the printer occurs because of the problems like black or color ink, not printing, the printer is offline, etc. To resolve the black or color ink not printing issue, reinstall the print driver, use genuine ink cartridges. Short steps to resolve the printer issue ->Open the document, choose File and then select Print in Mac. ->Choose the Paper Type/Quality or Media and Quality menu. ->Choose Save in the Presets menu and then name the new preset to save the settings for future print jobs. ->Choose File in the software application in Windows. ->Select Print which opens the printer window. ->Open the Properties or Preferences dialog box. ->Modify the settings such as paper size, print quality, paper type, etc. ->Choose OK and then select Print. Elaborate steps for resolving the printer issue ->Ensure that you are using the appropriate paper for printing. Check for the estimated ink levels and replace the low or empty ink cartridges with the new one. ->Check for the print settings in Windows by selecting File in the
software application and then choose Print. The Print window opens and opens the Properties dialog box. And, depending on the print job, modify the paper type, print quality, paper size, etc. ->After selecting the print settings, choose OK to apply the settings and then choose Print. ->Clean the area around the ink nozzles by gathering lint-free cloth, dry foam rubber swabs, or any other soft material. ->Hold the handle on the sides of the printer. Then, raise the cartridge access door until it locks into place. And, the cartridge moves to the center of the printer. ->Wait till the cartridge is idle and silent before you continue. Take the power cord from the rear of the printer. Lift the lid on the cartridge slot to release the ink cartridge. Then, gently push the lid back till it stops. ->Pull up the ink cartridge to remove from the slot. Hold the ink cartridge by its sides. Lightly moisten a lint-free cloth or foam-rubber swab with distilled water. ->Then, squeeze any excess water from it. Gently clean the face and edges around the ink nozzle in the swab. Leave the cartridge to sit for 10 minutes to allow the cleaned area to dry or use a new swab to dry it. ->Hold the ink cartridge by the sides with the nozzles towards the printer. ->Slide the ink cartridge forward in the slot. Then, close the lid on the cartridge to secure the cartridge into its place. And, close the cartridge
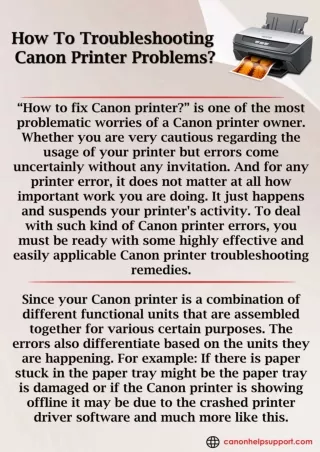
access door. To get more information for fixing the printer not working issue, goto: 123.hp.com I cannot get my printer to work The printer does not work because of the errors that occur in the printer. So check if the ink cartridges are compatible. Also, you can reset the printer. Check if the ink cartridges are clean or not. Else, clean it by using a lint-free cloth. Quick steps for printer troubleshooting ->Locate the Power button on the printer and press it. ->Make sure that the latch is down. ->Clean the contacts of the ink cartridge by using a clean, lint-free cloth. ->Remove and reinsert the cartridges again. ->Ensure that the newly installed ink cartridges are compatible. ->Reset the printer by disconnecting the power cord from the rear of the printer with the printer switched on. ->Take the power cord from the rear of the printer and wait for at least 60 seconds. ->Plug in the power cord back to the wall outlet and reconnect the power
cord from the rear of the printer. Detailed steps for printer troubleshooting ->Ensure that the ink cartridges are compatible. Also, ensure that the latch is down by placing the fingers into the slot on the left side of the printer. ->Then, pull to open the access door. And, the carriage moves to the left side of the printer. Wait till the cartridge is idle & silent before you proceed. ->Ensure that the colored dot on the ink cartridge label matches the colored dot on the carriage slot. Push in the front of the ink cartridge to release and pull it towards you to remove from the slot. ->Inspect the ink cartridge for damage and the copper-colored ink cartridge contacts for debris or ink buildup ->Carefully insert the cartridge into the slot & push the ink cartridge forward till it clicks into place. ->Ensure that the carriage latch is down. And, if the carriage latch is up, press it down till it clicks & close the cartridge access door. ->Also, clean the cartridge contacts by using a clean, lint-free cloth. Keep the fingers into the slot on the left side of the printer. Wait till the carriage is idle and silent. ->Push in the front of the ink cartridge to release and pull the ink cartridge toward you to remove it from the slot.
->With the cloth, wipe the copper-colored contact on the ink cartridge. ->Carefully reinsert the ink cartridge into the slot. And, close the access door. To get more information for fixing the printer not working issue, goto: 123.hp.com/setup


![[FIXING] HP Printer Troubleshooting guide](https://cdn4.slideserve.com/8187719/hp-printer-troubleshooting-guide-dt.jpg)