Download
1 / 1
10 likes | 24 Views
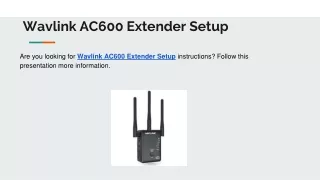
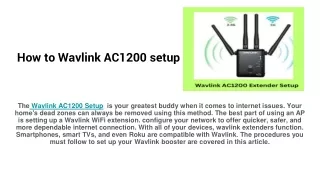
Looking for a seamless setup experience for your Wavlink AC1200? Our comprehensive guide will walk you through the Wavlink AC1200 setup process step-by-step, ensuring a hassle-free installation. Get your network up and running in no time with our expert tips and instructions. Don't miss out on optimizing your Wavlink AC1200 performance u2013 start your setup journey today!<br>

E N D
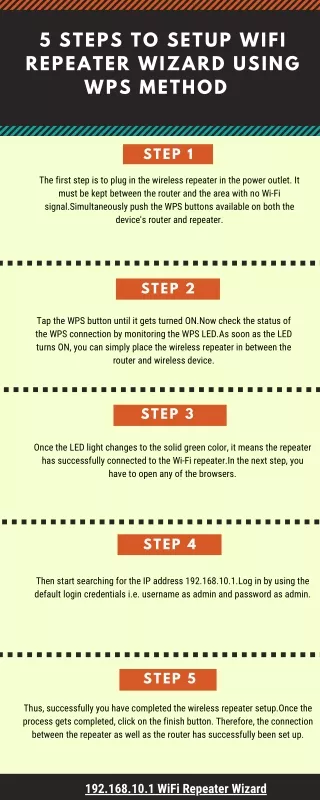
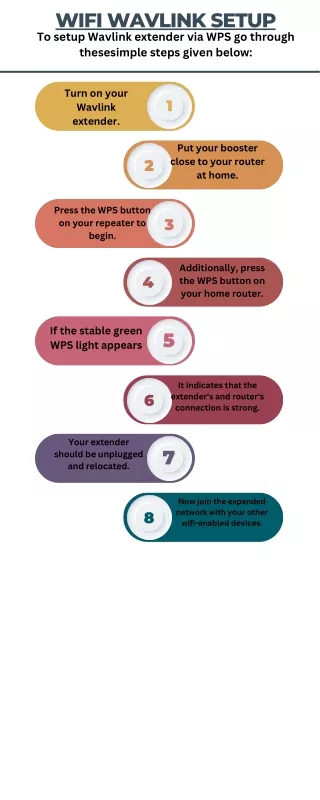
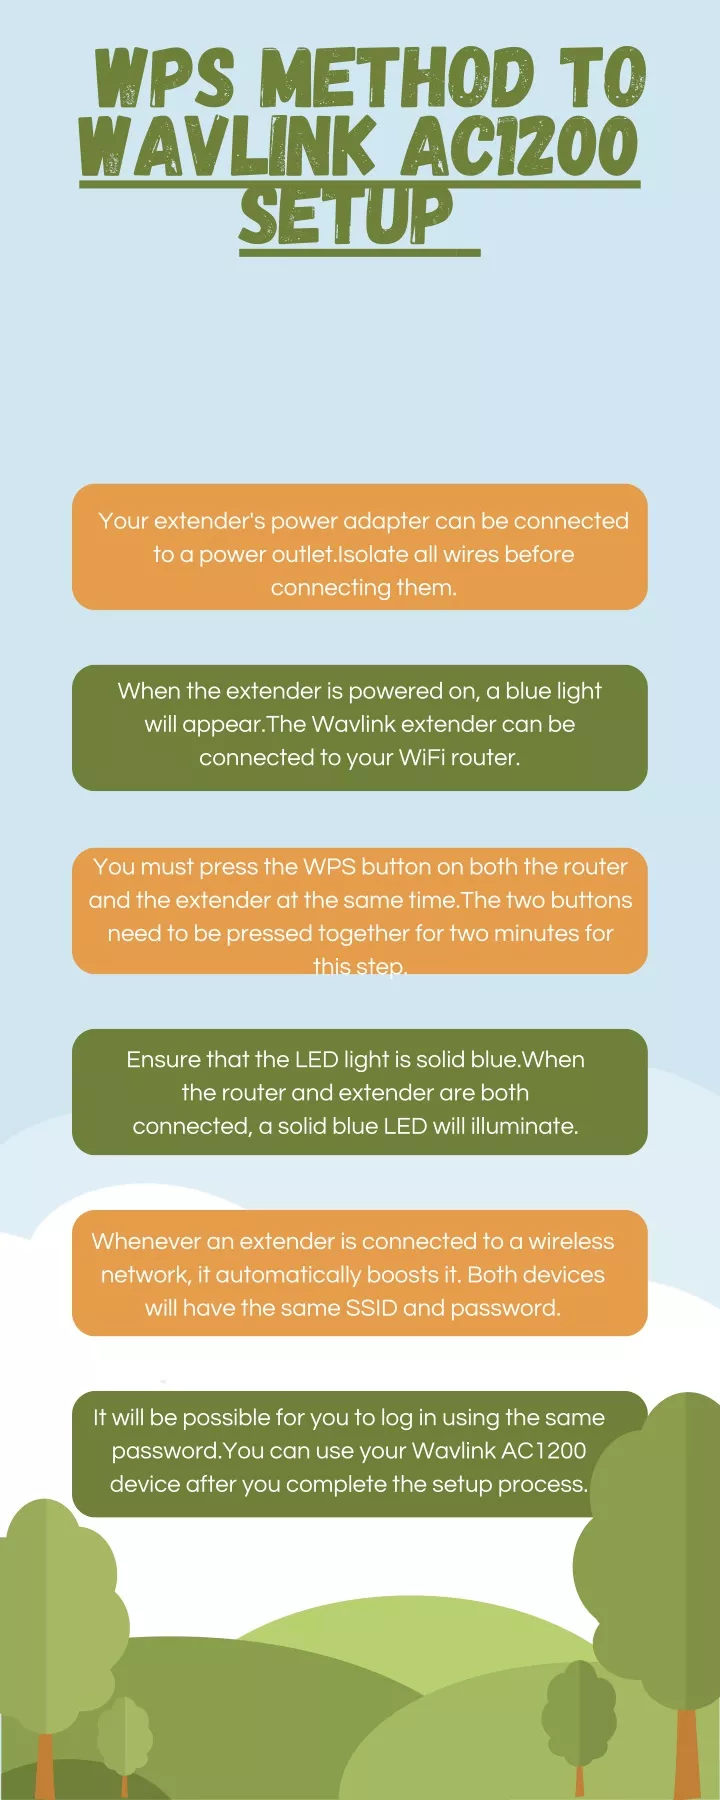
WPS Method To Wavlink AC1200 Setup Your extender's power adapter can be connected to a power outlet.Isolate all wires before connecting them. When the extender is powered on, a blue light will appear.The Wavlink extender can be connected to your WiFi router. You must press the WPS button on both the router and the extender at the same time.The two buttons need to be pressed together for two minutes for this step. Ensure that the LED light is solid blue.When the router and extender are both connected, a solid blue LED will illuminate. Whenever an extender is connected to a wireless network, it automatically boosts it. Both devices will have the same SSID and password. It will be possible for you to log in using the same password.You can use your Wavlink AC1200 device after you complete the setup process.