Download
1 / 22
220 likes | 368 Views
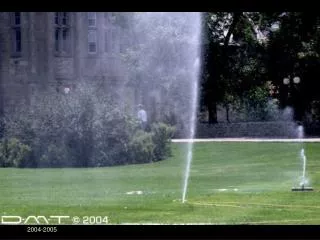
Module 2. Using Pave-IR: Installation, Data Collection, and Data Reduction. Installing Pave-IR. Video Demonstration. Installed system collecting project data. For more Pave-IR Info…. Moba Corporation Paul Angerhofer 678-817-9646 770-634-0058 (cell) p.angerhofer@moba.de.

E N D
Module 2 Using Pave-IR: Installation, Data Collection, and Data Reduction
Installing Pave-IR • Video Demonstration Installed system collecting project data
For more Pave-IR Info… Moba Corporation Paul Angerhofer 678-817-9646 770-634-0058 (cell) p.angerhofer@moba.de Moba Corporation James Lano 678-817-9646 678-557-0951 (cell) jlano@moba.de Moba Corporation Gary Motak 678-817-9646 770-842-1579 (cell) g.motak@moba.de
Setting up a Project File • Select “Create New Project” from the main Choose Project/Project Overview screen
Initiating Data Collection • After inputting project properties, select • Pave-IR returns to the main screen • Select the desired project by touch screen then press • Projects with the roadway icon do not have any data • Projects with the flash drive icon contain data
Data Collection • Thermal plot, position, distance, and speed are updated real-time • Stationing (if used) will display on color plot • Paver stop limits shown with horizontal red bar
Data Collection • Note the stationing displayed over the thermal plot and the limits of two paver stops
Summary Results during Data Collection • Press the button to view summary results Pave-IR Summary Results Screen
Ending Data Collection • Press from the data collection screen, then when asked if you want to return to project overview • If using stationing, the Adapt Sensor Location screen appears • Adjust the test stop point, if necessary, to the stop point’s stationing, then press • This adjustment may be necessary if the odometer’s rolling radius value contains error. • Pave-IR returns to the main Choose Project screen
Restore location calculated by software Accept location
Reporting per Tex-244-F • Open the project’s data log file in Pave Project Manager • Select: Report \ Generate \ Tex-244-F • Press • Type desired entries into the input fields, then press • Sensors ignored during data collection will also be ignored for generation of Tex-244-F report
2 1 3 4
Example report from project with minimal thermal segregation