Download
1 / 23
230 likes | 374 Views
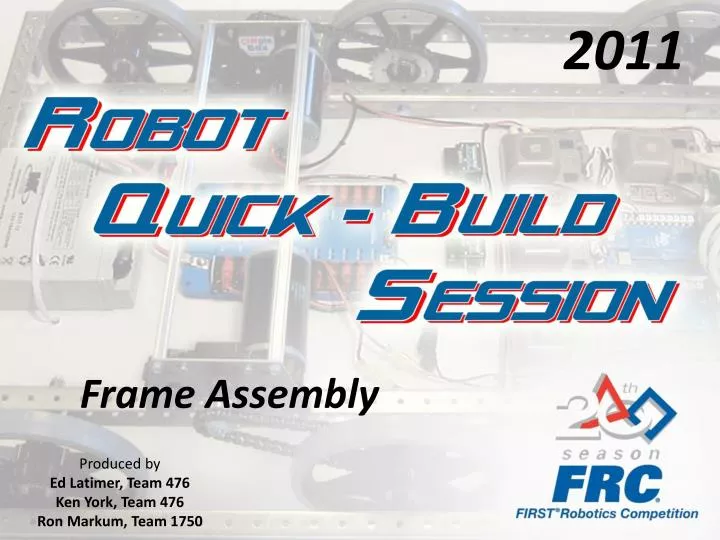
2011. Frame Assembly. Produced by Ed Latimer, Team 476 Ken York, Team 476 Ron Markum, Team 1750. Kitbot Frame Assembly Instructions.

E N D
2011 Frame Assembly Produced byEd Latimer, Team 476Ken York, Team 476Ron Markum, Team 1750
Kitbot Frame Assembly Instructions This PowerPoint contains instructions for assembling the 2011 C-base frame kit from AndyMark, Inc. It is meant to be supplemental to the User Guide that is included in the 2011 AndyMark kit. AndyMark 2011 C-Base Frame Parts
Decide on Robot Setup AndyMark User Guide Pg. 13, Step 1 This PowerPoint assumes you will be making a ‘narrow’ 27” x 37” robot, meaning a 27” front and back and 37” sides. This is because the Electronics Board for the RQBS robot is sized to fit those dimensions. You can also make a ‘wide’ robot 37” x 27” but you will then need a different sized electronics board. This PowerPoint builds a 6-wheel robot. You can also make one w/ 4 wheels. The 6-wheel design has slightly lower center wheels to make it easier to turn. The robot will ‘rock’ slightly on hard surfaces, but not too badly on the carpet that has been historically used in FIRST arenas. Final C-Base Frame: 27”x37” ‘Narrow’ Robot with 6 wheels
AndyMark User Guide Pg. 13, Step 2 Prepare Rails Cut 2 rails to 27” long Have 2 of the 6 rails cut to make them 27” long. There is a reference hole marking this location on each rail. File the ends after they are cut. This is what you should have: 4 original rails, 2 rails cut to 27”
AndyMark User Guide Pg. 14, Step 3 Install Corner Connects Parts For This Step Corner Connects ¼-20 x 1.75” Socket Head Cap Screws w/ Nylock Nuts
AndyMark User Guide Pg. 14, Step 3 Insert the frame connectors into the end holes of the 4 long rails (not the 2 cut ones) and get a 1.75” long frame bolt through the ‘ears’ on the connector. Put on the nylock nuts and tighten them. Repeat for both ends of all 4 long rails.
Assemble 4 Side Rails to Ends AndyMark User Guide Pg. 14, Step 4 27” cut rail Long rail The frame connector for the inside rails goes in the 4th and 5th holes from the end of the cut rail. Note !!: For making a 6-wheel robot, be sure and assemble all 4 long side rails with the center hole ‘down’ as shown in this picture. This will lower the center wheel and make it easier for your robot to turn. Install Nylock nuts. See next slide about tightening them. When you are done it should look like this.
Squaring the Frame (optional) It is better to square the frame as shown this slide, but if you are in a hurry for the RQBS then tighten them as is. You can always loosen them later and square it up. Either tighten as is ……. ….. or square while tightening.
AndyMark User Guide Pg. 15, Step 5 Assemble the Wheels Parts For This Step Self-tapping 10-24 x ¾ Screws Bearings Wheels Sprockets
Place a bearing in the wheel hub and press it squarely into place. If you can’t get enough force to bottom it out in the wheel hub, tap it into place using a non-mar hammer (shown), or using a block of wood on top of the bearing and a regular hammer. Tap it – don’t strike it too hard! Put a bearing on each side of the hub (2 per wheel). Repeat for all 6 wheels.
Install a sprocket on two of the wheels (after bearings are installed) using the self-tapping screws. Use a low clutch setting on the drill to avoid stripping the threads in the plastic. Completed wheels.
AndyMark User Guide Pg. 15, Step 6 Install the Wheels Parts For This Step 3/8-16 x 7” long hex head screws w/ nylock nuts Spacers for axles, 6 long and 6 short
For the RQBS 6-wheel robot, the 2 wheels w/ sprockets go on the middle axle, sprocket facing inside. All 6 wheels axles gets a long and a short spacer. The order that they go on the axle (long spacer inside or outside) is not important for the RQBS because you build a 2-wheel drive robot. If you are later planning on 4-wheel drive, then the spacers on the drive wheels need to be installed in a staggered pattern to accommodate 2 chain sprockets on each side.
1. Put the long screw through the frame hole and through a spacer. 2. Put the long screw through the wheel next. (For middle wheels, sprockets face inside.) 3. Put the long screw through the other spacer and through the hole in the other frame piece. 4. Tighten the nylock nut, but not tight enough to bind the wheel when it turns.
Repeat for all 6 wheels, making sure the 2 wheels w/ sprockets are in the middle of each side with the sprocket facing inside. The frame should now look like the picture above. You will need the transmissions assembled (shown) before going to the next step.
AndyMark User Guide Pg. 16, Step 7 Install the Transmissions Attach each transmission to the frame with ¼-20 x 5/8” Socket Head Cap Screws, washers, and nylock nuts through the slots in the bottom of the frame. Do not tighten them. You will do that later after the chain is installed. The transmissions go on the frame behind the middle wheels. You can choose whichever pair of frame holes you want – the chain will be cut to length to fit whatever you choose.
AndyMark User Guide Pg. 16, Step 8 Install the Support Rods Install the support rods (cross hex tubes) in the top corner of the transmission frame, then install ¼-20 x 1” long hex screws as shown above and tighten.
AndyMark User Guide Pg. 17, Steps 9 & 10 Install the Transmission Output Sprocket Note: The output sprocket may already have been installed since the RQBS Transmission PowerPoint showed instructions on this. We did this since the transmission assembly generally goes must faster than the frame assembly. So skip the steps on this page if yours already has the sprockets/spacers installed. 1. Take off the end screw and washer if installed. 2. Remove the machine key piece, put on the black shaft spacer, and reinstall the machine key. 4. Install the thin white nylon shaft spacer, ¼” washer, and ¼-20 x ½” screw. Tighten the screw. 3. Put on the output sprocket.
AndyMark User Guide Pg. 18, Steps 1 & 2 Cut the Chain To determine the chain length, lay the chain across the two sprockets. Then slide the transmission assembly (bolts should be loose) towards the wheel all it can go and find the nearest chain link to cut. Then cut the chain. If you have never measured and cut chain before, you need to find somebody experienced in this to help you do it correctly.
AndyMark User Guide Pg. 18, Step 3 Install the Master Link 2. Put on the flat plate. Make sure it is pushed down all the way and lays flat, otherwise the clip won’t snap on. 1. Insert the master link to connect the chain ends. 3. Install the retaining clip. It should look like this when done.
Tightening the Chain AndyMark User Guide Pg. 18, Step 3 1. Once the master link has been installed, tighten the chain by first pulling back the transmission base (remember the screws should be loose so it slides)…. 2. ….. and while keeping the chain taut tighten the bolts holding the transmission to the frame.
Congratulations! You’re Done with the Frame !!! Now wait for the finished Electronics Board assembly. Then install it on the frame, wire the motors, and test it !!