Download
1 / 14
140 likes | 147 Views
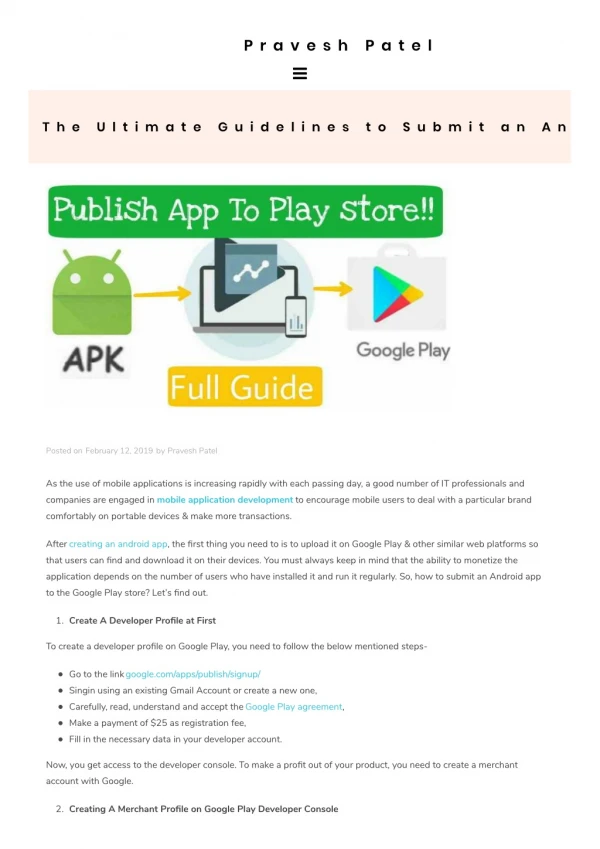
Read this blog - A Definitive Guide To Publish An Android App On Google Play Store. Also, check out our android app development services. Visit - @ https://www.sapphiresolutions.net/blog/a-definitive-guide-to-publish-an-android-app-on-google-play-store

E N D
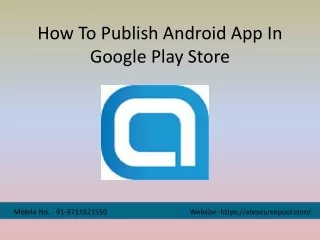
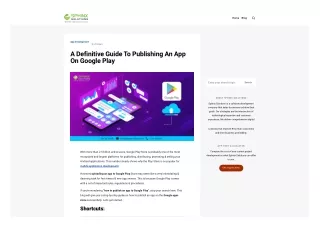
Sapphire Software Solutions Definitive Guide To Publish An Android App On Google Play Store
Introduction • In this blog, you will see – A Definitive Guide To Publish An Android App On Google Play Store. Publishing to the Google Play Store is the most secure and convenient option for people to download or update their Android app. Given Google’s dedication to providing a uniform, high-quality user experience, it’s no surprise that to publish an app in the Google play store; you need to be careful. Hire android developers from us! • The information provided here will assist you in ensuring that Google’s review team approves your app.
Step 1: Conform to Google’s Content Review Policies • Review Google’s entire content standards for applications in their store and make any required adjustments to guarantee your app is compatible. Notable cases: • – Restricted Content • Google restricts app content. Your app’s user-generated content must be moderated. • – Impersonation • Google will reject Play Store applications that promote IP violations. Avoid deceptive, unlawful, or unjust use of others’ work. You may need a license agreement to use someone else’s intellectual property. • – Malware, Security, and Privacy • Google forbids fraudulent, harmful, or data-abusing applications. Due to its danger, Google Play bans Malware-containing applications. • – App Monetization • Google supports many app revenue options, but you must follow their requirements to launch your app. • – Spam • The Google Play Store bans spam apps. These include spammy, repetitious, and low-quality applications.
Step 2: You must fulfill Google’s “Minimum Functionality” Requirements • Developers may make their applications stand out by following these criteria. Google stresses the • Need for reliable, attractive, responsive, and user-friendly applications. Google rejects apps: • – They are intended to accomplish nothing or provide no purpose. • – Crash, force close, freeze, or otherwise behave improperly • – Do not install; install but do not load • – They load but are not responsive; • – They only give the same experience as other applications currently on Google Play; • – They are built purely for showing advertisements; and • – They exist to generate affiliate traffic.
How to Make Certain Your Android App Is Accepted: • 1. Use Native Navigation: Adding a native sidebar menu and a bottom tab bar menu to your app is a beautiful method to provide simple, straightforward navigation. • 2. Create a Memorable, Functional Main Page: From simple navigation and button connections to relevant, meaningful content, your main page should serve as a center for consumers to explore your app. • 3. Avoid Footers: Footer text and menus should be avoided in apps. • 4. Use Mobile-Optimized Logos: If you want to display your logo on every page, confine it to a specific region rather than allowing it to take up the entire screen. • 5. Use Mobile-Optimized Forms: Make sure that forms are scaled big enough for consumers toquickly complete them on their mobile devices.
The Importance of App Testing • Your app must be thoroughly tested to fulfill Google’s basic functionality criteria and provide a smooth, intuitive user experience. You try your app to make sure it works “like an app,” as well as for crashes and bugs. Think like a user: • – Is the app user-friendly?– Useful?– Is it UI-friendly? • After setting up your developer account and accessing Google Play Console following the methods below, you may share app bundles and APKs with a small group of up to 100 testers for early testing and quality assurance. • – Closed Testing: Get early input on new or updated app releases from more dedicated testers. • – Open Testing: Post your app’s test version on Google Play for private feedback from a bigcommunity.
Step 3: Your Google Play Developer Account • Now is the time to ensure you have created all the required profiles and accounts and get ready to submit. • – Creating Your Developer Account • Before submitting your app for review and publishing on the Google Play Store, your Developer Account must be established and in compliance. If you’re developing an app for a company or organization, you must be able to deliver the following: • – Public developer name– Contact name– Contact email address (must be verified)– Contact phone number (must be verified)– Organization name, phone number, address, and website
You must also create a Payment Profile to use in-app purchases or release a paid app. • In the Google Play Console, create a new app Creating a new app is the first step in publishing your app to Google Play Console. • Go to All applications > Create app and enter your basic information. • – App Name– Default Language– App or Game– Free or Paid • You may alter these characteristics while reviewing/creating your store listing. • – The Android Package Name • Create your Android Package Name. Google registers your app’s Android Package Name. Google suggests com. your domain. App. No dashes or spaces. Numbers are not allowed in package names.
Step 4: Uploading Your App to Google Play Console • Upload your app file to Google Play Console after filling up the app’s basic information. This method requires some vital knowledge. • – Android App Bundles: (AAB Files) • New Google Play Store Android applications must be AAB files as of August 21, 2021. • – Upload Keys and App Signing • Code signing verifies an app’s legitimacy. Android applications are signed with a private key to confirm that their code has not changed. Play App Signing is Google’s app signing infrastructure. Enroll in Play App Signing to submit an Android App Bundle to your Google Play Console. • When you publish your app to the Google Play Console, Google creates an app signing key for it viaPlay App Signing. Google will safeguard and sign optimized distribution APKs from your app bundlesusing your app’s signing key.
Step 5: Fill Out Your App’s Store Listing and Content • After uploading your AAB file, return to the Play Console webpage to enter app details. Two steps: • 1. App Content Information2. Your Google Play Store Listing • Remember these recommendations while filling out the fields: • – Be Transparent: Don’t hide or omit functionality in your app or metadata. • – Be Honest: Don’t boast or describe features your app doesn’t have. • – Precision: Select accurate and appropriate search keywords, tags, categories, and age ratings for your app. • – App Display: Screenshots and previews should depict app usage, not just artwork or advertising graphics. • – Setting Up Your App Content • Google Play Console’s App Content section has these fields. To advance to app review, you must complete this information.
– App Access: Details required to access your app if certain features or portions are password-protected or limited. Google will need this data to evaluate your app. • – Content Ratings: After completing a questionnaire, a recognized rating organization will provide you with a content rating. • – Target Audience: Provide pertinent details about your app’s target market (including age group). • – News Apps: Specify whether or not your app is a news app. If so, you must add more information to this area. • – Ads: You must specify if your app will include advertisements. • – Privacy Statement: Describes how your app will handle sensitive user data and information. • Compiling Metadata for Your Play Store Listing • Store Presence > Store Settings on Google Play Console does this. Follow the information fields and enter metadata as precisely as possible. Quality app descriptions, screenshots, previews, categorizations, etc., are essential.
Step 6: App Review and Release • You may now submit your app for evaluation after setting up your app and adding the necessary content and metadata. • – App Review • Congratulations! Your app has been successfully submitted for review. After its initial deployment, you can check your app’s status and understand its Google Play availability. Usually, this procedure takes 1-3 days to finish. • Want to Publish Your App Easily? Try us • Try our Android app development company if you need more assistance publishing your app on the Google Play Store. Our incredibly user-friendly Android app development services can quickly transform your current website or web-based application into an immersive, aesthetically stunning native Android and iOS app.
Contact UsSapphire Software Solution C/102-103, Ganesh Meridian, Opp. Kargil Petrol Pump, Nr. Gujarat High Court, S.G Highway, Ahmedabad -380060, Gujarat ,India. Mo: 9726748800 Email Id : marketing@sapphiresolutions.net