Download
1 / 5
50 likes | 144 Views
Heat shrink tubes are handy additions that can give extra protection to your wires and other components. In this blog, we will teach you different tricks to level up your tubing game and save yourself some time and money. Letu2019s get right into it!

E N D
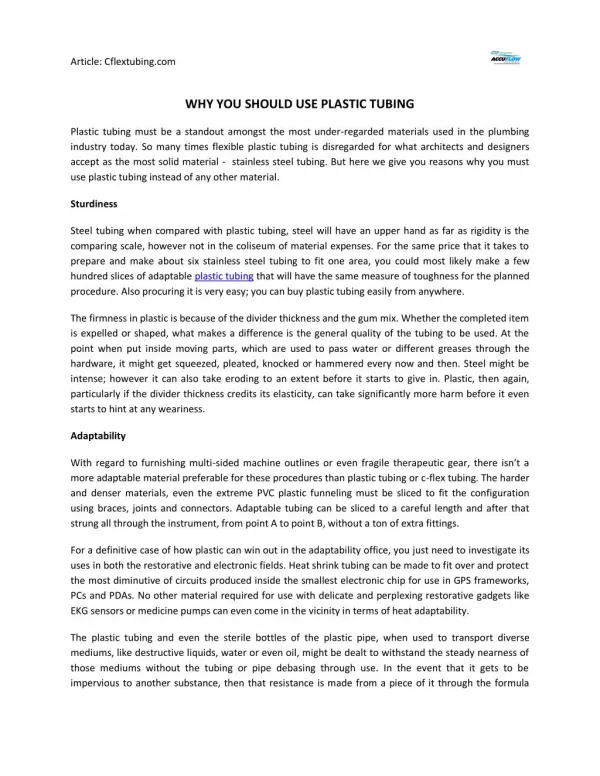
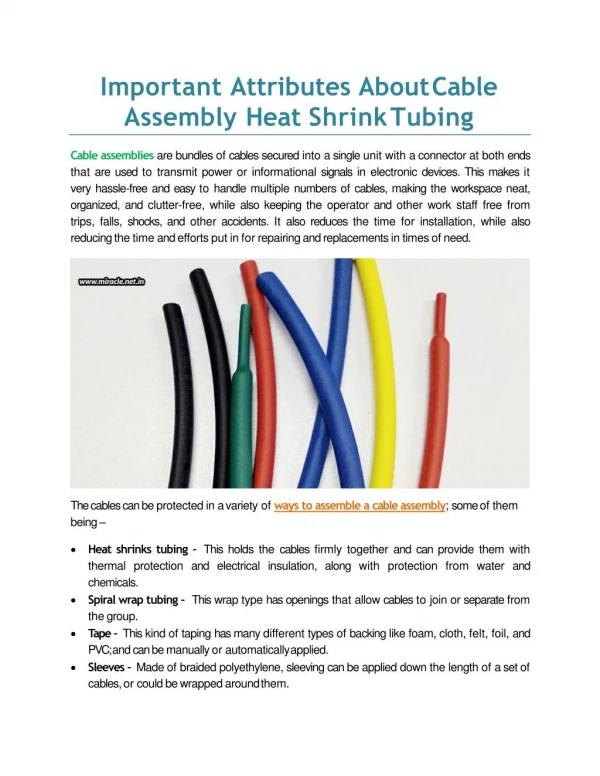
What is a Heat Shrink Tube? • Heat-shrink tubes are hollow tubes that shrink after being heated; after shrinking, they can snugly wrap wires and other components while effectively covering them. They come in different sizes and colors and can be used for connecting, bundling, splicing, and covering exposed parts of a component. These are extremely useful for people who frequently work with electronics, especially in providing peace of mind by ensuring that the components are securely in place and preventing future accidents involving wiring problems.
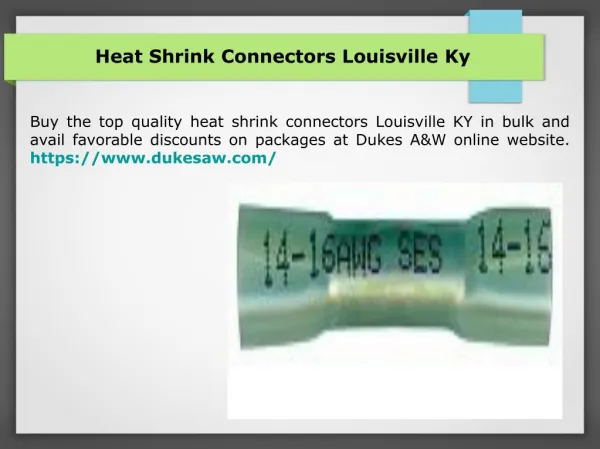
Why do Wires Need Insulation? • Insulation is essential in preventing accidents involving overheating that can cause a fire; it can serve as a second layer of protection that can prevent the bypass of heat and regulate a component’s temperature. Heat shrink tubes do a great job on this since their hollow inside is an insulator by design, which is quite ironic, especially since they are heat activated.
A Step-by-Step Guide to Using Heat Shrink Tubes Heat shrinks, like we mentioned before, have a range of uses and can be used in a number of ways. We'll go over how to effectively use heat shrink tubes and give out tips and tricks that will help you with your tubing.
How to Use Heat Shrink Tubes Choosing a Heat Shrink Tube: Before using a tube, let’s first discuss how to choose one. These tubes come in a range of dimensions; when heated, they typically shrink to half their original size (2:1). So in selecting a heat shrink, you must choose one that smoothly slides over the area you want to cover. If you do not have one that is the right size, we'll be teaching you some tricks that will help you make do with what you have, but first let’s proceed to the tutorial. Step 1: Cut the heat shrink using your cutter, taking into account the size of the component you plan to cover it with; leave room so that your tube won't be too small when it shrinks. Step 2: Make sure your component fits snugly inside the heat shrink and that both sides are even. Step 3: Heat your tube and watch it cover your component in an instant, like magic.