Download
1 / 11
110 likes | 122 Views
QuickBooks error H202 is the most recurring H series that users encounter while switching QuickBooks to multi-user mode. It occurs when hosting is not set up correctly. Although, implementing some troubleshooting steps will help you fix it. Click the link and go through the blog for solutions or you can contact the QuickBooks technical support team for help by dialing our toll-free number 1.855.738.2784.<br>

E N D
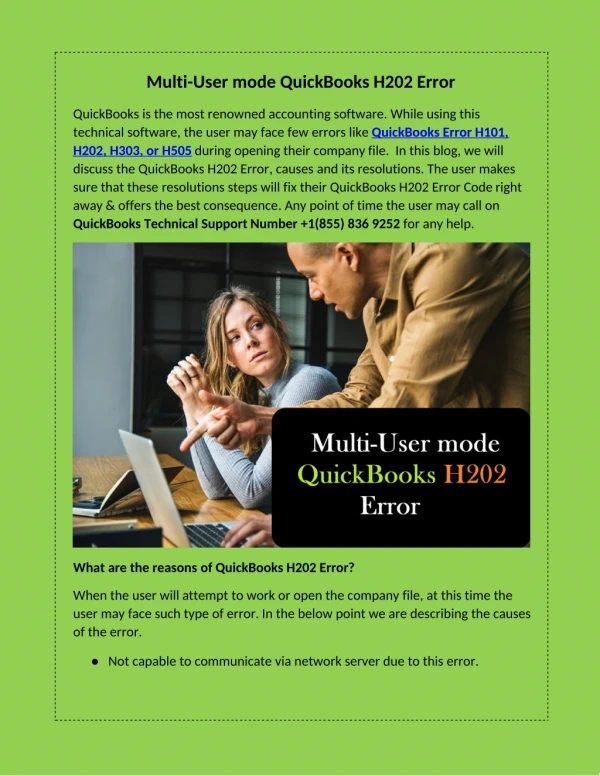
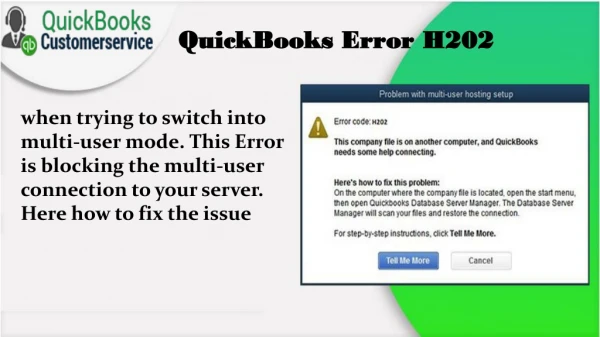
QuickBooks error H202 | A Comprehensive Guide to Resolve it The Multi-User Mode in QuickBooks allows numerous users to access the same company file as the program at the same time. To use this feature, users need to switch QuickBooks from single-user mode to multi-user mode. While changing the mode, users sometimes come across QuickBooks error H202. The error code H202 appears on the screen with a message, “This company file is on another computer, and QuickBooks needs some help connecting.” Another situation that triggers the error is misconfigured hosting setup. Jump to the following sections of the article to understand the root causes and troubleshooting solutions to fix QuickBooks multi-user error H202. If you require direct consultation from one of our QuickBooks experts to rectify QuickBooks error H202, give a call on our toll-free number and get effective assistance for the same
Causes which trigger QuickBooks error code H202 Following is the list of prominent causes that trigger multi-user mode error h202 in QuickBooks: A block imposed by Windows Firewall stops QuickBooks from connecting to the server computer. Running QuickBooks application with an outdated update. Presence of a damaged Network Data file restricts QuickBooks from going to the multi-user mode. Misconfigured hosting is also a major reason behind this multi-user error. Now that you understand the causes leading to the error. Implement the solutions given below one by one to fix the error right away.
Possible Solutions to Troubleshoot QuickBooks Desktop error H202 Given below are the most reliable troubleshooting solutions that will help you this H series error from the root:
Solution 1. Alter hosting settings on the server computer Open QuickBooks on one of your workstations, getting the error message H202 and go to the File menu instead of opening the company file. Under the File menu, select Utilities and choose the Stop Host Multi-User Access option. Make sure you don’t select the Host Multi-User Access option. Move to all workstations one by one getting QuickBooks error H202 and follow the same steps to select the Stop Hosting Multi-User Access option. Then, go to your server computer, open QuickBooks, and select the File menu. Choose Utilities and select the Host Multi-User Access option.
Solution 2. Fix the multi-user error by running QuickBooks Database Server Manager from the QB Tool Hub Once all the company files are closed, quit QuickBooks Desktop and get the setup file of the recent QuickBooks Tool Hub version from Intuit’s website. After completing the download process, save the QuickBooksToolHub.exe file to the Downloads folder or your Windows Desktop for easy access. Go to the saved location, open the QuickBooksToolHub.exe file and follow the prompt steps. You need to tick the agree to the terms and conditions checkbox to finish installing QuickBooks Tool Hub on your system. Once it completes, open QuickBooks Tool Hub and choose Network Issues. Select QuickBooks Database Server Manager. If prompted to install QuickBooks, install it. Within the QuickBooks Database Server Manager, select the company file folder and click Start Scan. If you can’t see your folder, browse to the location of the company file, then choose Start Scan. Wait till QuickBooks Database Server Manager repairs permissions for the firewall, then close the window when the scan completes. Open QuickBooks on the workstation getting error H202, go to the File menu, and select the Switch to Multi-user mode.
Solution 3. From the QuickBooks Tool Hub, make use of the File Doctor Within the QuickBooks Tool Hub, select the Company File Issues tab and click Run QuickBooks File Doctor. Within the File Doctor, scroll through the drop-down and choose your company file. If you can’t find your file, click Browse and then search the file. Click to mark the middle Check your file option, select Continue and enter login details.
Solution 4. Check and confirm if QuickBooks services are running on the server computer Go to your server computer, click the Windows icon, and enter Run in the Windows search field. When the Run window opens, type services.msc and tap the Enter key. Scroll the list of services, search and double-click QuickBooksDBXX, then choose Automatic as the Startup Type. If services status is not set to Running or Started, choose Start and then go to the Recovery tab. Choose Restart the Service from the First failure, Second failure, and Subsequent failure drop-down, then click Apply to save the changes. After that, follow the same steps to check QBCFMonitorService. Once done, restart your QuickBooks and switch QuickBooks to Multi-User mode.
Solution 5. Alter Firewall settings manually to tackle error h202 in QuickBooks Go to the Windows Start menu, type Firewall in the Windows search field, and open Windows Firewall. Click Advanced Settings, right-click Inbound Rules and choose New Rule. Choose Port, select Next and ensure TCP is marked. Head to the Specific local ports field, input the port needed for your QuickBooks version and click Next after entering the port. Click the Allow the Connection box, select Next, and make sure all the profiles are marked. Next, set up a new rule with the name ‘QBPorts(year) and click the Finish button once you are done.
Solution 6. Change Windows permissions to share company files Click the Windows Start menu, open File Explorer and locate the folder containing company files. Right-click the folder, choose Properties, and select Sharing. Click Share Add and choose the QuickBooksDataServiceUserXX for the QuickBooks version you use. Then, set the permissions to Full control of both users and click Share.
It’s time to close our article on QuickBooks error H202. It has covered the basic yet effective solutions that will help you overcome the issue. If you are not able to fix the error or have confusion following the steps, place a call on our customer support number 1.855.738.2784 and communicate with one of the certified QuickBooks professionals for help.