Download
1 / 2
0 likes | 8 Views
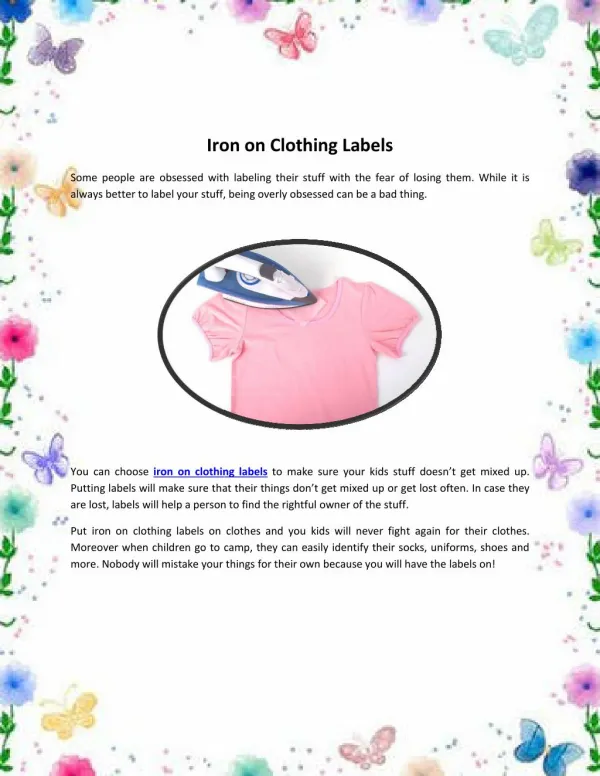
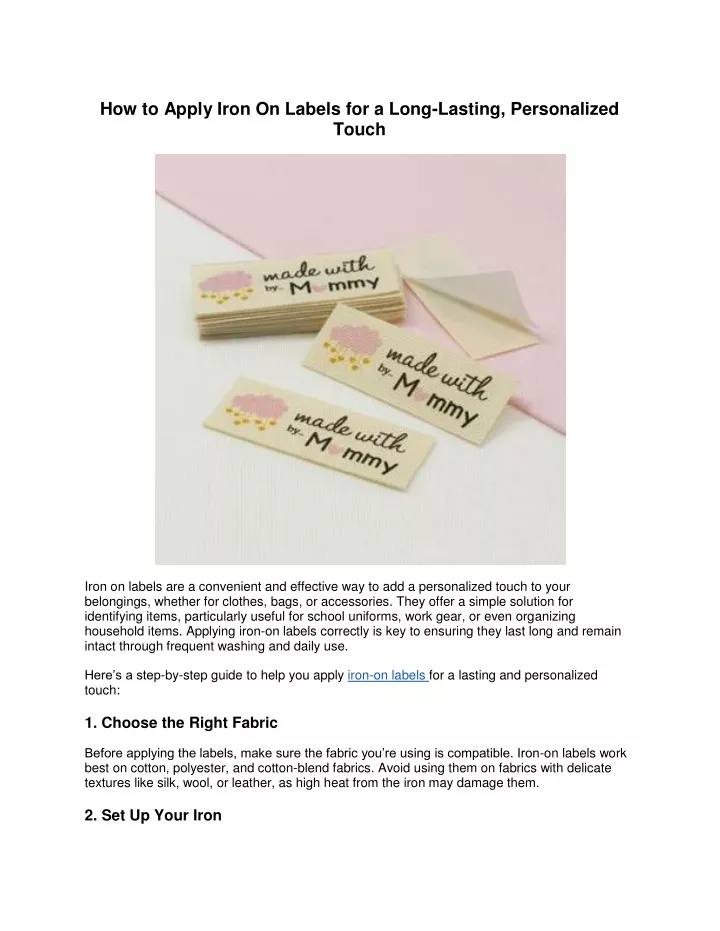
Iron on labels are a convenient and effective way to add a personalized touch to your belongings, whether for clothes, bags, or accessories. They offer a simple solution for identifying items, particularly useful for school uniforms, work gear, or even organizing household items

E N D
How to Apply Iron On Labels for a Long-Lasting, Personalized Touch Iron on labels are a convenient and effective way to add a personalized touch to your belongings, whether for clothes, bags, or accessories. They offer a simple solution for identifying items, particularly useful for school uniforms, work gear, or even organizing household items. Applying iron-on labels correctly is key to ensuring they last long and remain intact through frequent washing and daily use. Here’s a step-by-step guide to help you apply iron-on labels for a lasting and personalized touch: 1. Choose the Right Fabric Before applying the labels, make sure the fabric you’re using is compatible. Iron-on labels work best on cotton, polyester, and cotton-blend fabrics. Avoid using them on fabrics with delicate textures like silk, wool, or leather, as high heat from the iron may damage them. 2. Set Up Your Iron
Preheat your iron to a medium to high setting, usually around 150°C to 180°C, depending on the fabric type. Do not use steam, as moisture can affect the adhesion of the label. For best results, ensure your iron is dry. 3. Position the Label Place the label on the desired spot on the fabric. Ensure the area is smooth and free of wrinkles. You can use a thin cloth or parchment paper between the label and the iron to protect both the label and the fabric from heat damage. 4. Apply Heat Firmly press the iron onto the label for 10 to 20 seconds, depending on the fabric. Move the iron gently but avoid sliding it around, as this may cause the label to shift. Apply consistent pressure to ensure the adhesive bonds well with the fabric. 5. Allow the Label to Cool Once applied, let the label cool completely before handling the fabric. This helps the adhesive set properly, ensuring a long-lasting bond. 6. Check the Adhesion After cooling, gently tug at the edges of the label. If any part lifts, repeat the ironing process for a few more seconds. By following these steps, you can ensure that your iron-on labels stay secure and give your belongings a personalized, professional touch that lasts for years.