Download
1 / 2
20 likes | 49 Views
A new toilet seat installation is a simple DIY project that can be completed quickly and only requires common household materials. To know more read this full pdf and visit here: https://www.absoluteairflow.com/

E N D
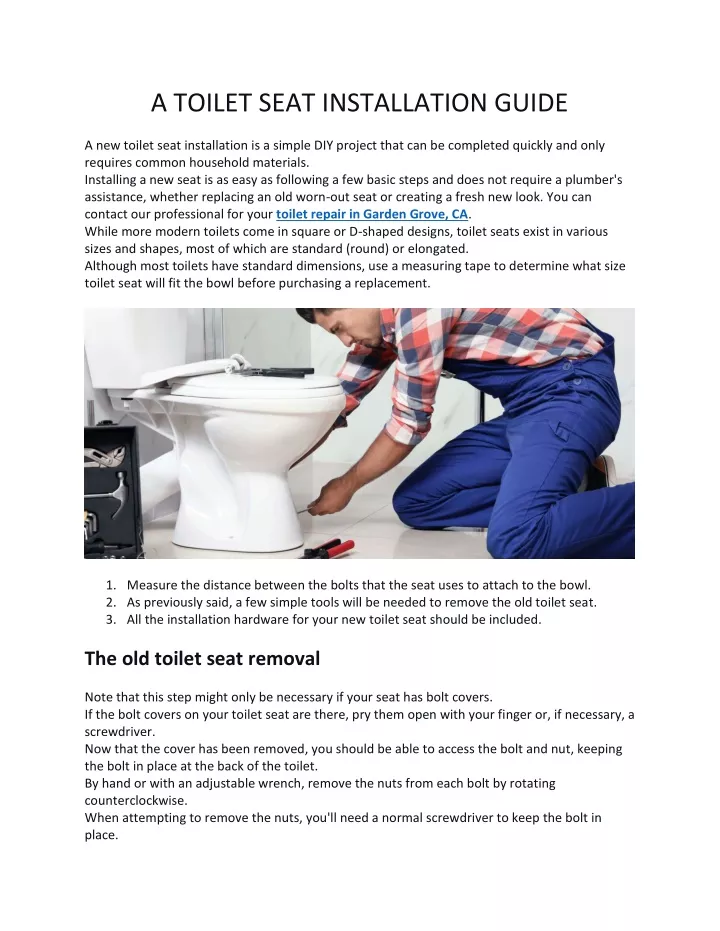
A TOILET SEAT INSTALLATION GUIDE A new toilet seat installation is a simple DIY project that can be completed quickly and only requires common household materials. Installing a new seat is as easy as following a few basic steps and does not require a plumber's assistance, whether replacing an old worn-out seat or creating a fresh new look. You can contact our professional for your toilet repair in Garden Grove, CA. While more modern toilets come in square or D-shaped designs, toilet seats exist in various sizes and shapes, most of which are standard (round) or elongated. Although most toilets have standard dimensions, use a measuring tape to determine what size toilet seat will fit the bowl before purchasing a replacement. 1.Measure the distance between the bolts that the seat uses to attach to the bowl. 2.As previously said, a few simple tools will be needed to remove the old toilet seat. 3.All the installation hardware for your new toilet seat should be included. The old toilet seat removal Note that this step might only be necessary if your seat has bolt covers. If the bolt covers on your toilet seat are there, pry them open with your finger or, if necessary, a screwdriver. Now that the cover has been removed, you should be able to access the bolt and nut, keeping the bolt in place at the back of the toilet. By hand or with an adjustable wrench, remove the nuts from each bolt by rotating counterclockwise. When attempting to remove the nuts, you'll need a normal screwdriver to keep the bolt in place.
You may also use a tiny hacksaw to remove the plastic bolts. The toilet seat should now be easily removable by pulling off the toilet bowl. We are also providing the best services for plumbing services in Westminster, CA to solve this kind of problem at an affordable price. Gather any loose plastic or metal fasteners, nuts, washers, and other hardware used to attach the old seat. Cleaning the toilet bowl, the area around it, and the bolt holes will prepare the region for installing the new toilet seat. You should receive every piece of the mounting hardware you require with the new toilet seat. Place the new toilet seat lid first, over the rim of the toilet bowl, with the seat's hinges positioned over the bolt holes. Make sure the head of each bolt is facing upward when you feed it through the holes in each hinge and the holes in the toilet bowl (on top). After the bolts are set in position, fasten the nuts to each bolt's threaded end. If your hardware includes washers, attach those to the bolts before the nuts. Hold the bolt with a regular screwdriver while tightening the nut.