Download
1 / 11
110 likes | 111 Views
Resealing a driveway is a simple procedure that, when completed by a professional, can improve the <br>performance of the surface for years and help the driveway last longer. Check the weather forecast; if there <br>are 24 to 48 hours of clear skies and temperatures above 50u00b0F, go ahead. This endeavor should be avoided if <br>rain is forecast.<br>

E N D
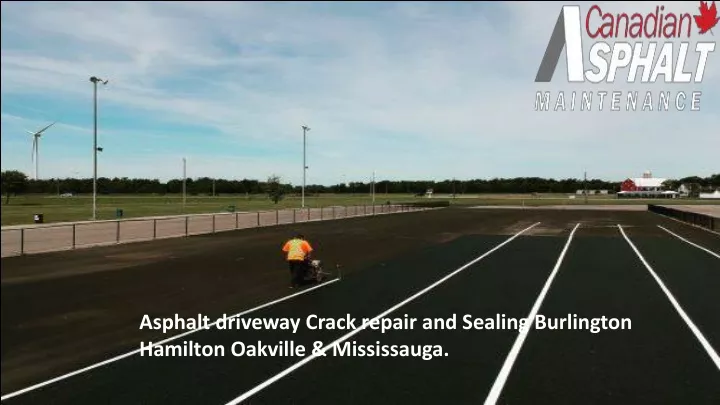
Asphalt driveway Crack repair and Sealing Burlington Hamilton Oakville & Mississauga.
In winter, asphalt adjust with more moisture and snow, so when cracks are seen in asphalt, it permits water from the closest area to penetrate deep in the surface, and resulting severe damage to the root of the asphalt. You can have the real experience if you stay in the cold areas like BurlingtonHamiltonOakville & Mississauga.
Resealing a driveway is not a complex project and if it’s done in a professional, can maximize the performance the surface for years and assist the driveway to have a longer life span. check the weather condition; if there are 24 to 48 hours of clear skies and temps above 50 degrees Fahrenheit, go for it. If rain is expected, this project should be avoided.
Clean the driveway first. Sweep leaves, acorns, and dust from the driveway's surface with a leaf blower or broom. If you have oil stains, you can use a degreaser or primer to remove and hide them before crack sealing. Remove any visible weeds from cracks. If your driveway is shady and prone to moss growth, clean it using a power washer.
Step 2: Repair Holes and Cracks Take the time to patch cracks in the driveway's surface before applying a final coat of sealant for the greatest results. Use a crack filler bottle for cracks smaller than 1/2 inch.
Clean the driveway and mix the sealant in Step 3. If you have 24 to 48 hours of clear sky, now is the time to shine your driveway. Using a brush or a leaf blower, clean the driveway surface once again.
Step 4: Hand-seal the edge Working from the top of your driveway down to the end will help you avoid backing into a corner. If the top of your driveway meets a building, such as a garage or a walkway, cut in around the edge with an old paintbrush. The main area can be covered with a squeegee, but the edges appear better when brushed with precision.
Step 5: Apply Sealant to the Edge Pour a line of sealant across the width of your driveway to start sealing the rest of the asphalt. Because the sealant containers are hefty, take care not to spill any.
For asphalt repair, pull and compress the sealant into the driveway surface with the squeegee at a 45-degree angle. The sealant, like the crack filler, has self-leveling properties, but to maintain the sealant layer as even as possible, work diligently and pay attention to how much pressure you're applying to the squeegee.
Apply a Second Coat in Step 6 When inspecting the dry sealed surface, you may notice that some areas, especially on an older driveway, could benefit from a second coat. A second coating will protect the surface by creating a stronger seal.
Allow the surface to dry for 24 hours before walking on it and 48 to 72 hours before driving on it. Follow the steps above if you are staying in a cold area like BurlingtonHamiltonOakville & Mississauga and looking for crack repair and sealing.
