Download
1 / 10
100 likes | 111 Views
Work back and forth from one side of the driveway to the opposite, pouring more <br>sealant as required and stepping back now than to test your work.<br>

E N D
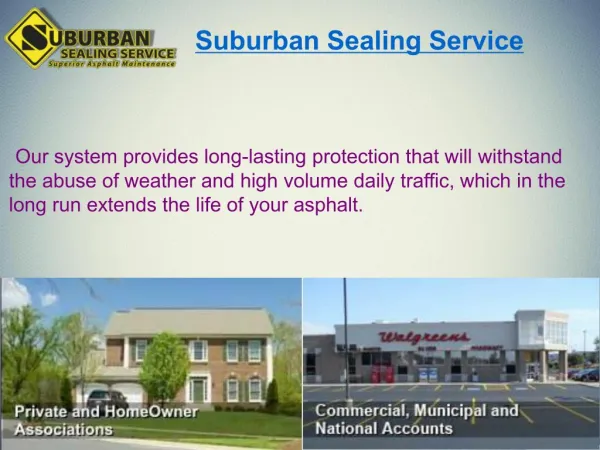
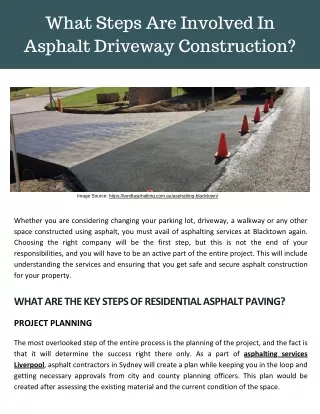
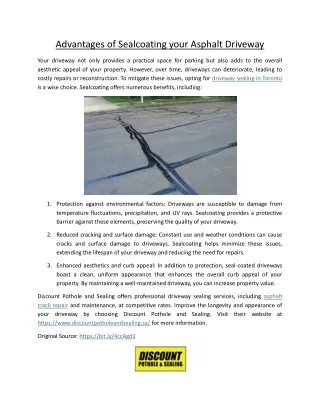
One of the simple methods to protect your asphalt driveway is a seal coat. This thin layer will help your driveway force away water, gas, oil, chemicals that could otherwise go into and weaken the asphalt. A seal coat typically remains usable 2 to 3 years, though it should be inspected once in a year. Although your asphalt contractor would be happy to use a seal coat, enterprising DIY types may prefer to handle the job themselves.
7 steps to seal coating the driveway. 1. Examine the Weather If a seal coat is wet before it has a chance to cure, it is ineffective. Choose a week when the weather is expected to be pleasant and dry. The seal coat should only take a day to apply and another day to cure, but preparing the driveway takes time. Look for a weather window that is clear for at least 4-5 days.
2. Trim and Tape the perimeters Cut back all shrubbery that overhangs the driveway. Use an edger to carefully cut the grass along the driveway’s edge. Then use painter’s tape to tape off all surfaces near the driveway like brick, gutters, or concrete.
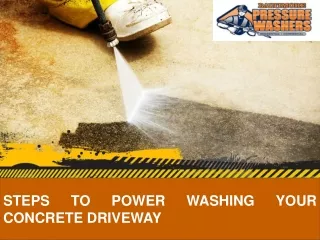
3. Clean the Driveway With a brush or a leaf blower, carefully remove all leaves, dirt, dust, acorns, and debris from the complete surface of the driveway. Use a degreaser to get rid of oil stains. Pick all weeds that are growing in cracks. Use a pressure washer with a 15-degree tip to thoroughly wash the driveway, and permit it to dry for a minimum of 24 hours.
4. Patch Cracks and Holes If you have got small cracks or holes in your driveway, it’s well worth the effort to repair them before applying sealant. For cracks smaller than 1/2”, just grab a bottle of crack filler. Gently squeeze it into the crack, taking care to not overfill. If you do, use a scraper to spread and level the surplus. Allow the filler to dry for a minimum of 4 hours, or a touch longer in humid weather. If you have got bigger cracks or holes, it's best to rent knowledgeable to mend them.
5. Hand-Seal Around Structures Start at the highest of the driveway, by the house or garage, and work you thanks to the road. Use a paintbrush to softly cut in around all structures that meet the driveway, like the garage or sidewalk.
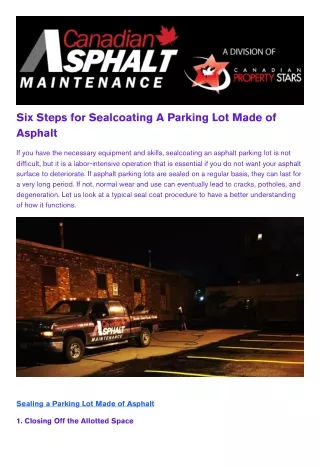
6. Pour a Line of Sealant Again, starting at the highest of the driveway, pour a line of sealant the width of the driveway. Use a squeegee at a 45-degree angle to spread the sealant evenly along the surface of the driveway. Watch your pressure. If you push too hard, sealant will work its more than the highest of the squeegee. If you push too lightly, you'll not achieve an excellent, thin coating.
Work back and forth from one side of the driveway to the opposite, pouring more sealant as required and stepping back now then to test your work. Allow to cure for twenty-four hours before walking on the driveway, and 72 hours before driving thereon.
7. Repeat if Needed If your driveway is old and wasn't previously sealed, you will need a second coat of sealant. Check the driveway after 24 hours, trying to find spots that are thin or uneven. If you see any, repeat the method for a good second coat. take care to permit the second coat to dry for twenty-four hours before walking thereon, and 72 hours before driving thereon. These were the 7 steps explained by some of the driveway sealcoating experts from Ancaster, hope this information is useful for you, and you follow the same or relevant method to accomplish the task.