Download
1 / 11
110 likes | 117 Views
Re-sealing a driveway is a straightforward undertaking that, if carried out properly, can <br>improve the surface for many years and increase its longevity. Check the weather forecast <br>before beginning this project; if there will be 24 to 48 hours of good weather with <br>temperatures above 50 degrees Fahrenheit, go ahead. Avoid working on this project if rain <br>is forecast.<br>

E N D
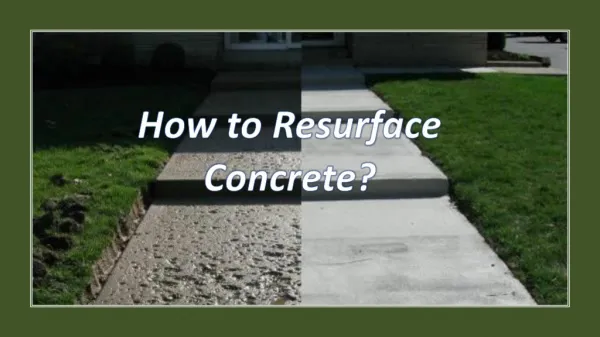
Maintain your driveway and walkways on a regular basis to keep your curb appeal appearing fresh. To patch up cracks and apply a fresh coat of sealant to asphalt or blacktop surfaces, adhere to these steps.
Re-sealing a driveway is a simple project that, if done correctly, can enhance the surface for years and extend the lifespan of your driveway. Before starting this project, check the weather forecast; if there will be 24 to 48 hours of clear skies and temperatures above 50 degrees Fahrenheit, go ahead. If rain is expected, stay away from working on driveway sealing project.
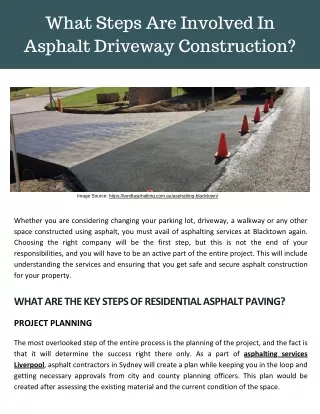
Step 1: Clean the Driveway Sweep leaves, acorns, and dust off the driveway's surface with a leaf blower or broom. A degreaser or primer can be used to assist clean and covering up oil stains before sealing if you have any. Pull out every weed you can see through the cracks. Use a pressure washer to get rid of moss from your driveway if it is shaded and prone to doing so. Use a scraper to remove the moss from the surface and a spray bottle of bleach to kill it. To completely clean the surface, use a pressure washer with a 15-degree general-cleaning tip.
Before repairing cracks and sealing, you must allow the driveway to dry completely, but having a clean surface will ensure a long-lasting treatment.
Step 2: Fill up holes and cracks Prior to adding a final coat of sealer, take the time to fix any surface cracks on the driveway for the greatest results. Use a crack filler bottle for cracks that are smaller than 1/2 inch. Although the material has some self-leveling capabilities and is quite fluid, avoid overfilling the cracks to prevent the patch from showing through the completed sealed coat. If you do unintentionally overfill the crack, spread, and level the filler using a scraper. Prior to applying the topcoat of sealant, give the filler 4 to 8 hours to dry.
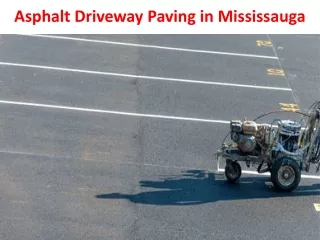
Step 3: Driveway cleaning and sealant mixing make up Once more, now is the time to make the driveway shine if you have 24 to 48 hours of clear sky. Broom or leaf blower the driveway's surface once more for cleanliness. Before opening the goods, mix the sealant buckets one at a time by tossing them upside-down.
Step 4: Hand-seal the edge Working your way down the driveway from the top to the finish will help you avoid backing into a corner. Use an old paintbrush to cut in around the edge where your driveway's top meets a building, such as a garage or a sidewalk. The main area can be covered with a squeegee, but precise brushing gives the edges a great finished appearance.
Step 5: Pour sealant along the edge Pour a line of sealant over the width of your driveway to start sealing the remaining asphalt. The buckets of sealant are hefty, so try your best not to spill too much. Pulling and compressing the sealant into the driveway's surface requires the squeegee to be held at a 45-degree angle. In order to maintain the sealant layer as evenly as possible, work diligently and pay attention to how much pressure you're applying to the squeegee. The sealant, like the crack filler, has self-leveling properties. If you apply too much pressure, the sealant will start to squeeze over the squeegee's top. If you don't exert enough effort, your coverage will become overly dense.
Work in a back-and-forth motion across the driveway's width. For a completed appearance, continue pausing occasionally and manually painting edges where buildings intersect.
Step 6: Add a second coat After inspecting the dry-sealed surface, especially if the driveway is older, you can find that some sections could use a second coat. The surface will be better sealed off by adding a second coat. Apply the second layer in the same manner as the first, block off the end of the driveway with empty sealant containers, and wait 24 hours before using the surface for walking and 48 to 72 hours before using it for driving.