Download
1 / 5
50 likes | 62 Views
4 Secrets of Excellent Jewelry Product Photography.pptx

E N D
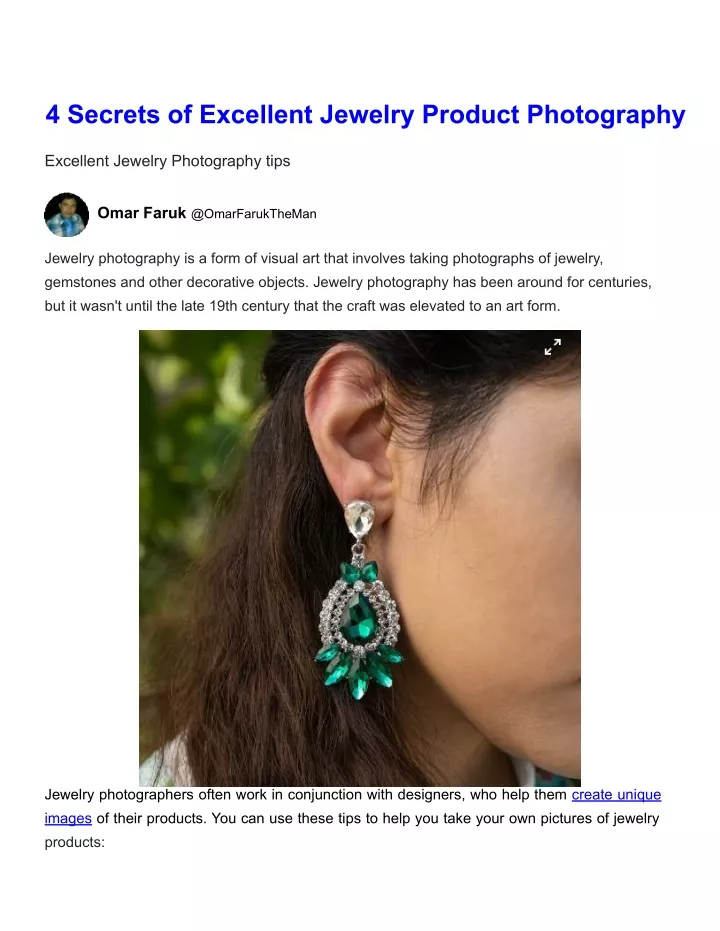
Add Account 4 Secrets of Excellent Jewelry Product Photography Excellent Jewelry Photography tips Omar Faruk @OmarFarukTheMan · Jan 12, 2023 Jewelry photography is a form of visual art that involves taking photographs of jewelry, gemstones and other decorative objects. Jewelry photography has been around for centuries, but it wasn't until the late 19th century that the craft was elevated to an art form. Jewelry photographers often work in conjunction with designers, who help them create unique images of their products. You can use these tips to help you take your own pictures of jewelry products:
When it comes to jewelry photography, you need to have a great eye for detail and an idea of what your product should look like. You also need to be able to shoot in different lighting conditions, whether it be direct sunlight or low light at night. You should also know how to edit your photos so they come out just right. Here are some tips on how you can make your jewelry photos stand out from the rest: 1) Have a plan before you shoot Having a plan before you shoot the jewelry product is the best way to get the best shots. Take a few moments and consider your options, including location, lighting and background. Consider where the jewelry will be seen by the viewer and what they are likely to want to see. Choose your camera settings carefully. You want something that's not too dark or too bright, and that will give you enough detail in your photos. You also want to make sure that you are using a tripod for long exposures, because it can help avoid blurriness due to camera shake. If you're shooting in digital format, make sure that your camera is set up correctly for low-light conditions - something which many cameras don't do automatically! If possible, try out different
settings before deciding on one that works best for you - there is no point having access to good lighting if it's not used correctly! 2) Shoot in direct sunlight or low light (without flash) The most important thing to keep in mind when shooting jewelry is that it's very hard to see the details of an item in low light or direct sunlight. This is especially true for rings and necklaces, which are often quite large. If you want to show off the fine details of your jewelry, I suggest shooting in direct sunlight or low light (without flash) at an angle that puts the item in front of a window with a lot of natural light coming through it. 3) Use a tripod
If you are shooting jewelry, it's important to take photos of your product in natural light. Natural light is the best way to illuminate your product and give it a real feeling of presence. However, when photographing jewelry in natural light, there are some basic photography tips that can help make your images more compelling: Use a tripod to take continuous shots instead of trying to move around too much while shooting. With a tripod, you can stay in one place and shoot from different angles without moving the camera or changing your settings on the fly. The most important thing about taking photos with a tripod is that it allows you to use longer exposures (depending on how dark your room is). This means that when people look at your photos later on their computer screen or even on a printed photo (if they're printed), they will see everything as it was lit during the exposure. If you don't have any other way of taking continuous shots like this, I recommend purchasing an inexpensive tripod like this one from Amazon for under $10 USD. 4) Shoot at least several different angles
The most important thing in a jewelry product photograph is to have a clear and high quality shot of the item. The best way to do this is by shooting several different angles of your product so you can see what angles look best when viewed in different ways. If you are shooting a product such as a necklace, it would be ideal if you could shoot from straight on, frontal, side and top views and see which ones look best when viewed from different angles. You can also shoot from behind and above your product so that it shows off the detail in each piece perfectly. If possible, take photos of your jewelry in natural light so that they have a more realistic feel to them. If you are shooting outside in the sun on sunny days then keep an eye on how much direct sunlight there is hitting the object itself as some items may not be able to withstand direct sunlight for long periods of time without fading or becoming damaged over time. Final Thoughts Remember that the final image is only as beautiful as the photographer capturing it. If you don't have the necessary tools (time, knowledge) to put your best foot forward, outsource your product photography and editing to an experienced professional. 4 visits · 2 onlineVote: 0 0 ♙0 Save as PDF Share © 2022 JustPaste.it Blog About