Download
1 / 28
310 likes | 956 Views
This presentation shows how to perform automation testing for mobile application using Eclipse and MonkeyTalk. By using MonkeyTalk functional testing of both iOS and Android applications can be automated. We can use either real device or emulator to automate functional testing. The basic functions of "MobEcommerce" application is automated here.

E N D
Android Application Automation Using MonkeyTalk
Content • Why Automation ? • Why MonkeyTalk ? • Requirements • Steps To Automate
Why Automation ? • Save Time. • Re-usability • Repeatability • Increased Coverage. • Increase the effectiveness, efficiency. • Accelerated testing cycle. • Promote software quality. • High productivity environment.
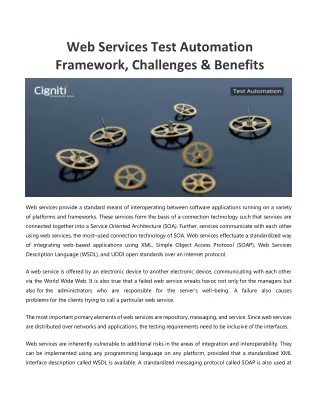
Why MonkeyTalk ? • An open source automation tool. • Supports both Android and iPhone. • Easy to learn and use. • Powerful Functional Testing tool. • Scripts are simple and understandable. • Same script can be used for both Android and iPhone. • Supports looping concept. • Supports Emulator, Tethered or Networked Device.
Requirements • Eclipse • Android SDK • MonkeyTalk IDE • MonkeyTalk Agent • MonkeyTalk Scripts • Source code of the application.
Eclipse • - Open Eclipse • - Create new project • - Select “existing code”. • - Import project • - Add MonkeyTalk Agent. • - Add agent to Aspect path. • - Select Build path and Android version in properties. • - Set Run configurations. • - Run as Android application.
MonkeyTalk Automation - Start MonkeyTalk - Open the existing project. - Select required test suite. - Link Emulator with MonkeyTalk. - Run as a Test Suite. - Results generated. - Reports generated.