Download
1 / 3
0 likes | 9 Views
we will explore the nuances of achieving those coveted grill marks on chicken legs, offering a step-by-step walkthrough on how to cook chicken legs on the grill and elevate your outdoor cooking game.<br>

E N D
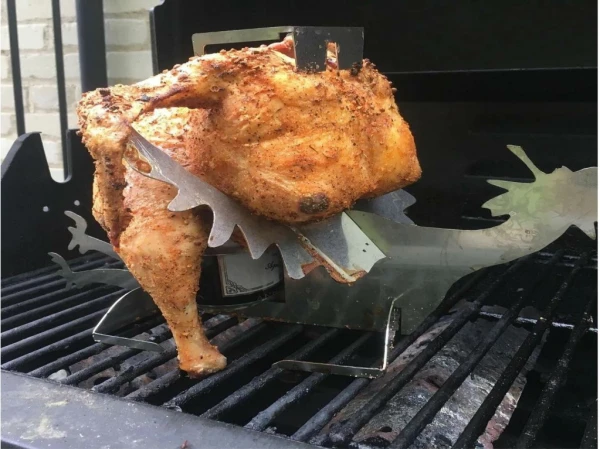
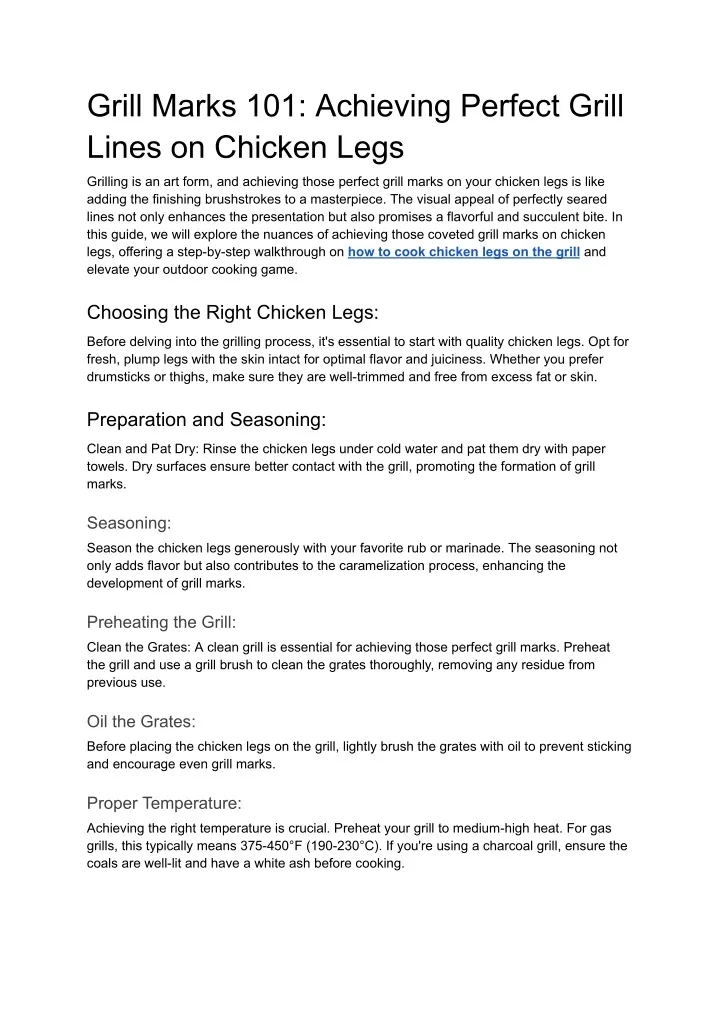
Grill Marks 101: Achieving Perfect Grill Lines on Chicken Legs Grilling is an art form, and achieving those perfect grill marks on your chicken legs is like adding the finishing brushstrokes to a masterpiece. The visual appeal of perfectly seared lines not only enhances the presentation but also promises a flavorful and succulent bite. In this guide, we will explore the nuances of achieving those coveted grill marks on chicken legs, offering a step-by-step walkthrough on how to cook chicken legs on the grill and elevate your outdoor cooking game. Choosing the Right Chicken Legs: Before delving into the grilling process, it's essential to start with quality chicken legs. Opt for fresh, plump legs with the skin intact for optimal flavor and juiciness. Whether you prefer drumsticks or thighs, make sure they are well-trimmed and free from excess fat or skin. Preparation and Seasoning: Clean and Pat Dry: Rinse the chicken legs under cold water and pat them dry with paper towels. Dry surfaces ensure better contact with the grill, promoting the formation of grill marks. Seasoning: Season the chicken legs generously with your favorite rub or marinade. The seasoning not only adds flavor but also contributes to the caramelization process, enhancing the development of grill marks. Preheating the Grill: Clean the Grates: A clean grill is essential for achieving those perfect grill marks. Preheat the grill and use a grill brush to clean the grates thoroughly, removing any residue from previous use. Oil the Grates: Before placing the chicken legs on the grill, lightly brush the grates with oil to prevent sticking and encourage even grill marks. Proper Temperature: Achieving the right temperature is crucial. Preheat your grill to medium-high heat. For gas grills, this typically means 375-450°F (190-230°C). If you're using a charcoal grill, ensure the coals are well-lit and have a white ash before cooking.
Placement and Timing: Lay Them Flat: Place the seasoned chicken legs on the preheated grill, ensuring they lay flat on the grates. This maximizes the surface area in contact with the grill, promoting optimal grill mark formation. Avoid Crowding: Ensure there is ample space between each chicken leg to allow for even cooking and effective searing. Crowding can lead to uneven grill marks and hinder the overall cooking process. Patience is Key:
Once the chicken legs are on the grill, resist the urge to flip them too soon. Allow them to cook undisturbed for 4-5 minutes before flipping. This gives the grill marks time to develop, creating that beautiful caramelized exterior. Flipping Technique: Use Tongs: When flipping the chicken legs, use long-handled tongs to ensure a steady grip without piercing the meat. Piercing can release juices, leading to a loss of moisture and flavor. Rotate for Crosshatch Marks: For that classic crosshatch pattern, rotate the chicken legs 45 degrees on the same side before flipping. This technique results in a visually appealing and professional-looking presentation. Monitoring internal temperature: Invest in a Meat Thermometer: To ensure your chicken legs are perfectly cooked, use a meat thermometer to monitor the internal temperature. Chicken is safe to eat when it reaches 165°F (74°C). Indirect Heat for Finishing: If the chicken legs need more time to cook through without burning the exterior, move them to an area of the grill with indirect heat, or lower the heat on a gas grill. Resting Period: Once the chicken legs have reached the desired internal temperature, let them rest for a few minutes before serving. This allows the juices to redistribute, ensuring a moist and flavorful end result. Conclusion: Elevate Your Grill Game with Perfect Grill Marks Achieving perfect grill marks on chicken legs is not just about aesthetics; it's a testament to your grilling prowess. From selecting the right chicken to mastering the preheating process and employing strategic flipping techniques, each step plays a crucial role in creating a memorable dining experience. So, fire up that grill, follow these steps, and watch as your chicken legs become a canvas of perfect grill marks, promising a symphony of flavors with every bite. How to cook chicken legs on the grill? With precision, patience, and a touch of artistry, you'll be creating grill masterpieces in no time.