Download
1 / 4
0 likes | 9 Views
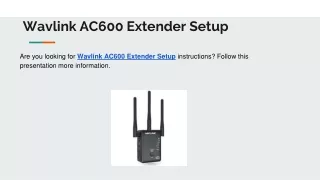
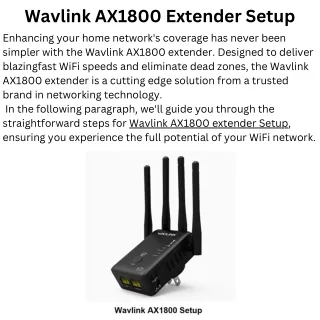
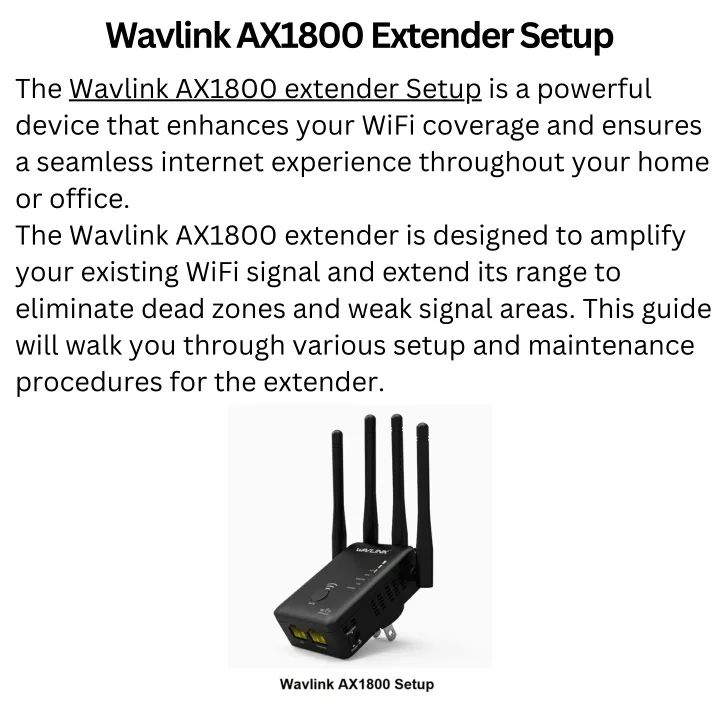
The Wavlink AX1800 extender is designed to amplify your existing WiFi signal and extend its range to eliminate dead zones and weak signal areas. It operates on both the 2.4GHz and 5GHz frequency bands, providing a combined speed of up to 1800Mbps. This guide will walk you through various setup and maintenance procedures for the extender.<br><br>

E N D
Wavlink AX1800 Extender Setup The Wavlink AX1800 extender Setup is a powerful device that enhances your WiFi coverage and ensures a seamless internet experience throughout your home or office. The Wavlink AX1800 extender is designed to amplify your existing WiFi signal and extend its range to eliminate dead zones and weak signal areas. This guide will walk you through various setup and maintenance procedures for the extender.
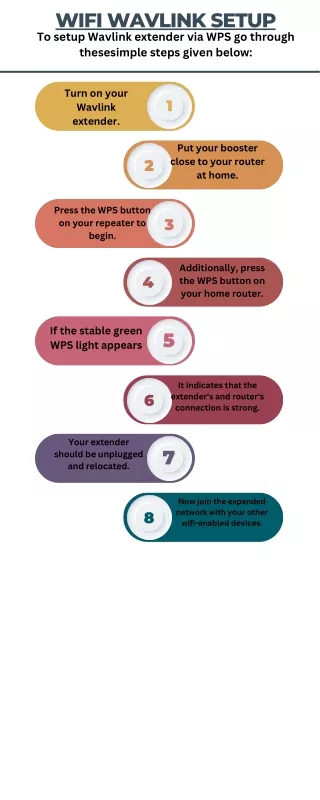
How to Setup Wavlink Extender using WPS Method ? WiFi Protected Setup (WPS) is a convenient method to quickly connect your extender to your existing router without the need for manually entering the network credentials. Follow these steps: Connect the extender to your router and turn it on. Press the WPS button on your extender. Please press the WPS button on the router within the next 2 minutes. The WPS LED indicator on the extender will turn solid, indicating a successful connection. These instructions provide an overview of the Wavlink AX1800 extender’s WPS setup process. For accurate and complete instructions, see the user manual or official documentation for your device.
Wavlink AX1800 Setup: Manual method Step-by-step instructions for Wavlink AX1800 extender Setup through Manual method: After plugging it in, activate the extender. Connect your device (phone, tablet, or computer) to the extender’s default WiFi network (SSID usually starts with “Wavlink_Extender”). Launch a web browser and input the extender’s default IP address (such as 192.168.10.1). Log in using the default credentials. Follow the onscreen setup wizard to scan and connect to your existing WiFi network. Enter the network credentials when prompted. These steps have been simplified and are based on a standard setup procedure. For precise instructions, consult the user manual or official documentation for your specific Wavlink AX1800 extender model.
Factory Resetting Wavlink AX1800 Extender Performing a factory reset on a Wavlink AX1800 extender will usually involve pressing a reset button on the device. Here’s a general guide on how to perform a factory reset on a typical Wavlink extender: Find the Reset button on the extender, typically found as a small hole. Employ a paper clip or pin to press and hold the Reset button for approximately 10 seconds. Release the button when the LED lights on the extender flash, indicating a successful reset. Please note: Performing a factory reset will erase all the settings and configurations on your extender, reverting it to its default settings. Make sure to have any necessary setup information ready before proceeding.