Download
1 / 2
0 likes | 21 Views
GE MRI TIP APPLICATION

E N D
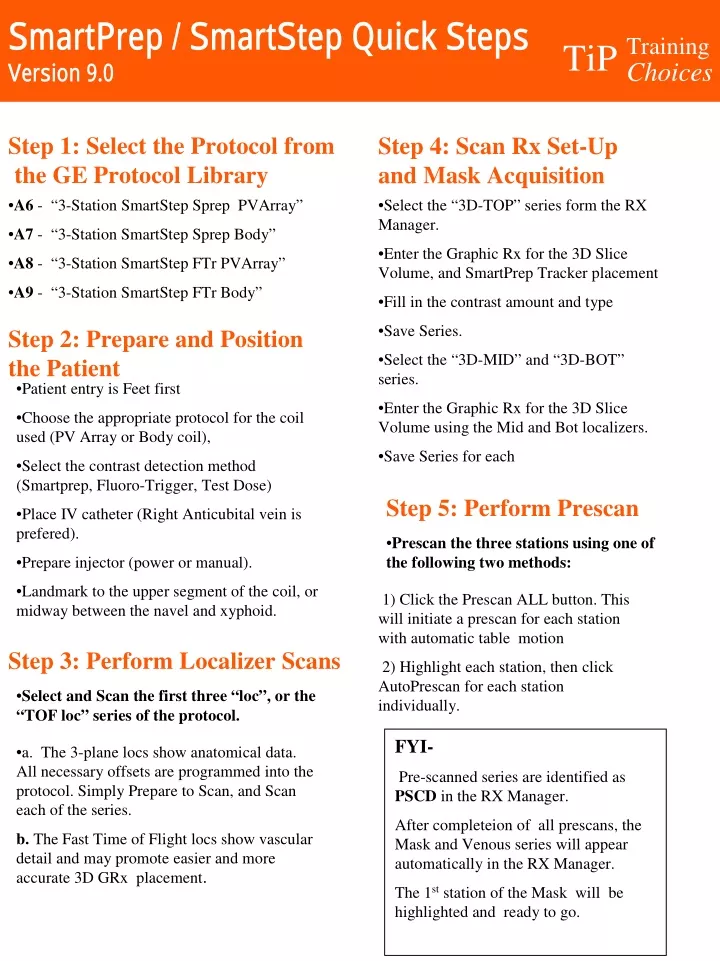
SmartPrep / SmartStepQuick Steps Version 9.0 TiPTraining Choices Step 1: Select the Protocol from the GE Protocol Library •A6 - “3-Station SmartStep Sprep PVArray” Step 4: Scan Rx Set-Up and Mask Acquisition •Select the “3D-TOP” series form the RX Manager. •A7 - “3-Station SmartStep Sprep Body” •Enter the Graphic Rx for the 3D Slice Volume, and SmartPrep Tracker placement •A8 - “3-Station SmartStep FTr PVArray” •A9 - “3-Station SmartStep FTr Body” •Fill in the contrast amount and type •Save Series. Step 2: Prepare and Position the Patient •Patient entry is Feet first •Select the “3D-MID” and “3D-BOT” series. •Enter the Graphic Rx for the 3D Slice Volume using the Mid and Bot localizers. •Choose the appropriate protocol for the coil used (PV Array or Body coil), •Save Series for each •Select the contrast detection method (Smartprep, Fluoro-Trigger, Test Dose) Step 5: Perform Prescan •Place IV catheter (Right Anticubital vein is prefered). •Prescan the three stations using one of the following two methods: •Prepare injector (power or manual). •Landmark to the upper segment of the coil, or midway between the navel and xyphoid. 1) Click the Prescan ALL button. This will initiate a prescan for each station with automatic table motion Step 3: Perform Localizer Scans 2) Highlight each station, then click AutoPrescan for each station individually. •Select and Scan the first three “loc”, or the “TOF loc” series of the protocol. FYI- •a. The 3-plane locs show anatomical data. All necessary offsets are programmed into the protocol. Simply Prepare to Scan, and Scan each of the series. Pre-scanned series are identified as PSCD in the RX Manager. After completeion of all prescans, the Mask and Venous series will appear automatically in the RX Manager. b. The Fast Time of Flight locs show vascular detail and may promote easier and more accurate 3D GRx placement. The 1ststation of the Mask will be highlighted and ready to go.
SmartPrep/ SmartStepQuick Steps Version 9.0 Training Choices TiP FYI- Step 6: Perform the Mask Scans •Click Prepare to Scan. • The Delay period is quiet. There will be no sound from the gradients during the delay period. This new 9.0 feature was designed to allow better communication between the patient and operator. •LEFT mouse click the AutoStep button • Instruct the patient to breathhold during the scan delay for the Top station. •The system will automatically scan stations 2 and 3 of the Arterial meta-series in order. The table will automatically advance to the next station. After all 3 Arterial stations have completed, the table will move back to the top location and begin scanning the Venous meta-series if it was prescribed. Since SmartPrep or Fluoro- Trigger will not initiate on the 1ststation of the Venous meta-series you should be prepared to instruct the patient to hold their breath during the delay period, which will occur after the table returns to the Top station of the Venous series. FYI- All 3 Mask stations will scan automatically, and then the system will pause awaiting the next user command. Step 7: Perform the Arterial / Venous Acquisitions with SmartStep •Highlight the Arterial meta-series, “A”, Top Station, •Click Prepare to Scan. •Prepare the injector (manual or power) •LEFT mouse click the AutoStep button •If using SmartPrep: You will see the usual message prompts of “Acquiring Baseline Data, Begin Contrast Injection, Bolus Detected”. After detection, instruct the patient to hold their breath during the delay time, and then the scan will begin. g •If using the new Fluoro-Trigger option: Navigate to the desired level and plane. Begin the injection, and click “Go3D” when the bolus arrives. Have the patient hold their breath during the delay time GE Medical Systems We bring good things to life. GE Medical Systems TiP Applications 6/2002 MSH REV0
